You can create a nested structure not only in folders and portals, but also in Fusebase tables. Why would you need this? There are plenty of use cases:
- You can create a task list in the main table and use subtables as subtasks
- You can build a sprint structure for project management, where the rows in the main table are sprints and the subtables are the sprint tasks
- For HR purposes, where the rows in the main table are employees and the subtables contain detailed information and so on
It’s also important to note that there are no limitations on the level of nesting for subtables, so you can create subtables within subtables.
How to Create a Subtable? #
It’s very simple!
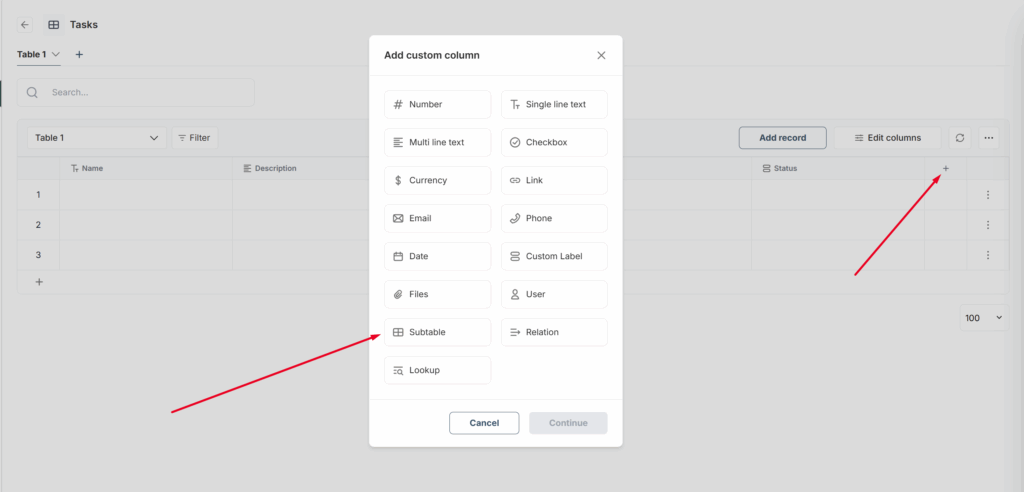
1) Click to create a column and select Subtable.
2) Enter the column name.
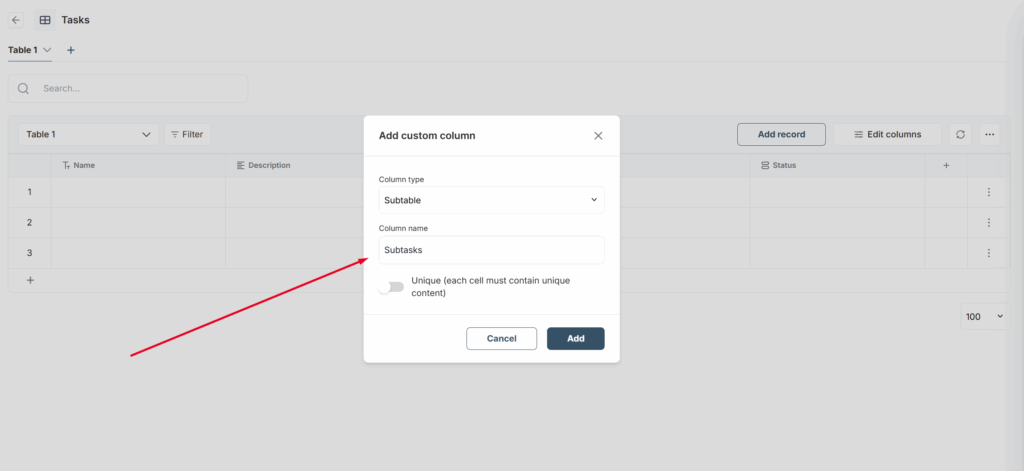
3) That’s it! You can create a subtable for each cell in the column. Just enter a name and press Enter. For example, if you need a table with a list of tasks and subtasks in the subtables, simply enter “Subtasks”—when you click, it will take you to the subtable.
You can use any name: the name of a task, an employee, or text like “More Info”—any title you need. A subtable is a regular table where you can create rows, columns, views, and more.