You can use Fusebase CLI with various coding AI agents, including GPT, Gemini, Kimi, and others. However, we recommend using Claude Code, as our CLI is highly optimized for working with Claude, including support for sub-agents, skills, hooks, and more.
Installing Claude Code #
To install Claude Code, you can use the official documentation:
Terminal – https://code.claude.com/docs#terminal
Vs Code/Cursor – https://code.claude.com/docs#vs-code
Desktop App – https://code.claude.com/docs#desktop-app
JetBrains – https://code.claude.com/docs#jetbrains
The installation process is quite straightforward and should not cause any difficulties. However, if you encounter any issues, please write to contact@thefusebase.com and we will be happy to assist you.
Setting up Fusebase CLI #
Once Claude Code is installed, you need to set up Fusebase CLI. This process is also very straightforward:
For Windows: Download the Fusebase CLI, run the setup, and wait for it to complete.
If you are using Mac or Linux, simply enter the command in your IDE terminal and press Enter. That’s it.
Authorizing in FuseBase #
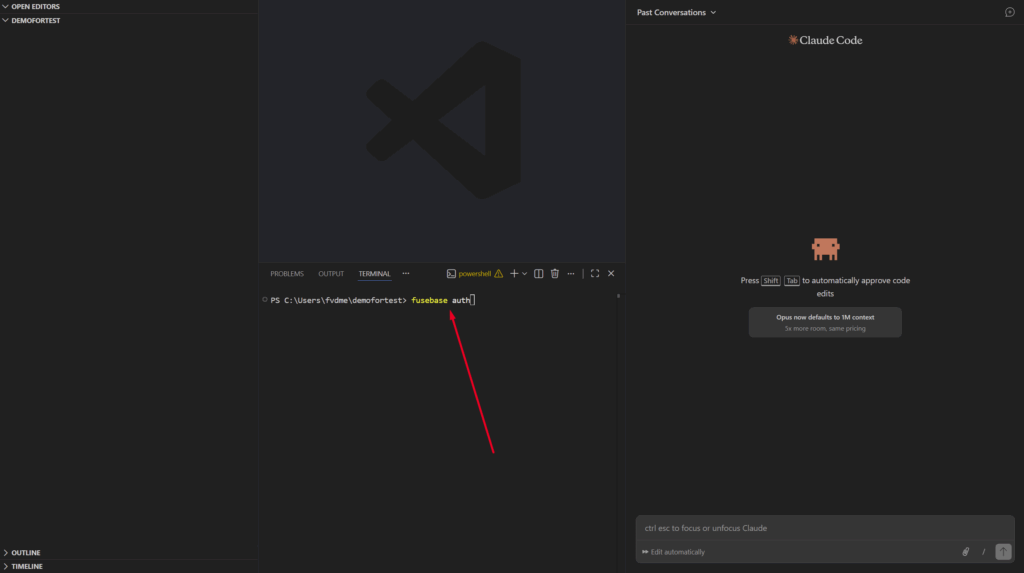
Next, authorize in FuseBase. This only needs to be done once. To do this, enter the command fusebase auth in the terminal and press Enter. A browser window will open confirming that everything is set up correctly.

Creating an App in Fusebase #
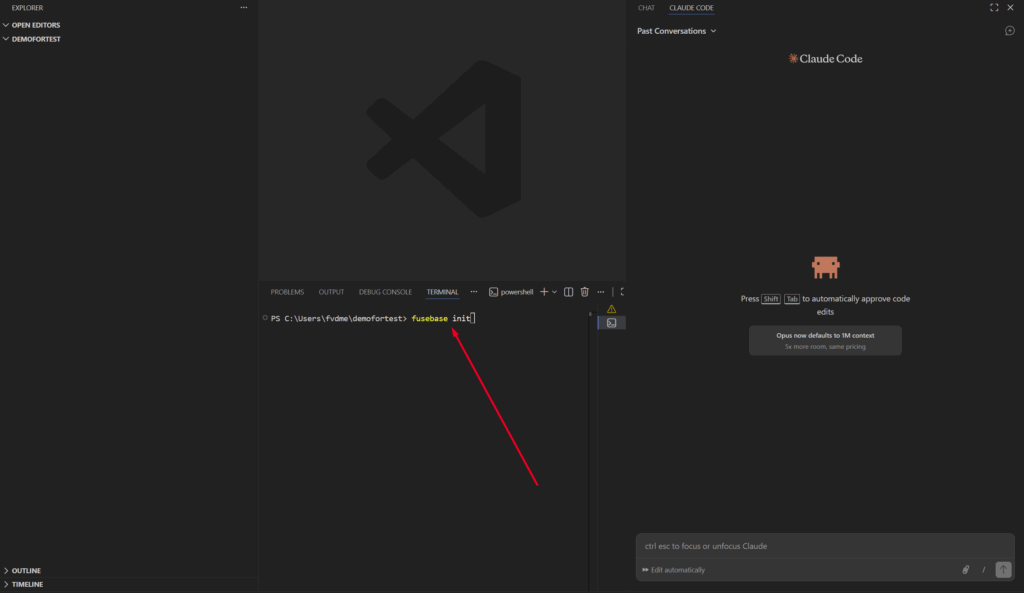
Next, you can start creating apps. To do this, enter fusebase init in the terminal and specify the desired app name.
After that, you can begin working directly in Claude Code, where you can define the functionality you want Claude to create.
You can find a more detailed guide on creating apps here: https://thefusebase.com/guides/fusebase-vibe-code/fusebase-apps-quick-guide/