The Antigravity IDE by Google has its own specific requirements for configuring MCP with Fusebase. While setup is automatic in other IDEs (such as VS Code, Cursor, etc.), in Antigravity you need to connect MCP manually.
Now, let’s walk through how to set up MCP in Antigravity:
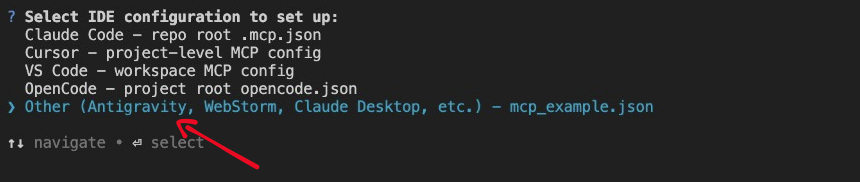
1) Run fusebase init and select Other (Antigravity, WebStorm, Claude Desktop, etc.) — mcp_example.json in the CLI.
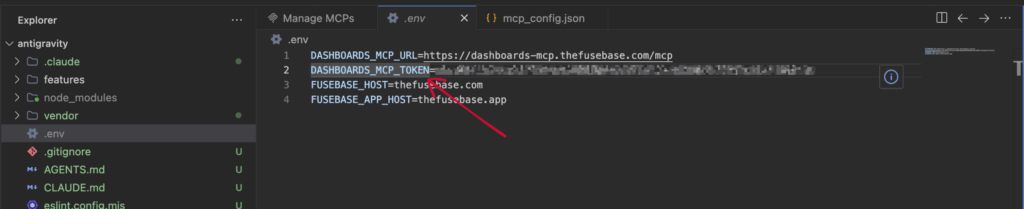
2) Open .env in your project — it contains DASHBOARDS_MCP_URL and DASHBOARDS_MCP_TOKEN.
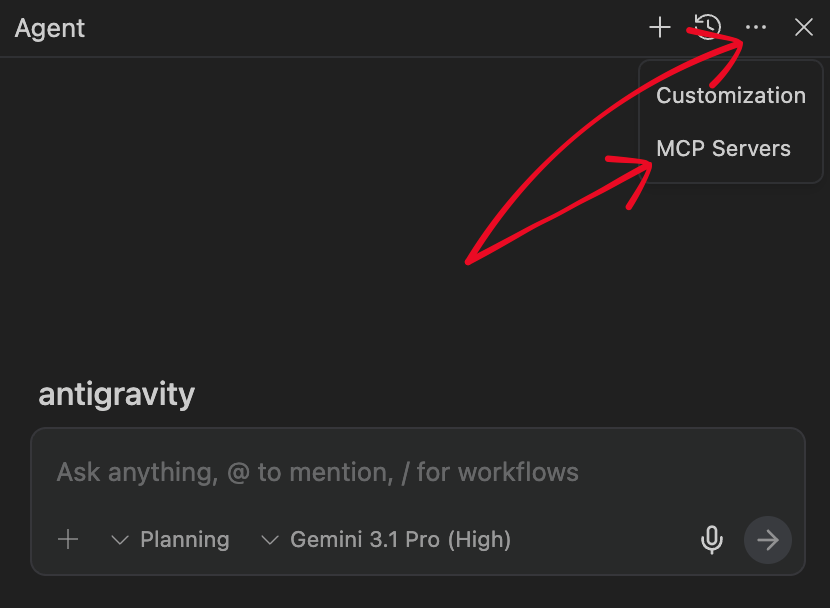
3) In Antigravity chat, click the three dots (top-right) → MCP Servers.
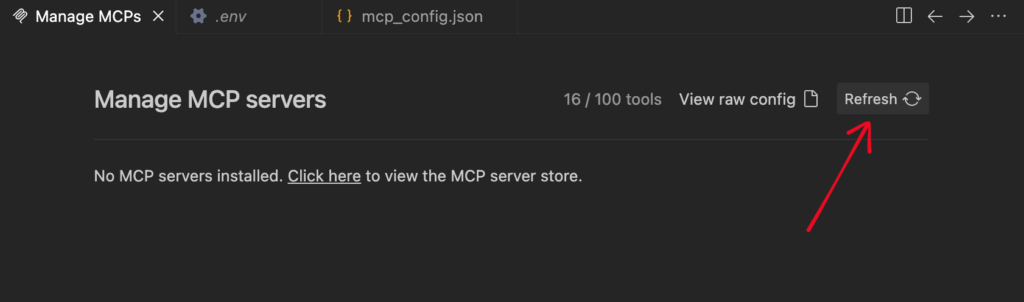
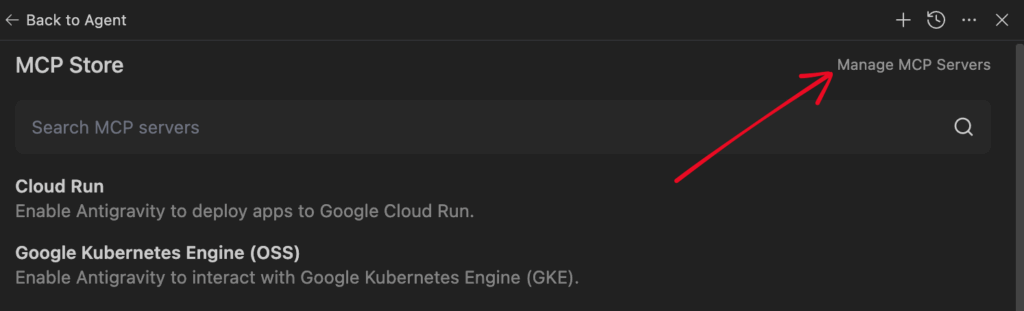
4) Click Manage MCP Servers.
5) Click View raw config, paste the server config (Antigravity uses serverUrl for remote MCP servers).
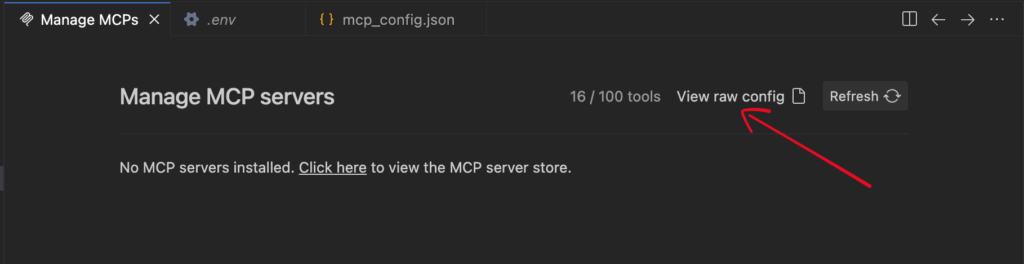
Paste the server config into the editor and replace the token with DASHBOARDS_MCP_TOKEN from Step 2 (keep serverUrl as the MCP URL). Then click Refresh in Manage MCP Servers, or restart Antigravity.
{
"mcpServers": {
"fusebase-dashboards": {
"serverUrl": "https://dashboards-mcp.thefusebase.com/mcp",
"headers": {
"Authorization": "Bearer "
}
}
}
}
6) Click Refresh in Manage MCP Servers, or restart Antigravity.
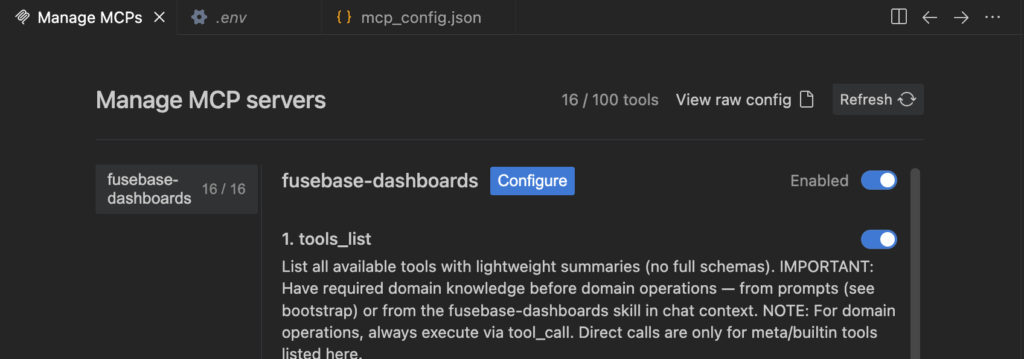
7) Return to Manage MCP Servers and click Refresh. When the server loads, you should see fusebase-dashboards and the list of available tools.