To start, here is some information about the service structure. FuseBase provides a highly flexible, organized environment for ideas, collaboration, and knowledge sharing. The hierarchy in FuseBase is as follows:
Organization -> Workspaces -> Internal Space/Portal.
A workspace can be divided into two main parts: the Internal Space, where you and your team work on internal documentation, projects, etc., and the portal, which is the external part of the workspace where you can invite clients for collaboration.
Inviting a Member to the Organization #
To add a member to the organization, follow these steps.
- Go to https://teams.nimbusweb.me/.
- Navigate to Members – Invite clients and team members
- Enter the member’s email address.
- Choose a nessesary role in the organization.
- Select the workspace to which you want to add the member. If you want to add a guest or a member without a workspace, select “without workspace.”
In the future, you can manually add guests / members to the desired workspace through the workspaces page. - Select permissions for the user.
- Send an invite.
- The user will receive an email with an invitation to join. After accepting, the user will become a member of the organization.
Types of accounts in organizations #
- Organization Owner and Managers have access to all workspaces and to the organization’s console.
- Organization Members can access the workspaces they have been added to by the organization Owner or Managers.
- Members with a Guest role can have access to only one workspace and their stay in the organization can be limited in time.
- Clients have access only to the portal and do not have access to the Internal Space.
Types of permissions in workspaces #
- Admin – users can edit pages, add new pages, share your pages through public pages.
- Can create and edit – users will be able to do full-fledged work on pages – read, edit, and even delete pages. Folders and tags management will also be available.
- Read only – user’s pages will be available only for reading.
.gif)
Add members in the workspace #
To add a member directly to the workspace, you need to:
- Go to the section Workspaces – > Manage.
- Next, select the workspace to which you want to add the user.
- Press on + in the Members section or select Invite members inside the three dots menu.
- Select New by email and enter the user’s email address.
- Choose a nessesary role in the organization.
- Select permissions for the user.
- Send an invite.
%20(1)%20(1).gif)
Note: After adding a member to the workspace, you can always change their permissions.
.png)
Note: You can also add a member to the workspace from existing members.
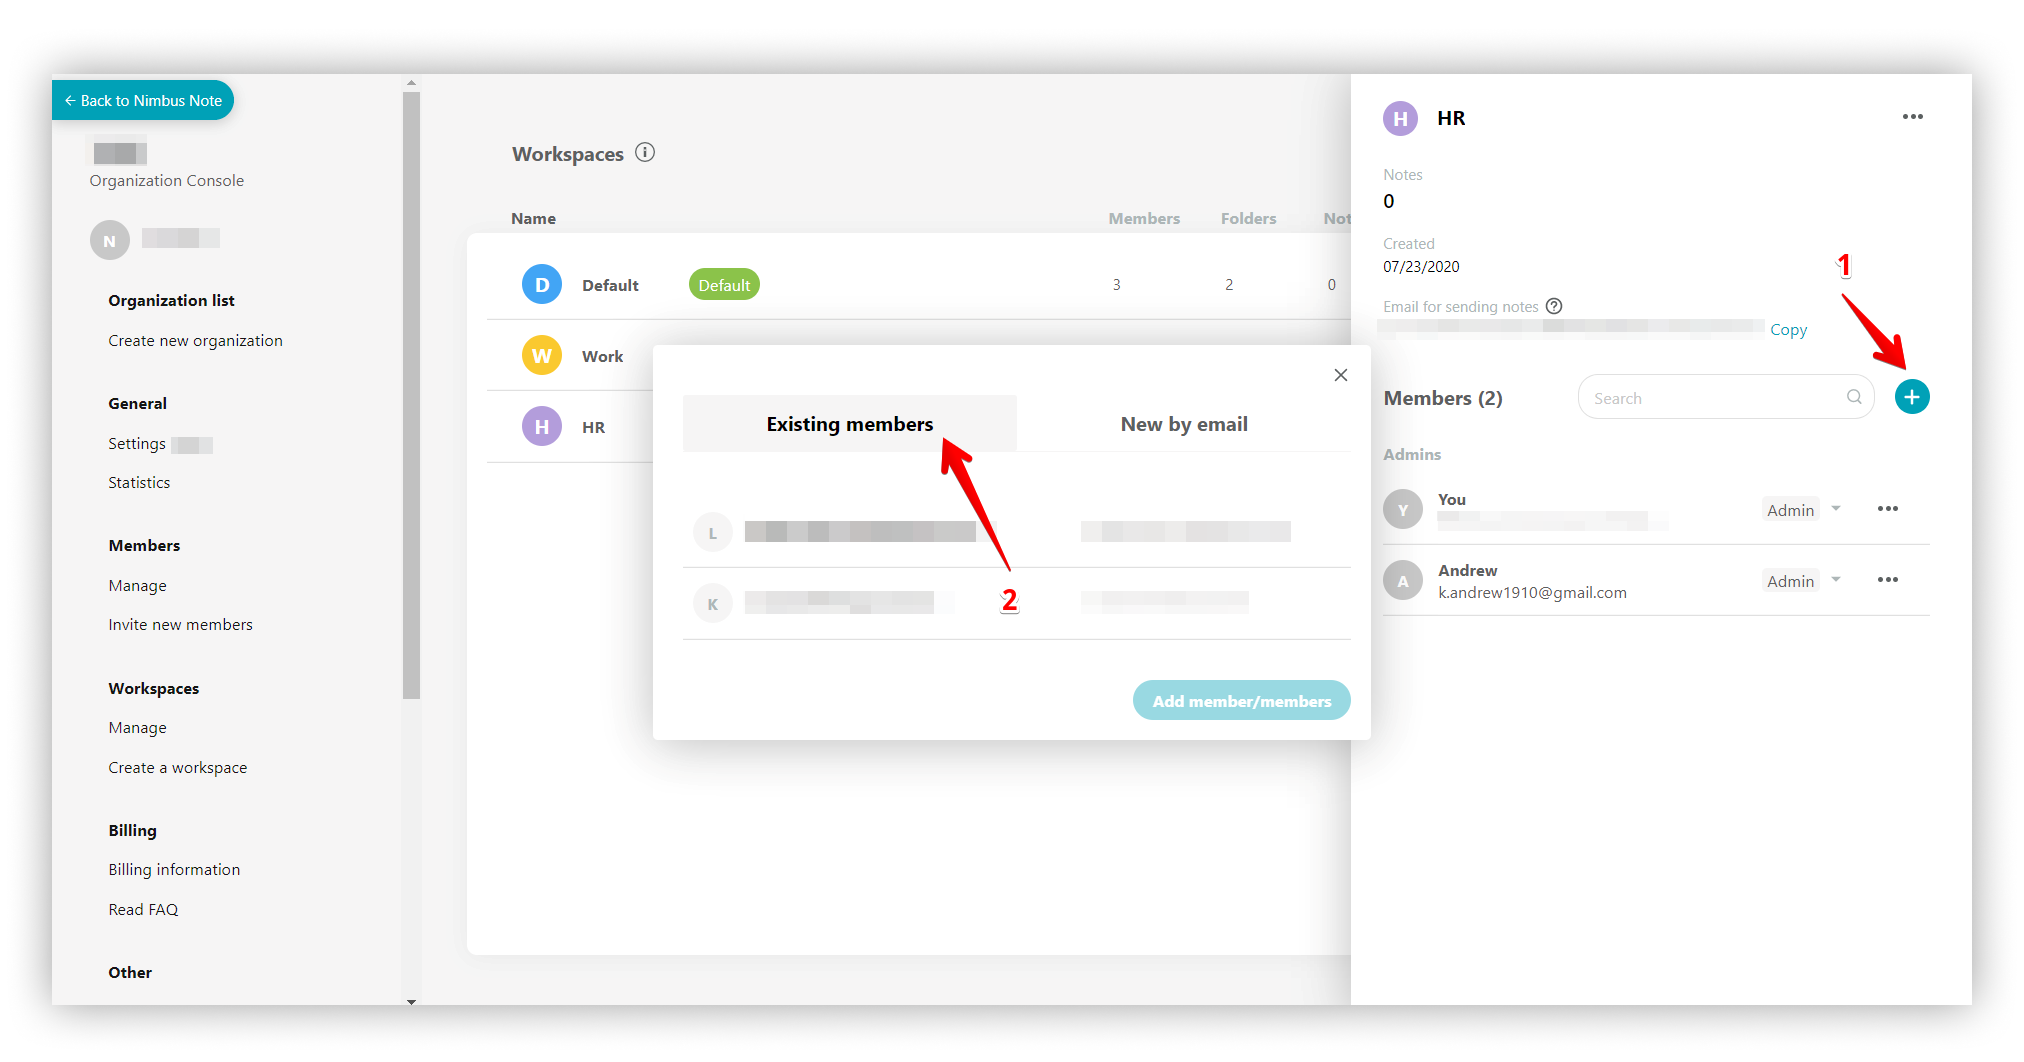.png)
I want to invite a new member to only a specific folder or page. Is that possible? #
Yes, of course! This functionality is available for Advanced plan. You can read more about restricting access to folders here – Managing access to folders and subfolders. If you want to restrict access to a page, in this guide will help – Managing Access to Pages
Member Groups #
To simplify workspace access management, you can use Groups. They allow you to add multiple members to the required workspaces with selected permissions at once. You can read more about groups in this guide: https://thefusebase.com/guides/organization/create-manage-members-groups/
Inviting Members and Clients to the Portal #
A workspace can be divided into two main parts: the Internal Space, where you and your team work on internal documentation, projects, etc., and the portal, which is the external part of the workspace where you can invite clients for collaboration.
Unlike members or guests, clients have access only to the portal and do not have access to the Internal Space.
You can send an invite to portal either through the business console at https://teams.nimbusweb.me/ or via the portal customizer (Share -> Invite Client). If you invite a client to the portal, they will have access only to the portal. If you invite a member, they will have access to both the portal and the Internal Space.
You can learn more about inviting clients to the portal and automating your client workflows in this guide: https://thefusebase.com/guides/client-portal/inviting-via-client-role/