In Fusebase databases there are smart columns that allow you to create connections between different tables and even different databases and dashboards: Relations and Lookup.
What is Relation Records? #
Relation (also often called Link to record) creates a live link from one row to one or more rows in another table (or database/dashboard).
In plain words: it’s like adding a smart hyperlink between records.
Why it’s needed: so multiple places can reference the same “thing” (customer, tour, vendor, campaign) without duplicating data.
What you get:
- Reuse the same entity across projects.
- Keep info in one place and have it reflected everywhere.
- Build clean relationships (one-to-many, many-to-many) for better reporting.
Everyday examples:
- Tours platform: Booking → links to a Tour, a Customer, and a Guide.
- CRM: Deal → links to a Company and a Contact.
- Marketing: Spend log → links to a Campaign and a Channel.
- Projects: Task → links to an Owner and a Client.
What is Lookup? #
Lookup displays one or more fields from the rows you linked via Relation (or as an independent column). In plain words: pull the details you care about from the linked row into your current table.
Why it’s needed: so you can see key info without opening another table, and keep data consistent. What you get:
- Show read-only fields from linked rows (e.g., name, tier, price, owner).
- Auto-sync: changes at the source appear everywhere it’s looked up.
Everyday examples:
- Tours platform:
- Booking table shows Tour Name, Start Date, and Guide Phone (looked up from Tour and Guide).
- CRM:
- Deal table shows Company Industry and Account Tier.
- Marketing:
- Spend log shows Campaign Owner and KPI Target.
How to add a Relation link to another row? #
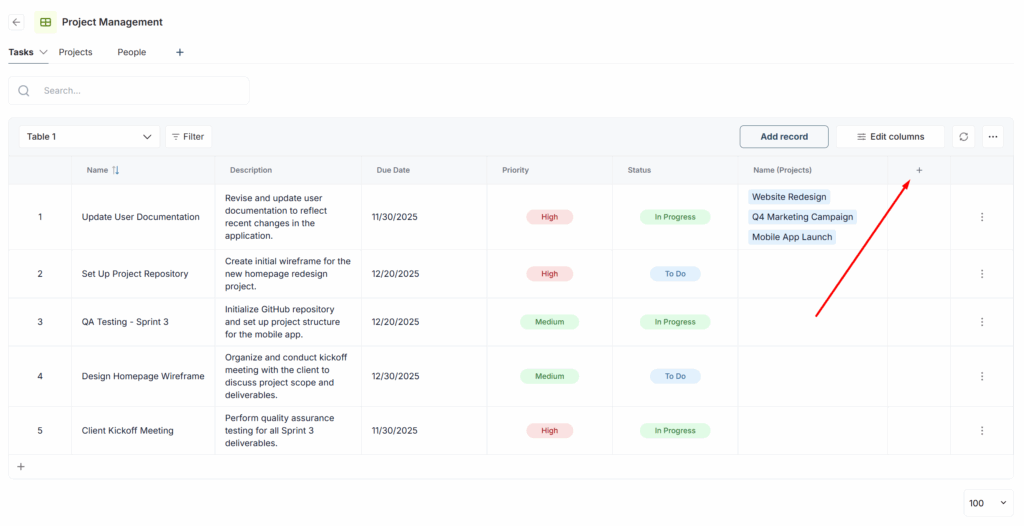
1) Click to create a new column.
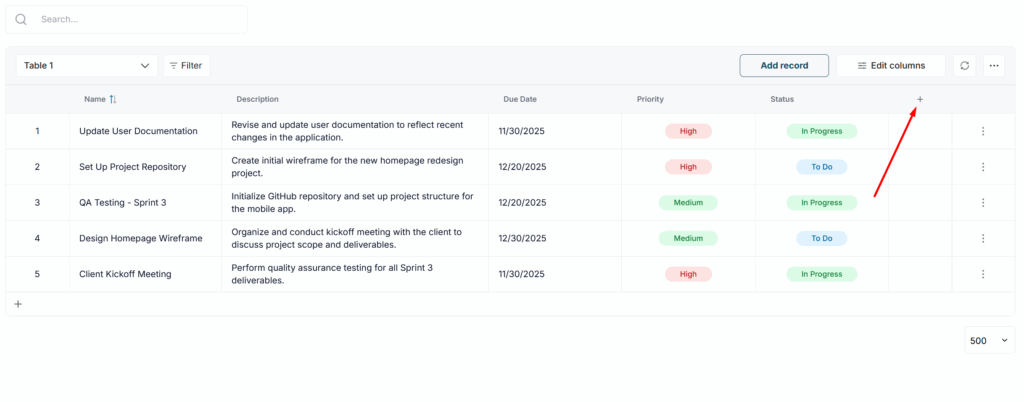
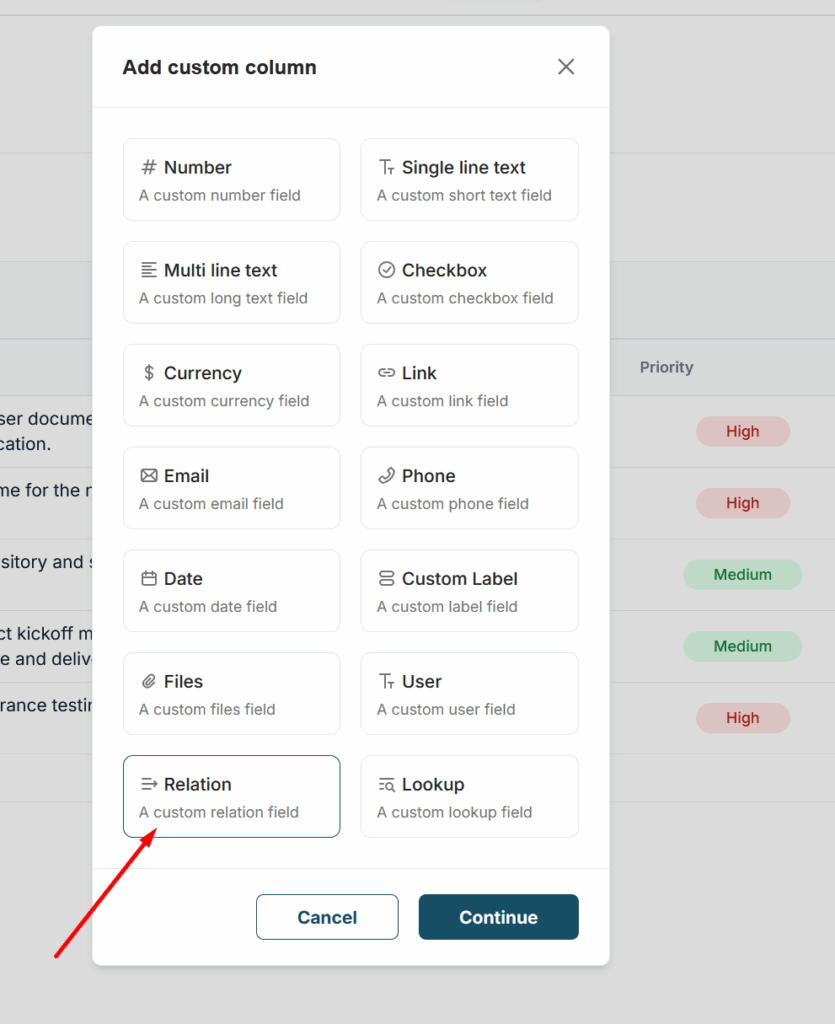
2) Select Relation.
3) Next, you need to choose the database or dashboard whose rows you will link to.
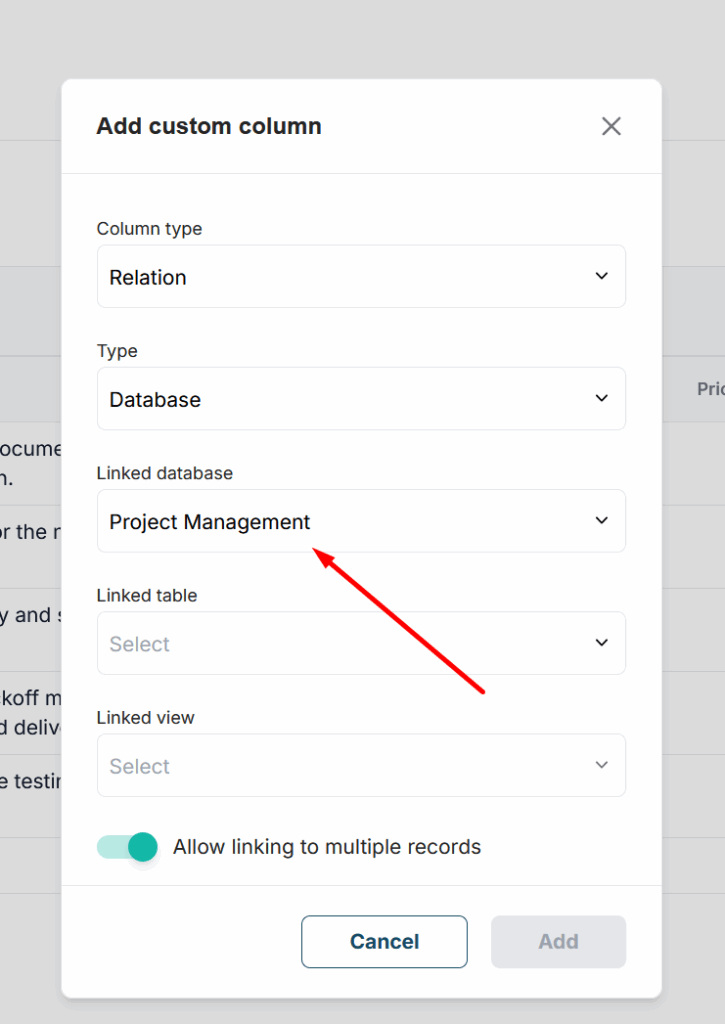
4) Also, you need to choose the table and the view.
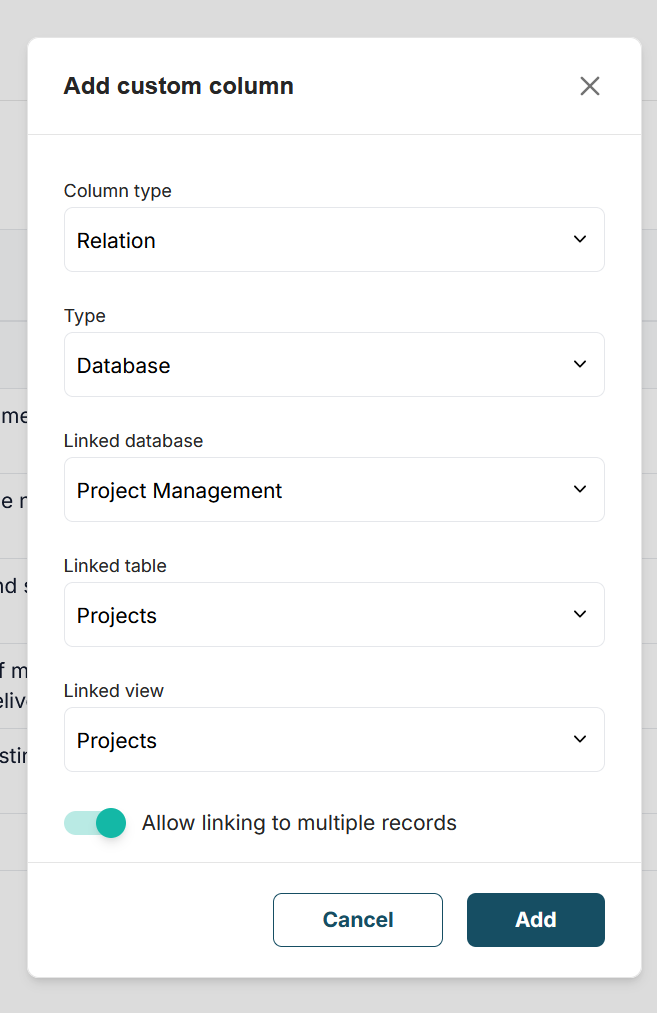
5) Next, select the column that will be used as the basis in Relations. You can choose any column, but since the link name to the record will be taken from this column’s data, we recommend using text columns. For example, if you are linking a table with projects, you can use the project name column, and for a table with products – the product name.
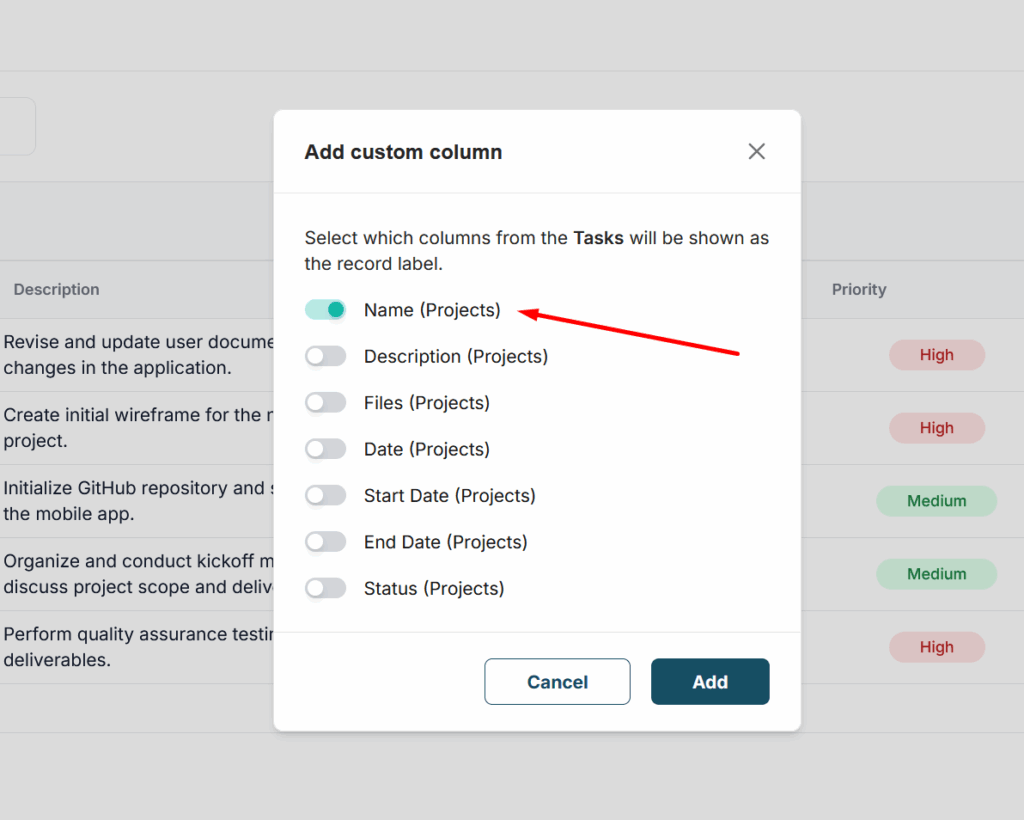
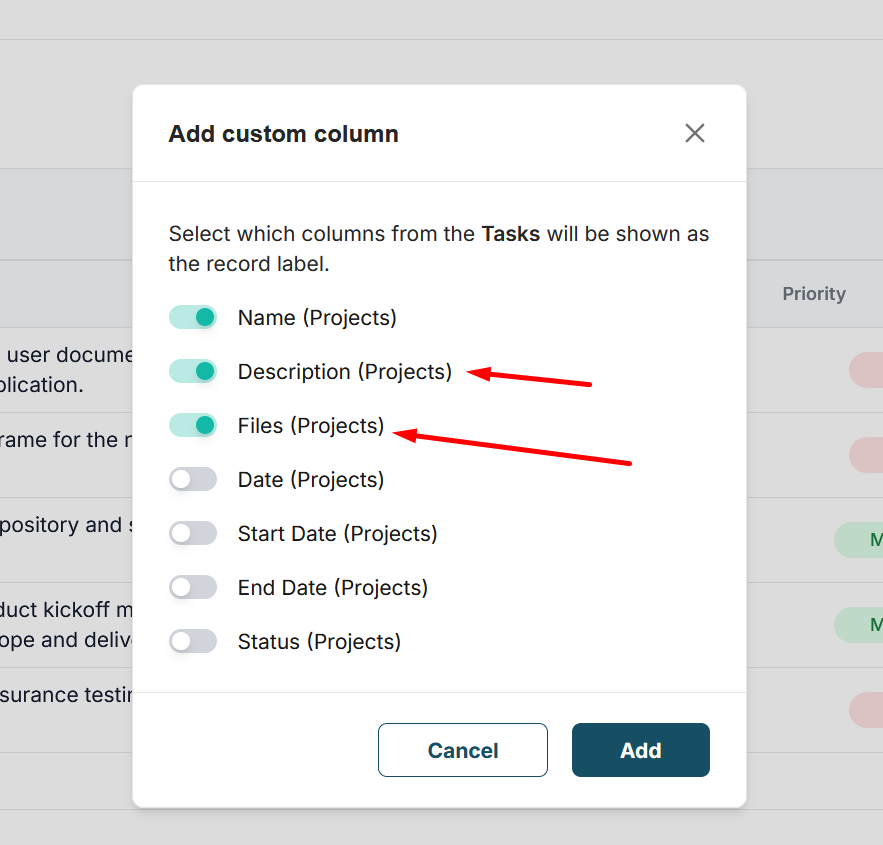
Within a single relation, you can also add several more columns from the same table to display the information they contain. For example, you can add not only the product name from another table, but also its properties right away, such as price, weight, color, etc. This is an optional step.
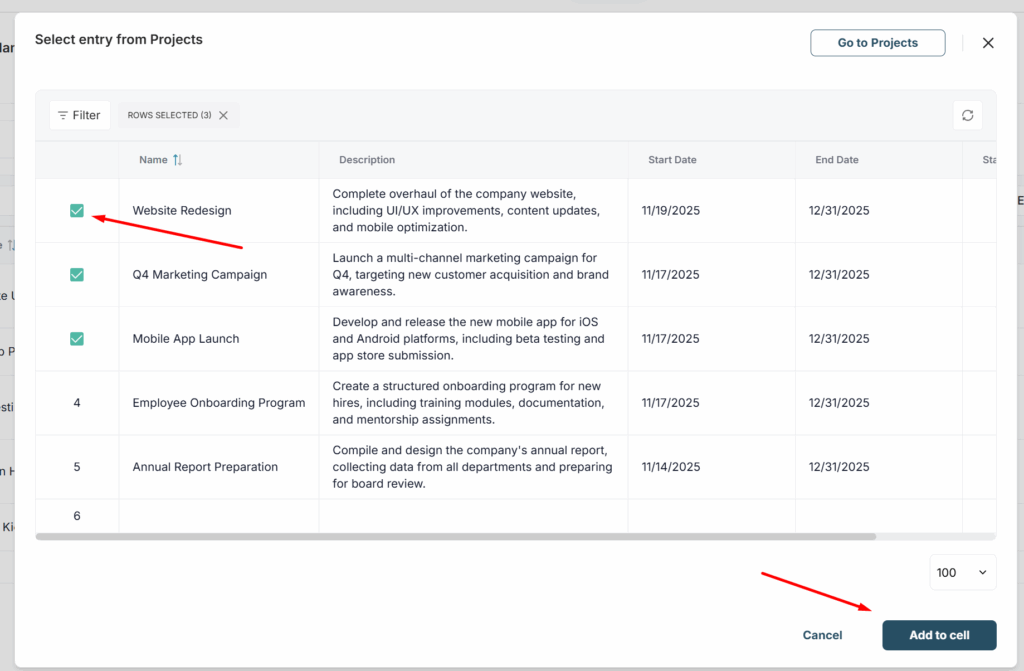
6) After the column is added, click the cell in the desired row, and then you need to choose the row or rows to which the link will be added. If there are many rows, you can immediately filter them by the conditions you need.
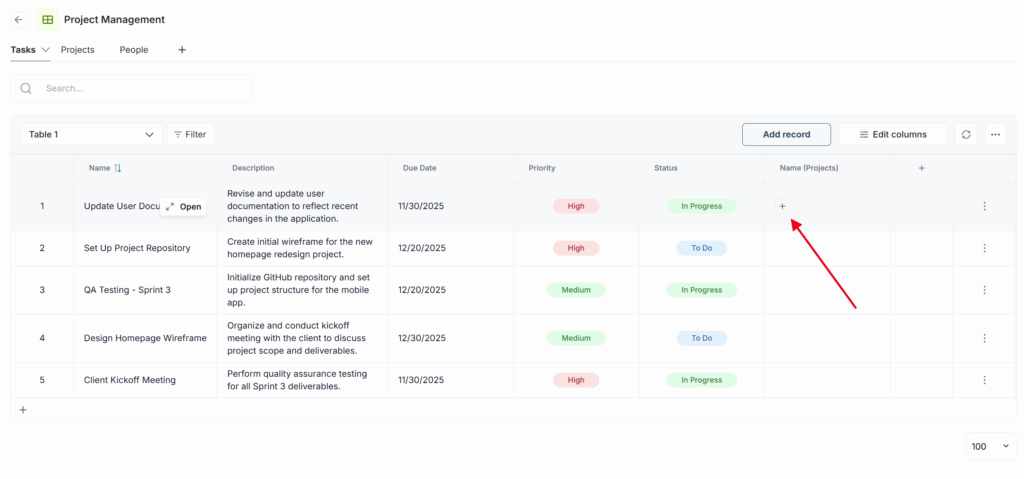
7) Next, click Add and links to the rows will be added to the cell. We take the text for the link from the first column of the table (the one with the row). Therefore, we recommend using text columns as the first columns of the table.
8) Next, just click the card of the linked row to open its detailed view. From the detailed view, you can go to the table with this row.
9) If you also selected Lookup columns, then data from them will also be displayed. If the data in the source table is updated, it will also be updated in the current table.
Add a Lookup column #
As mentioned above, with Lookup you can display in one table the data from other tables (including from other databases) and thus aggregate all information in one place.
For convenient work with a Lookup column, we recommend first creating a Related Record column. This will help improve understanding of the Lookup data. For example, you can first add a Related record with a list of clients, and in the Lookup columns display the client data: company, transcripts of recent calls, CTA, etc.
To add a new Lookup column, do the following:
1) Click Create column.
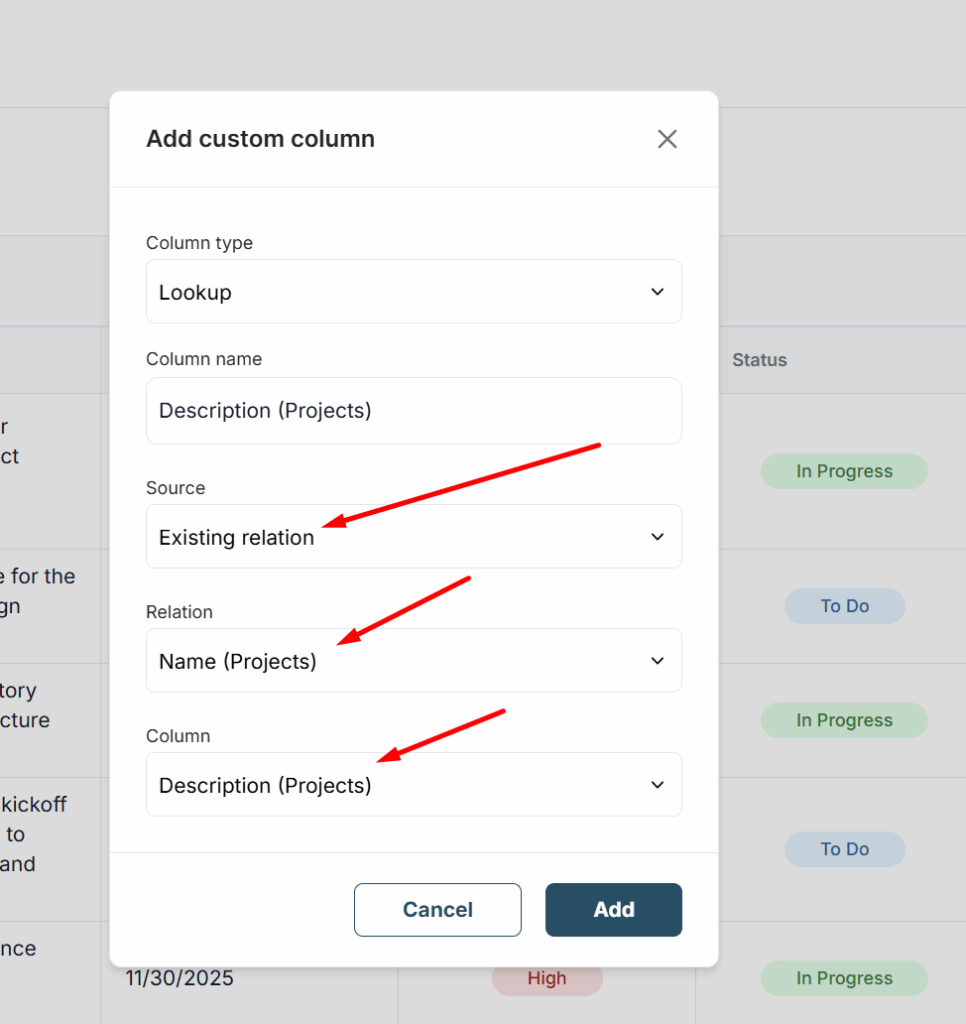
2) Select Lookup.

3) Specify the column name.
4) Next, you have a choice: either use an existing relation between tables or create a new one.
If the relation already exists, select Existing relation and choose the relation column from the list. Then select the column from the source table that you want to display.
If there is no relation yet or you want to create a new one, you just need to click New relation, then create a new relation and select the column or columns whose data you want to display.
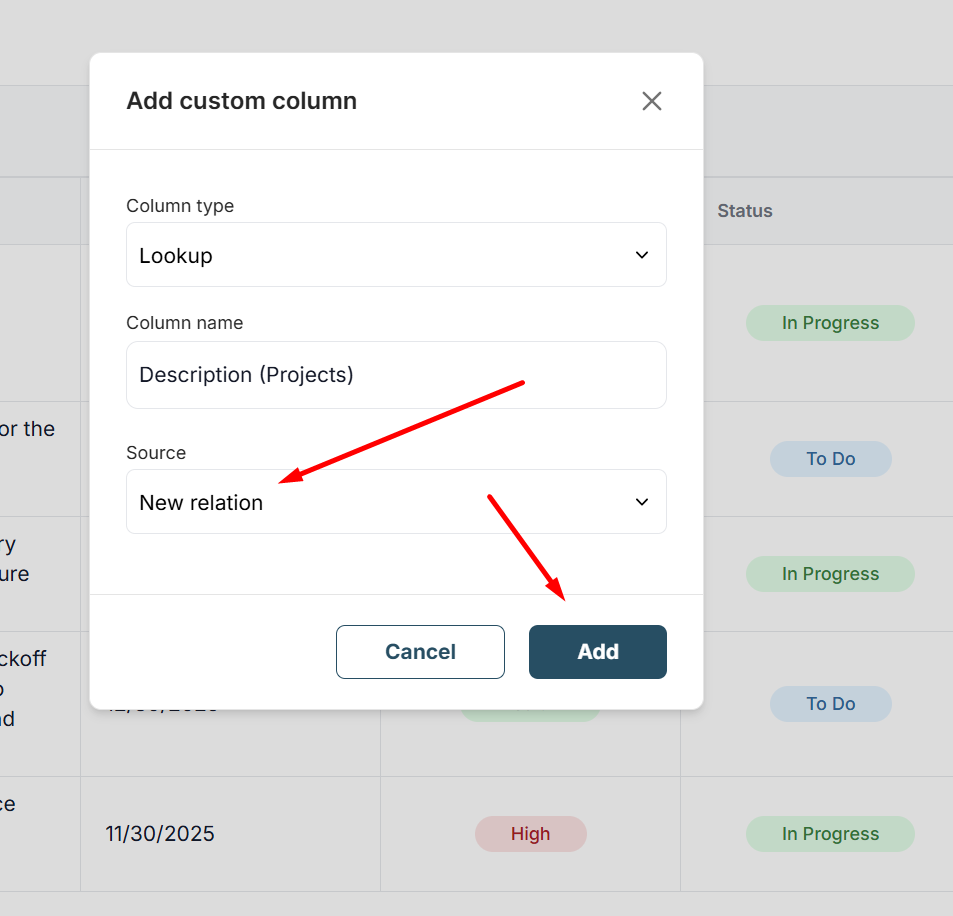
6) That’s it — now the column displays data from the source table (if this data has been added).
Project management use case – using Relations and Lookup in practice #
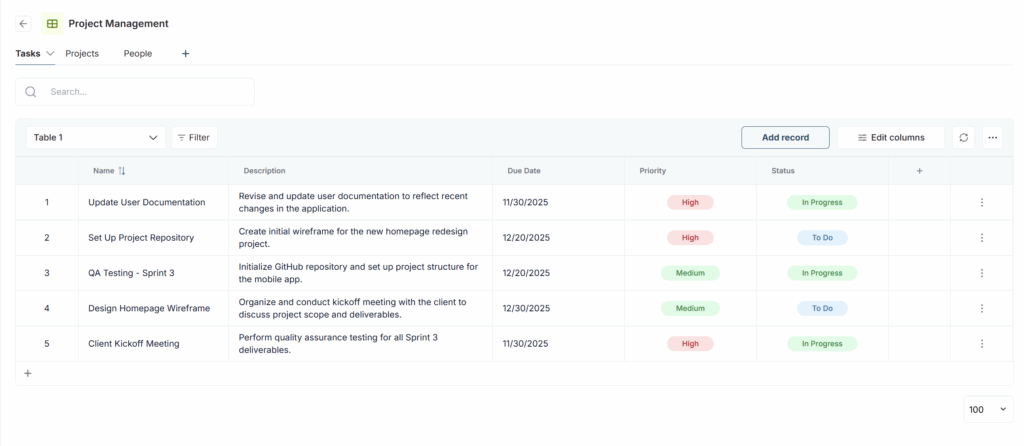
Now let’s try the columns in practice. We have a project management database with several tables:
- tasks
- projects
- members
Each has its own set of columns. The tables are not connected to each other in any way.

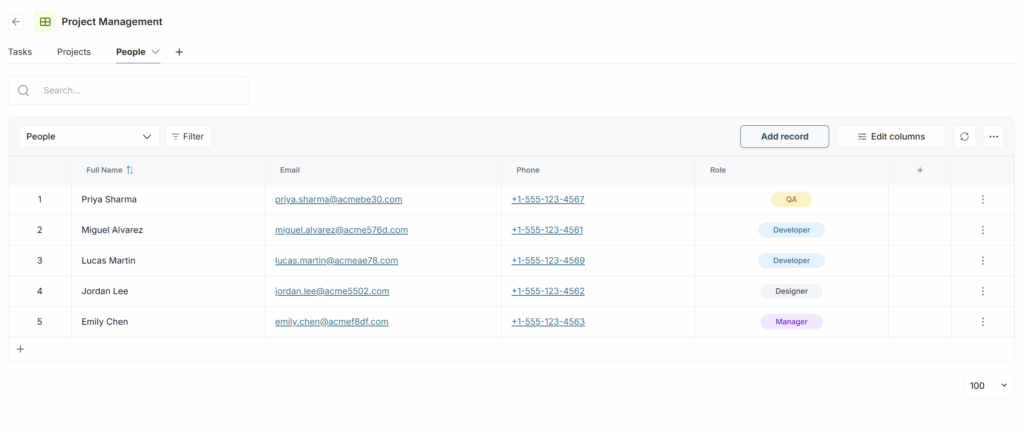
Now let’s try to link them. First, we need to add the ability to specify the person responsible for the task, so we attach a relation with the Name column from the People table.
Let’s also add the email right away so we know where to write in case of a problem. To do this, we add a Lookup column and specify the existing relation. Then we select the relation with People and the Email column.
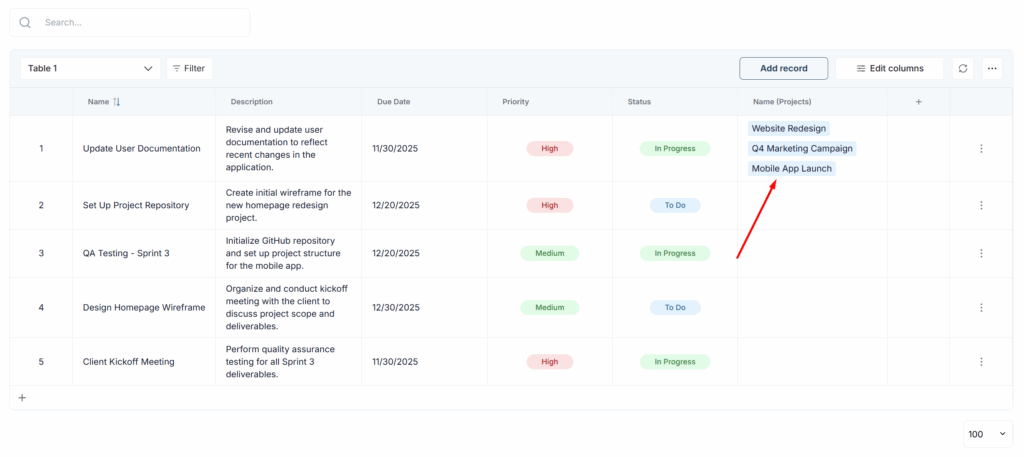
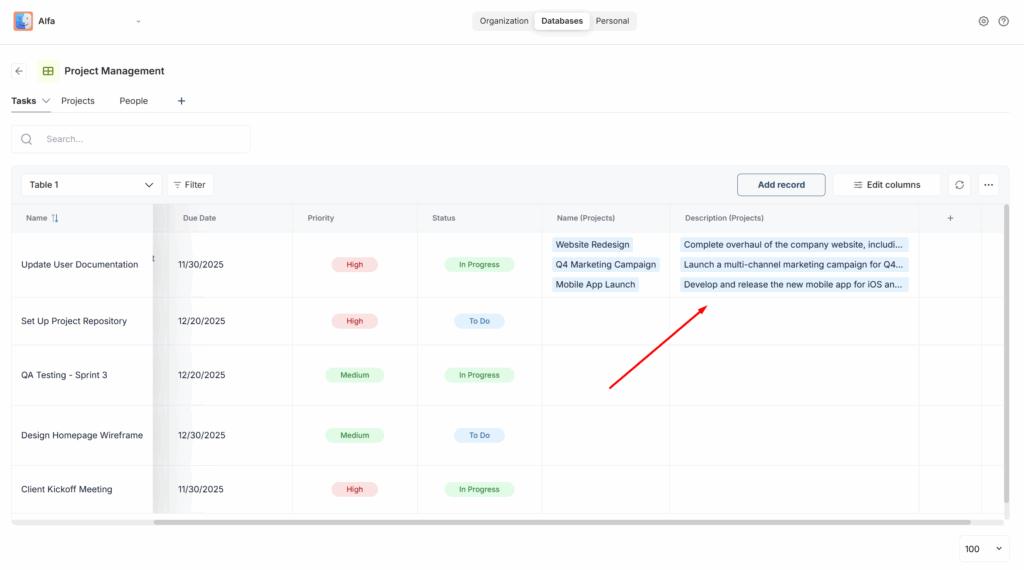
Now we need to link tasks with projects. To do this, create a new relation, connect the Projects table, and select the Name column as well as the project start and end dates so you can stay informed.