In the meeting dashboard, you can store all your meetings with clients, colleagues, and others. Meetings can be added manually or automatically via calendar integrations, browser extensions, and more.
You can access the meeting dashboard via the corresponding icon in the navbar.
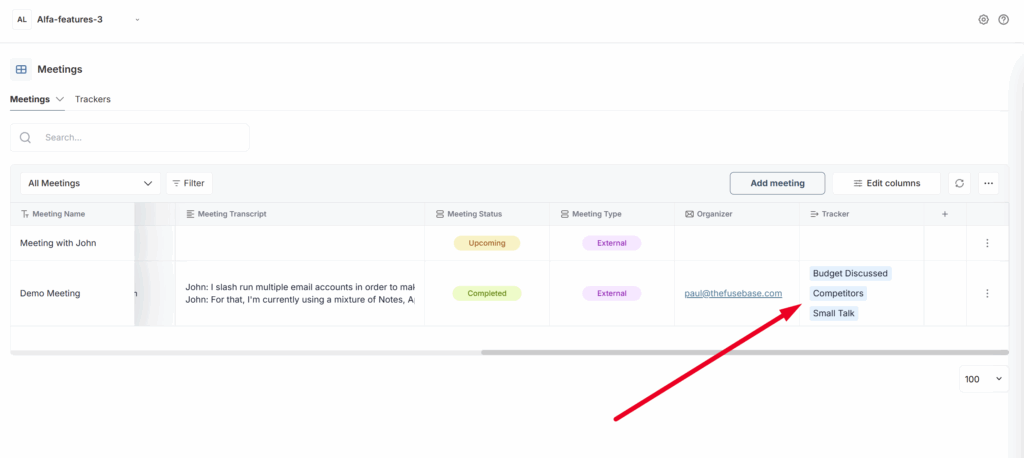
The meeting dashboard is a table with various columns. Let’s review the main ones.
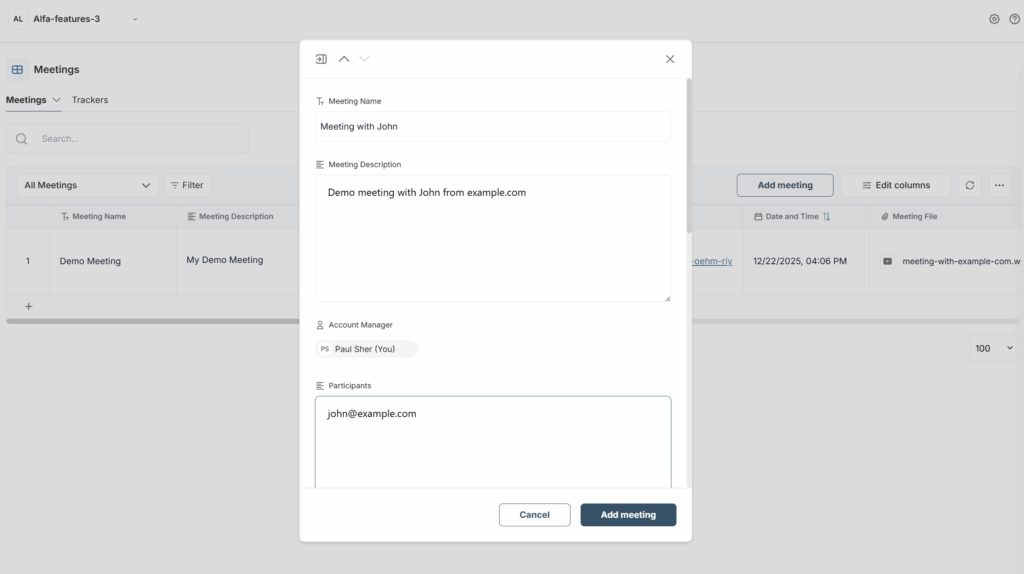
Meeting Name – here you can specify the name of the meeting.
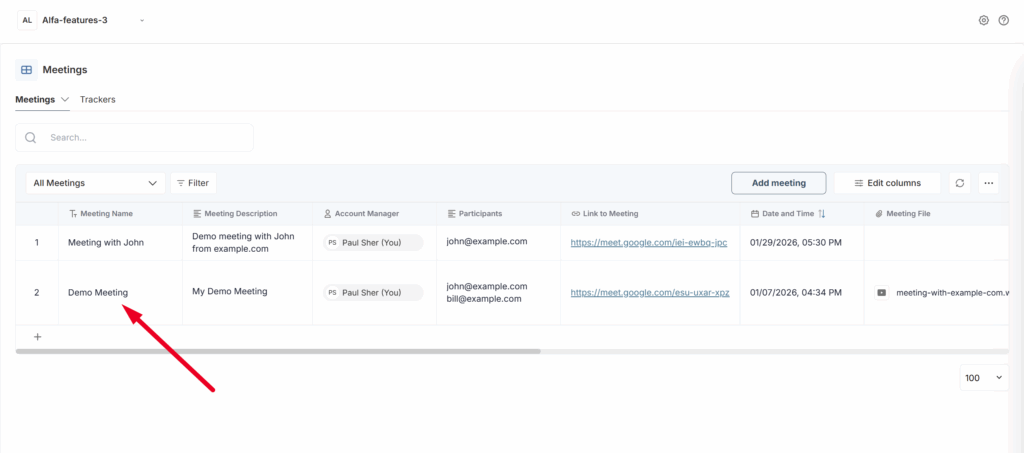
Meeting Description – here you can provide a description of your meeting.
Account Manager – here you can select the member of your organization responsible for the client with whom the meeting was held (in case it is an External meeting).
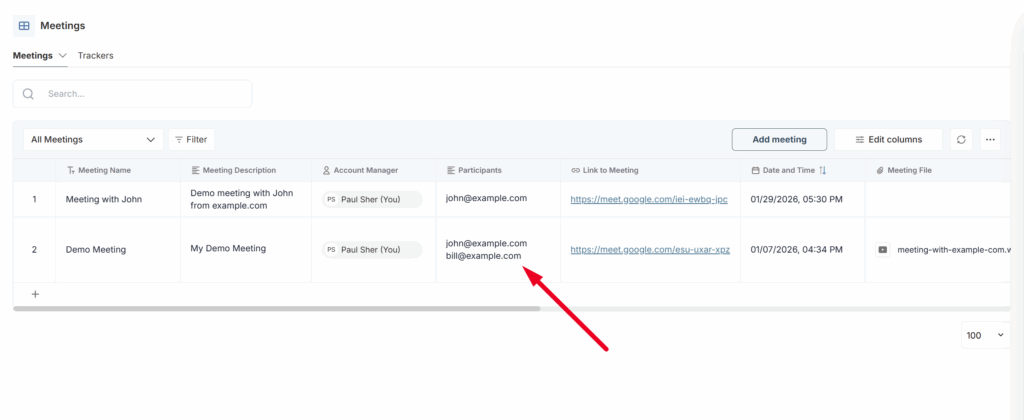
Participants – here you can list the meeting participants by email or name.
Link to meeting – here you can provide a link to the meeting (Zoom, Google Meet, etc.).
Date and Time – the date and time of the meeting.
Meeting file – the video or audio recording of the meeting.
Meeting transcript – the transcribed text from the meeting.
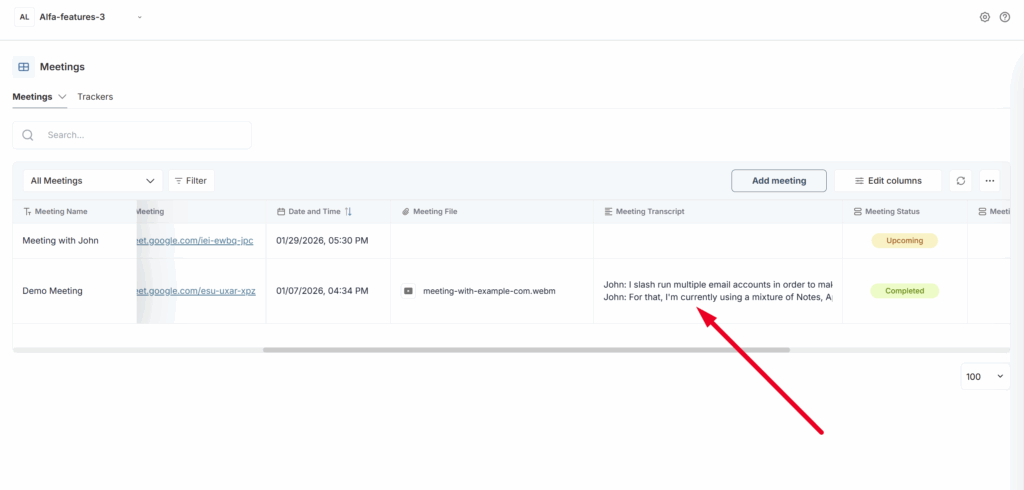
Meeting Status – here you can specify the meeting status, for example, if the meeting is finished, you can set the status to Completed, etc.
Meeting type – choose between Internal and External meeting. If it is a meeting with your team, select Internal; if it is with an external client, select External.
Organizer – here you can specify the email of the meeting organizer.
Tracker – here you will see the trackers that were triggered during this meeting. You can find more information about trackers here.
Adding a New Meeting #
You can add a new meeting in several ways:
- Through the Fusebase Pro browser extension: https://chromewebstore.google.com/detail/fusebase-pro-ai-note-take/pljdghaomjmmleolekcgcamfpbhekbmc
- Manually through the dashboard
- Using our bot, which automatically joins meetings from your calendar.
Let’s try adding the meeting manually. To do this, click on Add meeting.
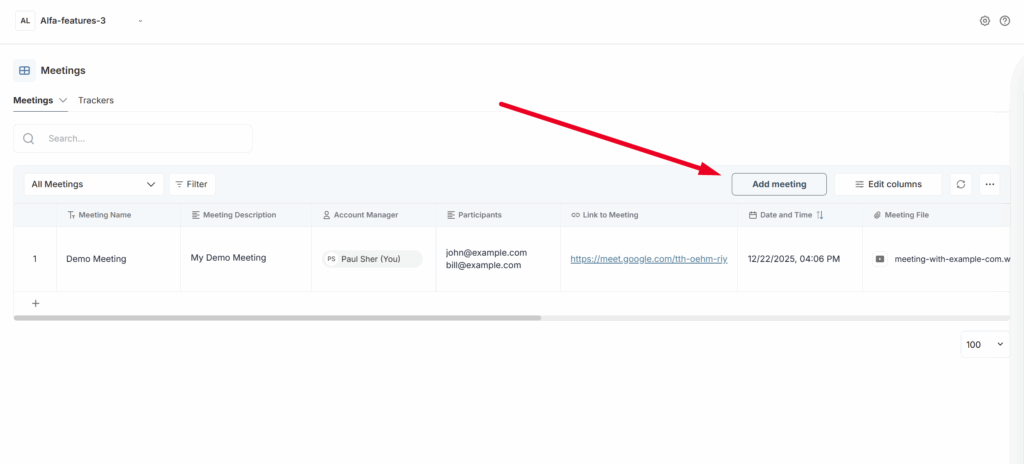
In the pop-up window that appears, you will need to enter all the necessary information: the meeting title, list of participants, date, and so on.
If the meeting has already taken place, you can immediately upload a video file or a transcript. If you only have a video file, the transcript will be generated automatically and added to the corresponding column.
It is important to note that you can edit any meeting details. Simply open the detailed view of the meeting or click on the relevant field, and then update the information as needed.
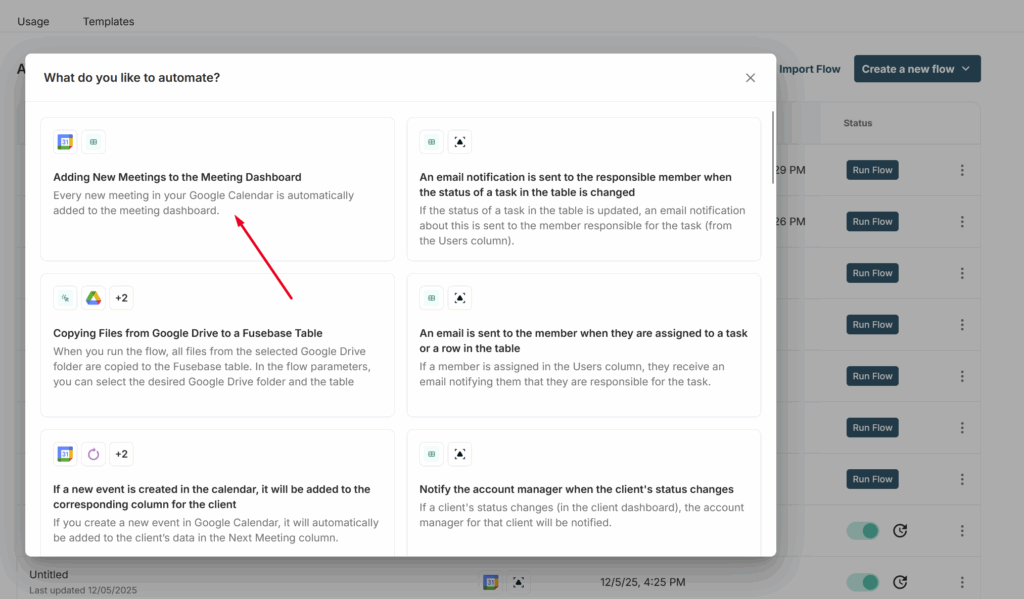
Do you have integrations with calendars (Google, Apple, etc.)? #
Currently, we do not offer native integration with third-party calendars. However, you can utilize our automation features. For example, we provide a Google Calendar integration template that allows you to automatically create new meetings whenever a new event is added to your Google Calendar. You can learn more about automation here: https://thefusebase.com/guides/automations-and-integrations/fusebase-automation-quick-guide/