FuseBase Sites
FuseBase Sites: Quick Guide
Create a website, client portal or deal room in FuseBase Sites with AI, a template or a blank page, then edit it, publish it and choose who can open it.
Guide details
- Published
- October 12, 2026
- Read time
- 5 min read
- Category
- FuseBase Sites
FuseBase Sites lets you build websites, landing pages, presentations, deal rooms and client portals in very little time. You manage a site in two ways: give the AI agent plain-text instructions, or add and edit blocks yourself. You can mix both on the same site.
How Sites differ from Portals
Portals follow a fixed structure, with limited options for changing how they look and work. Sites have no such limits: you decide the design and the structure. Sites also work closely with FuseBase Apps, so a site can carry working features as well as content, and you can build most of it through AI with few manual adjustments.
Create a site
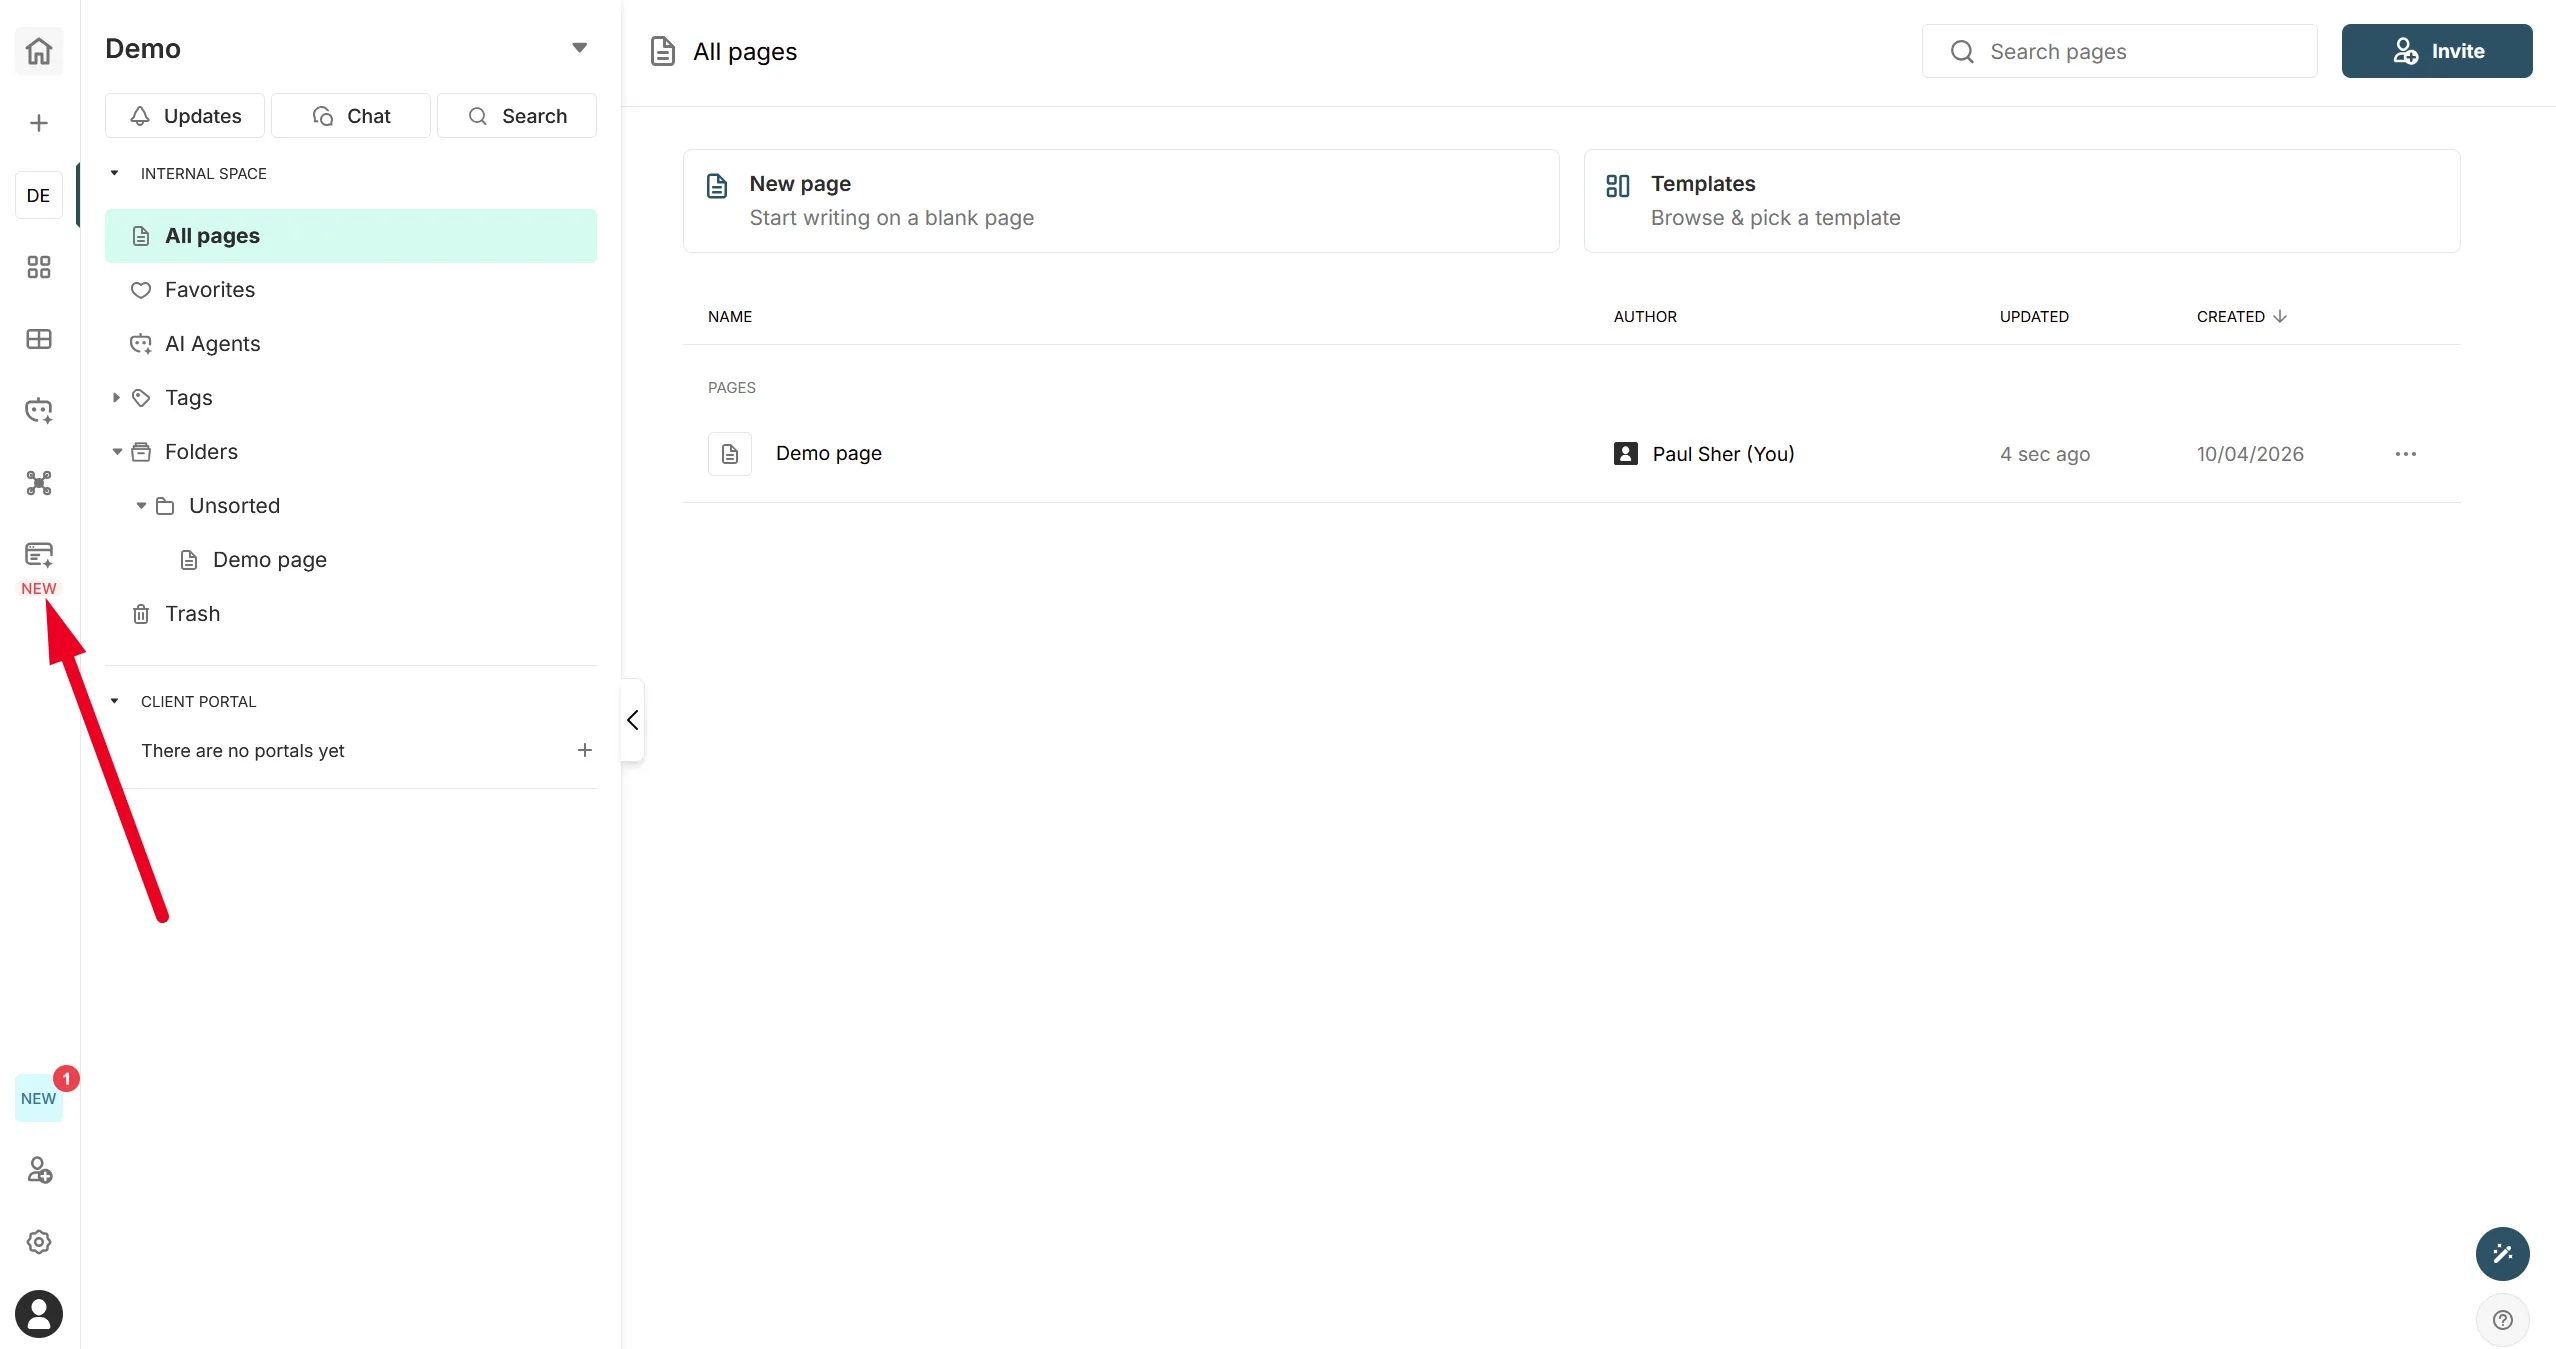
- Open FuseBase Studio from its icon in the left navigation bar. You manage all your sites there.
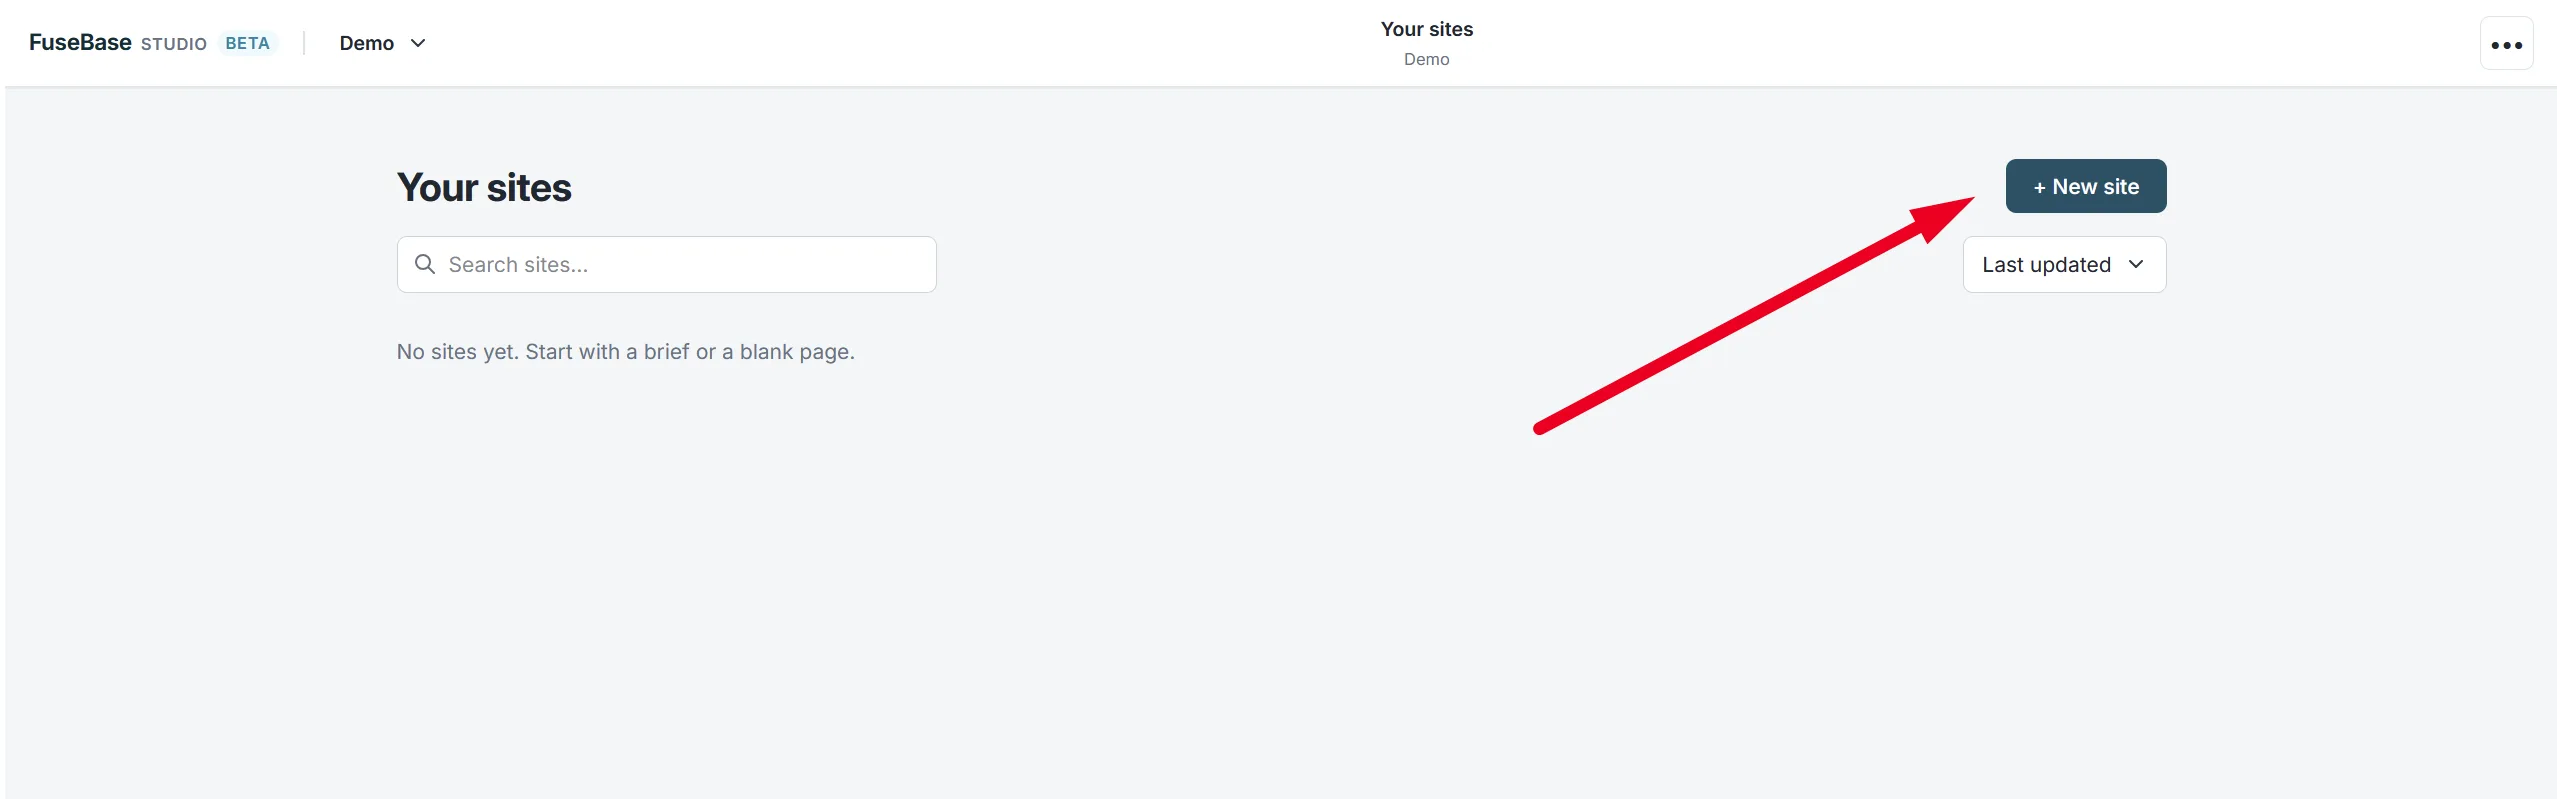
- Click New site.
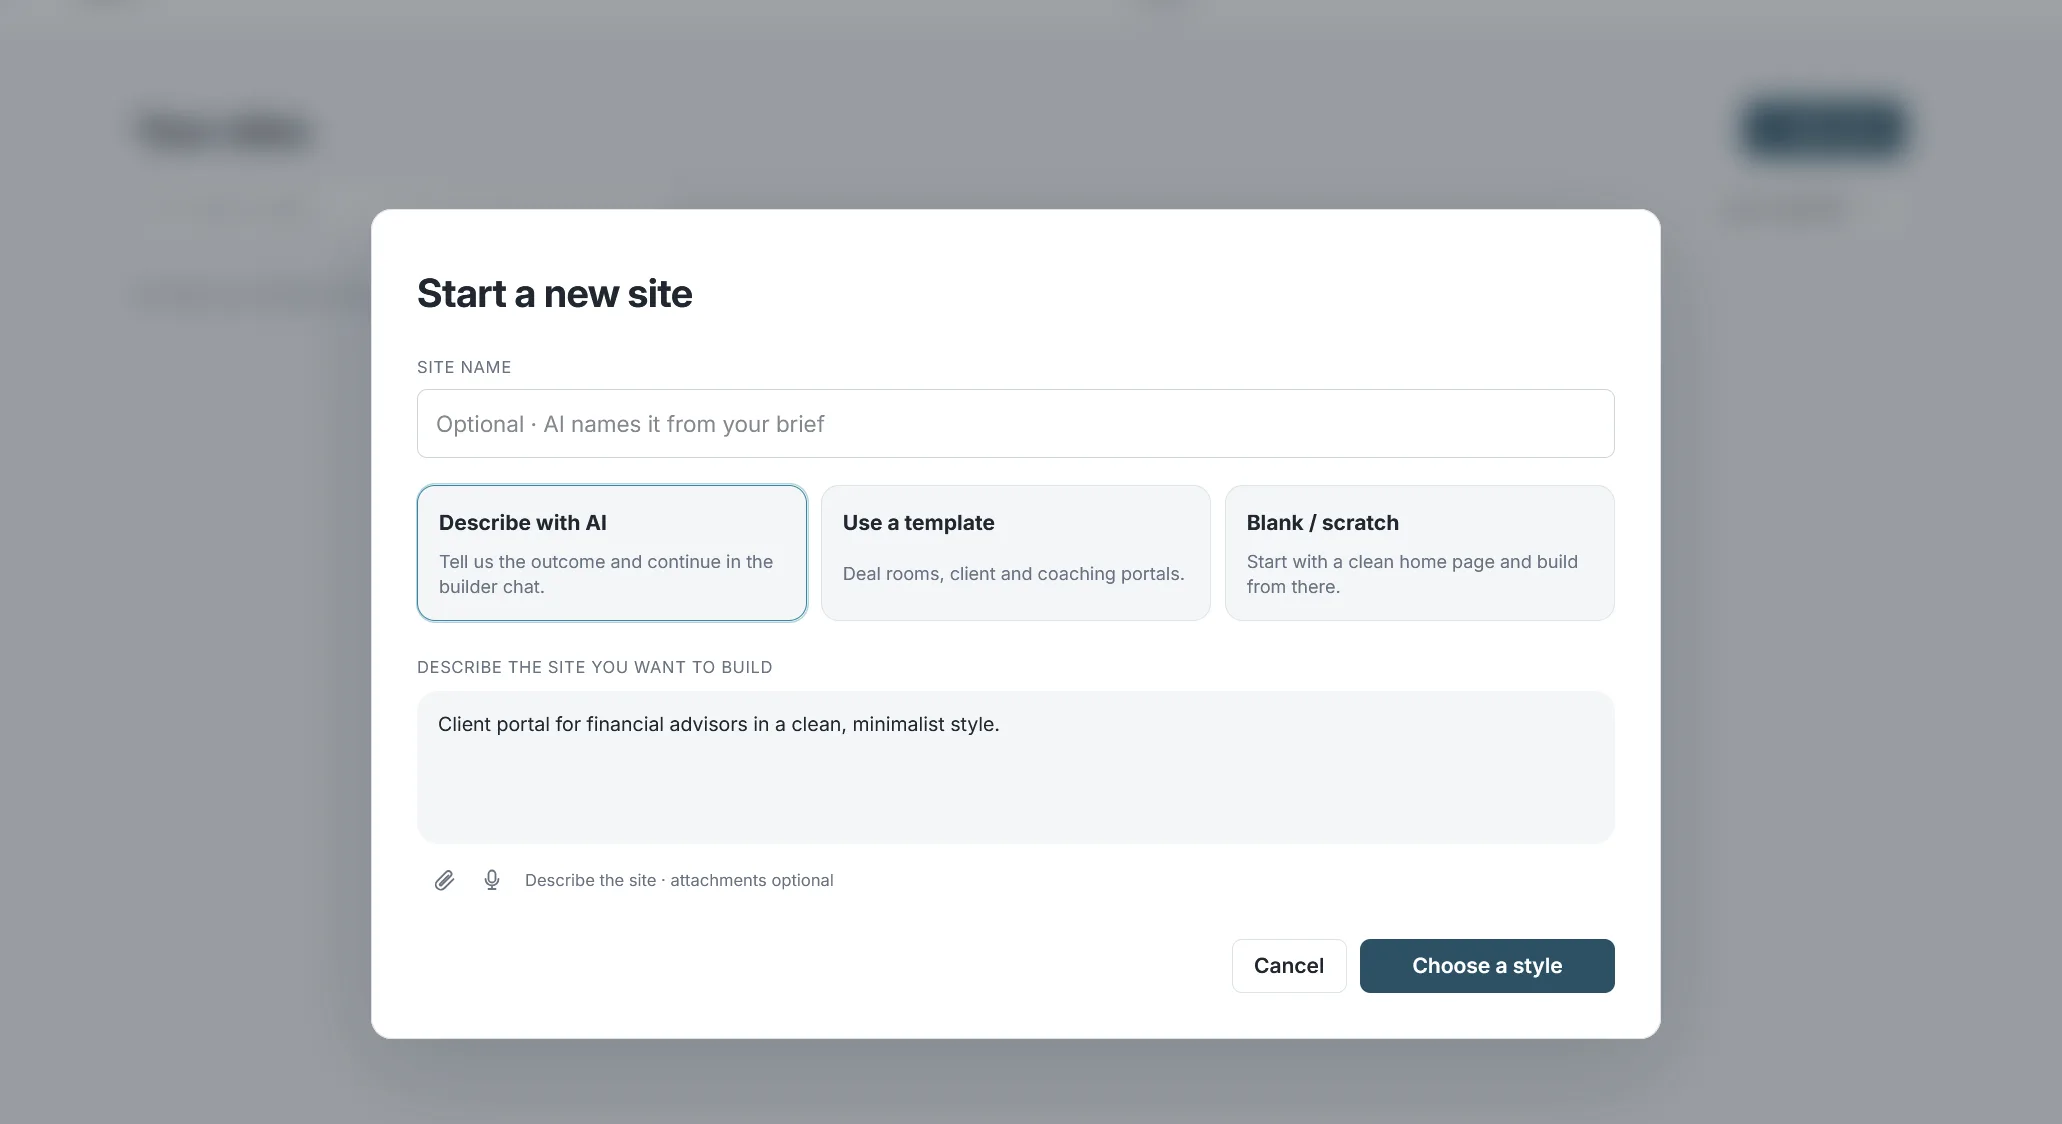
- Choose how to start the site:
- Describe with AI: describe what you need and how it should look, for example “Client portal for financial advisors in a clean, minimalist style.” You can attach screenshots as design references or upload text files with a fuller brief.
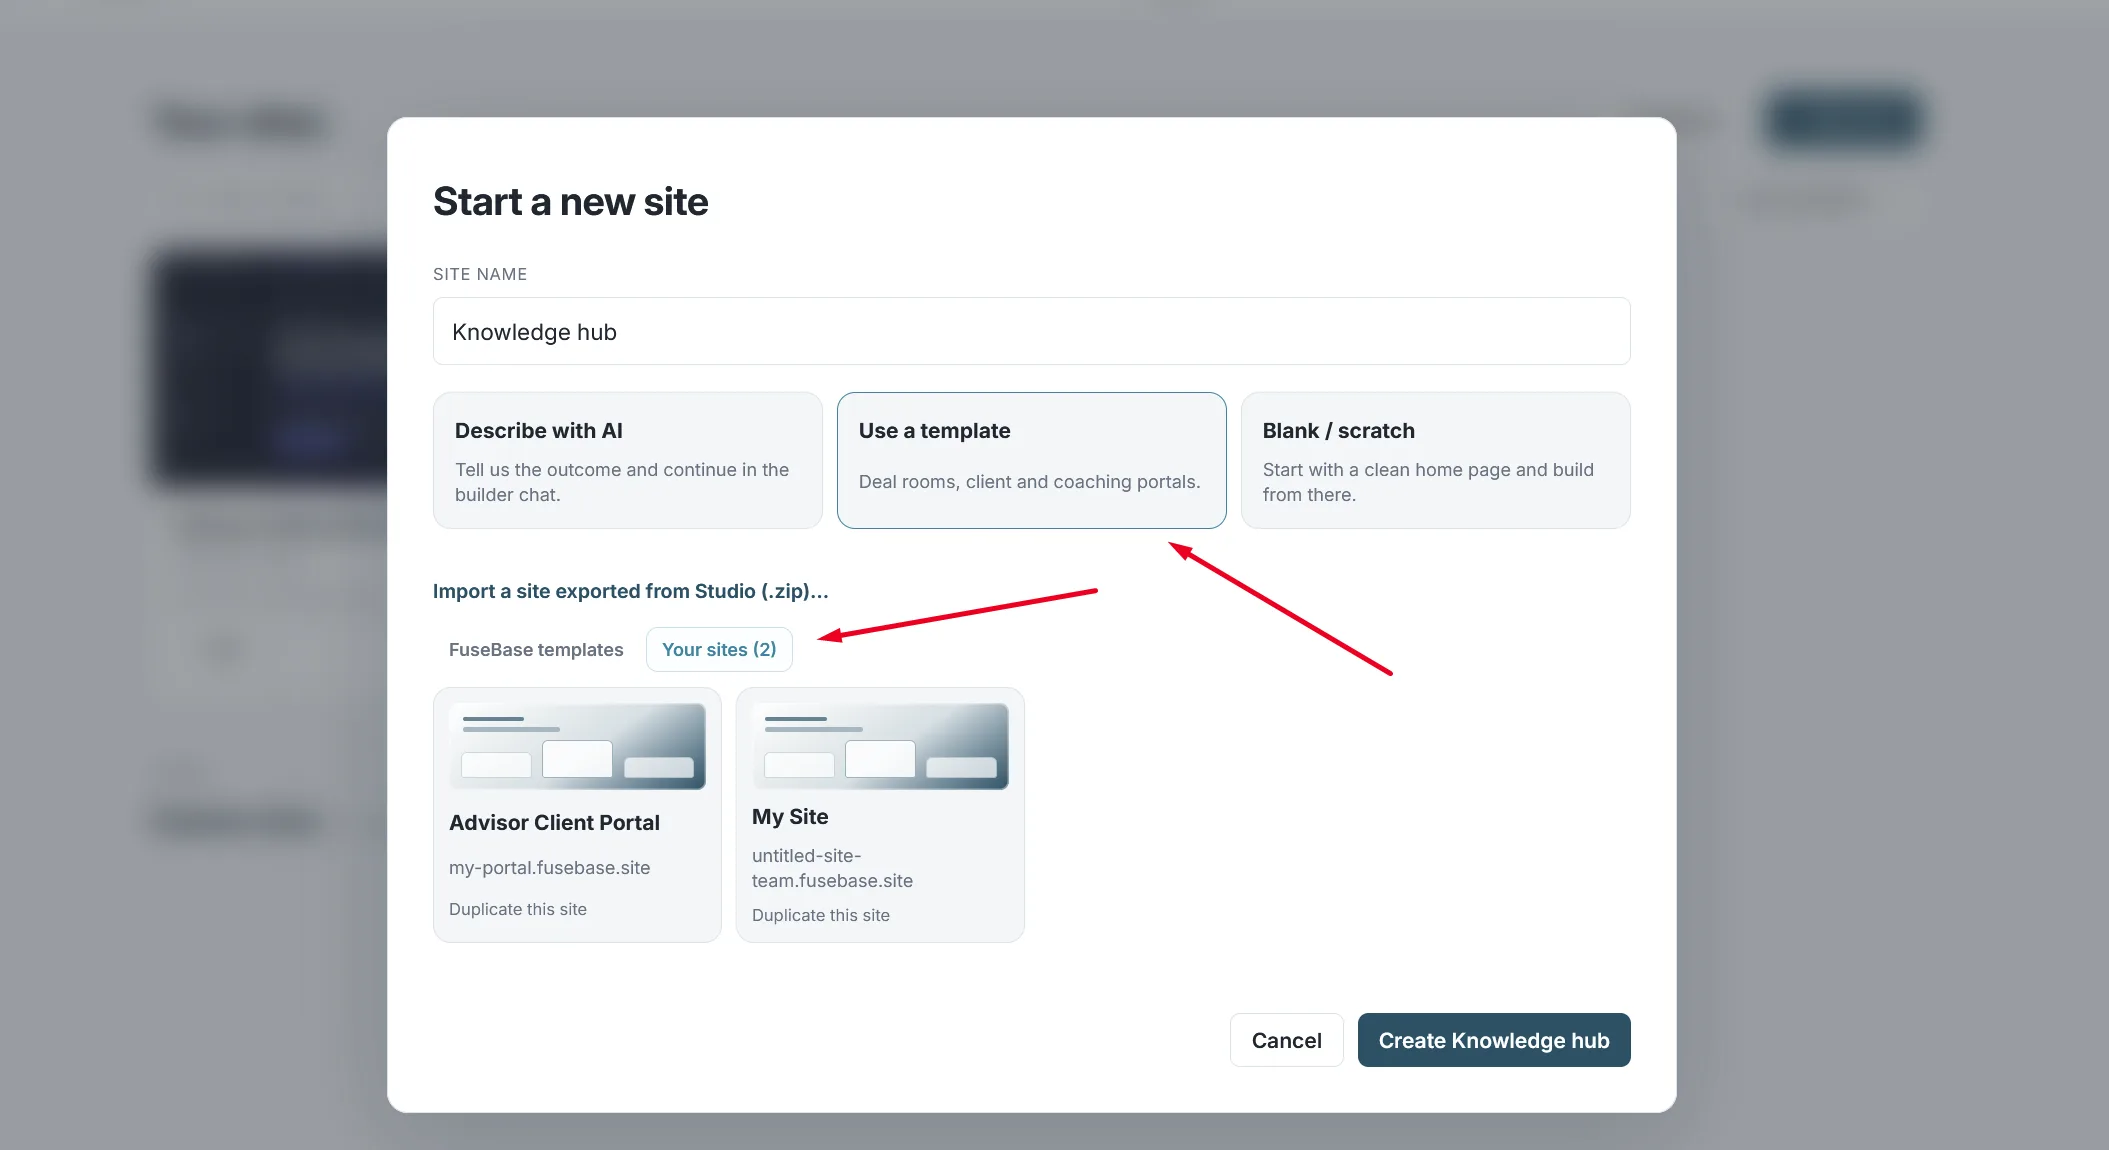
- Use a template: start from a FuseBase template or from one of your own sites.
- Blank / scratch: start with an empty site and fill it in yourself or through the AI chat.
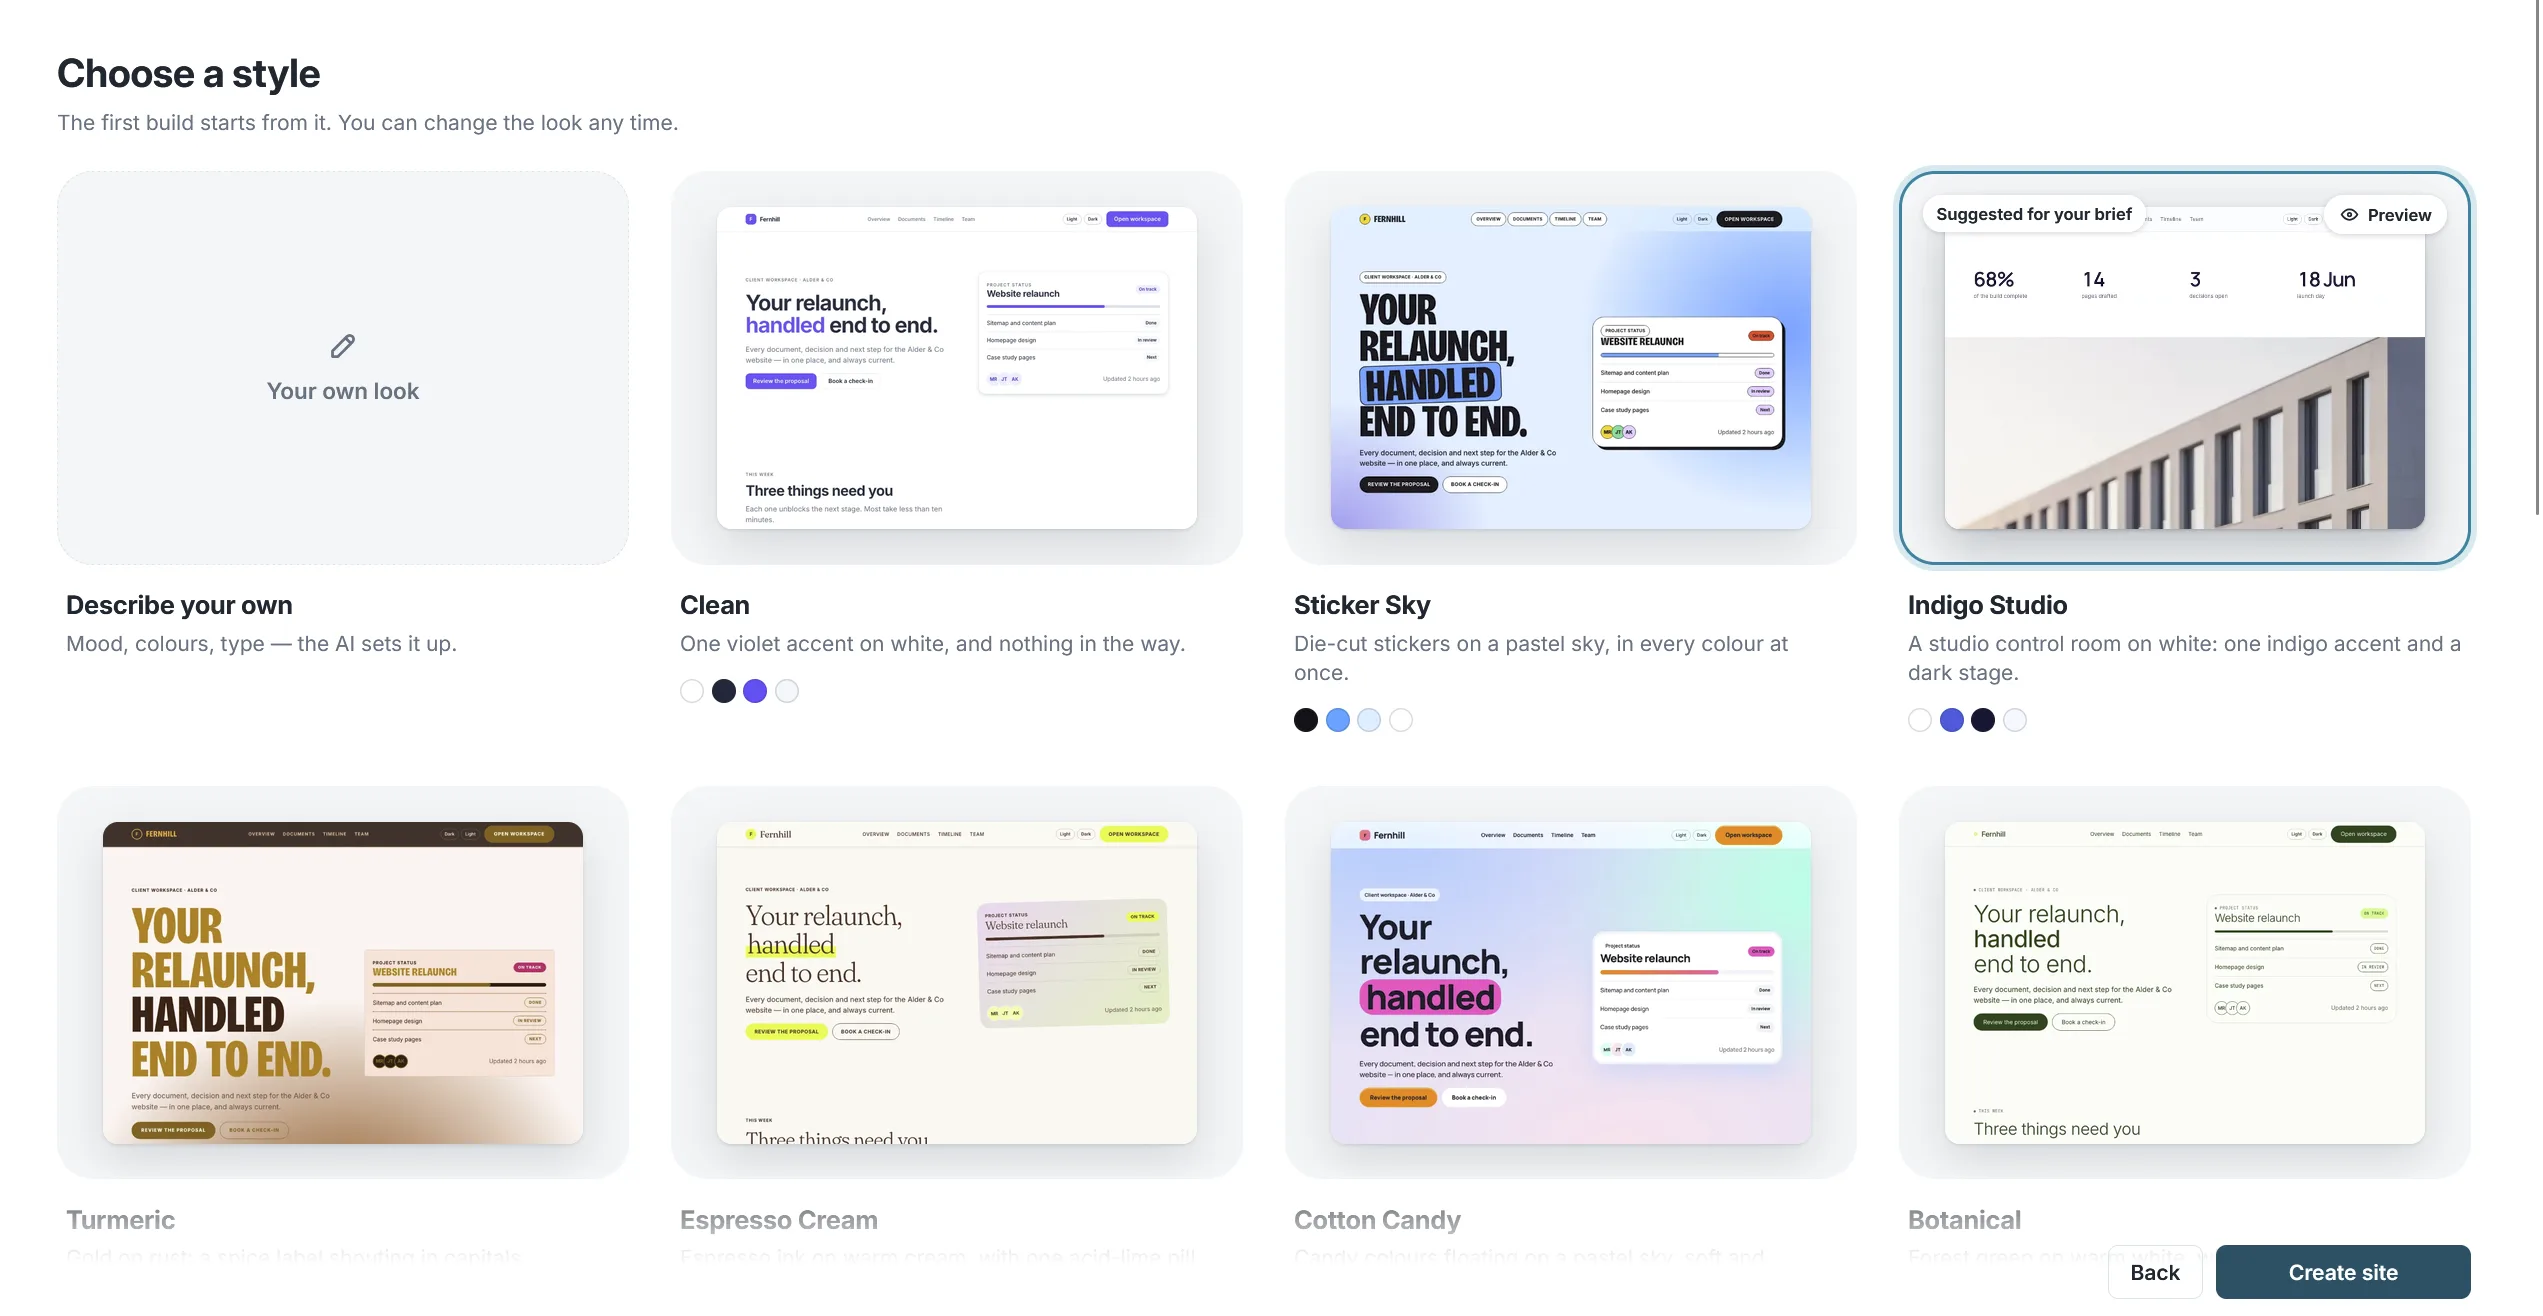
- If you chose Describe with AI or Blank / scratch, pick a style. The first build starts from it, and you can change the look at any time.
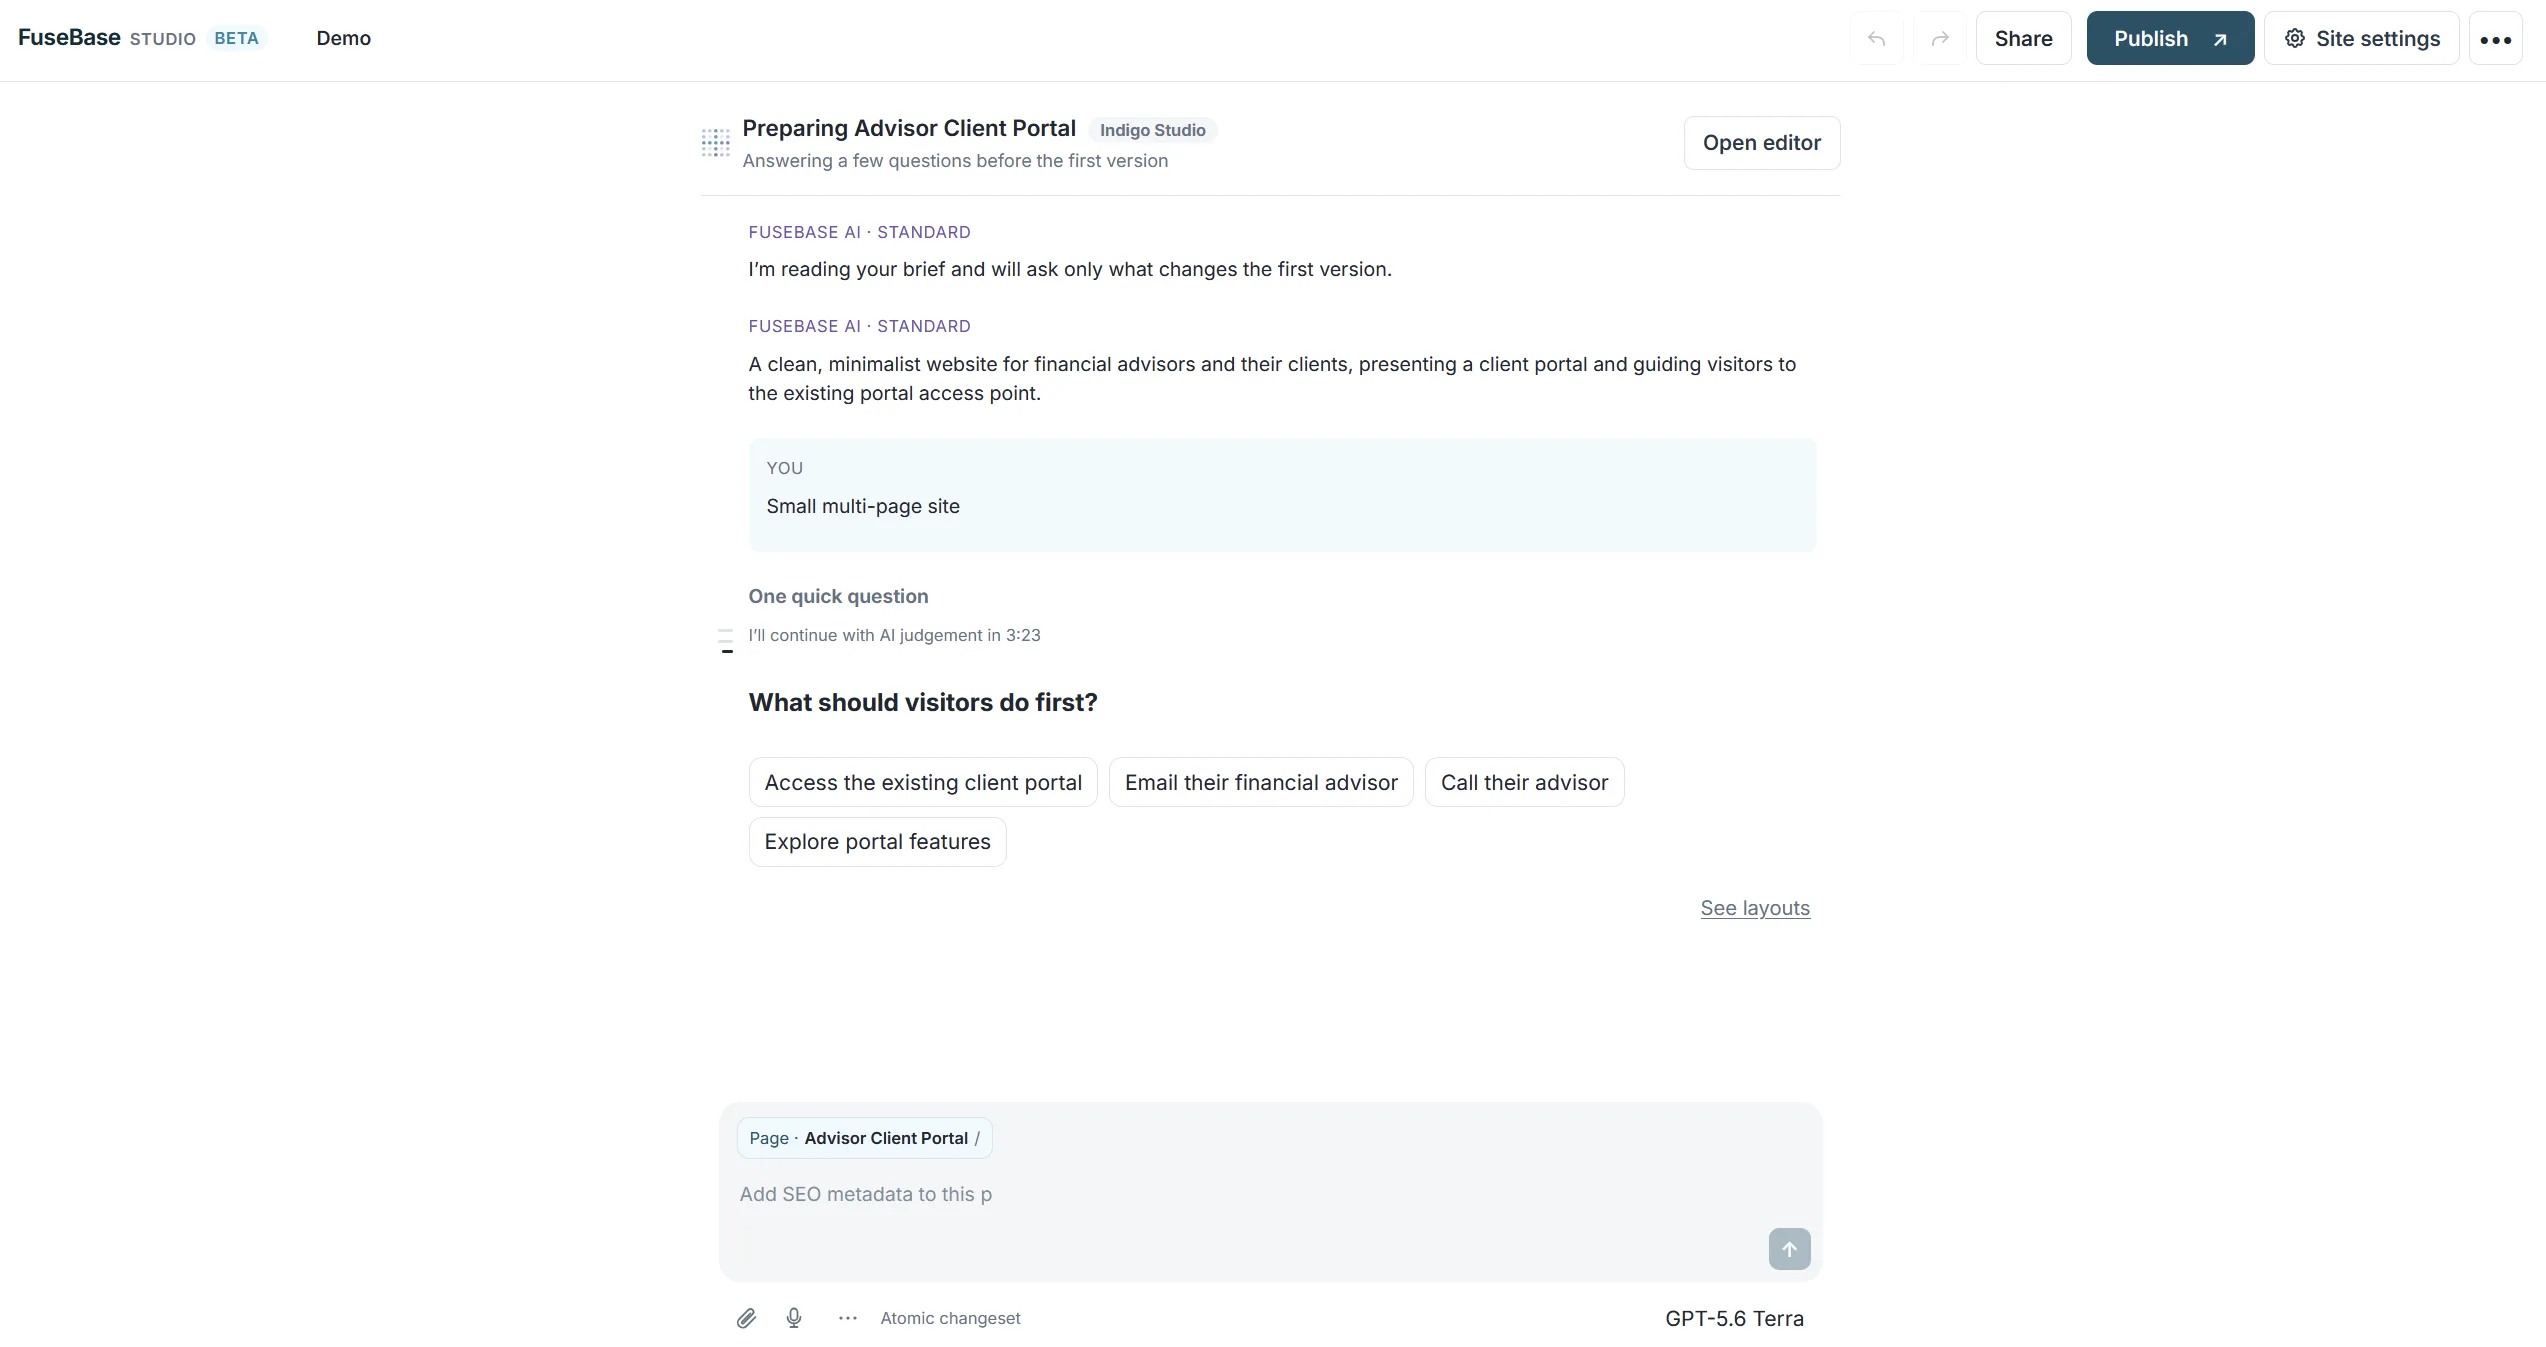
- A blank site or a template opens straight in the builder. A site you described with AI starts with a few questions from the agent, so the first version fits your use case more closely.
Find your way around the builder
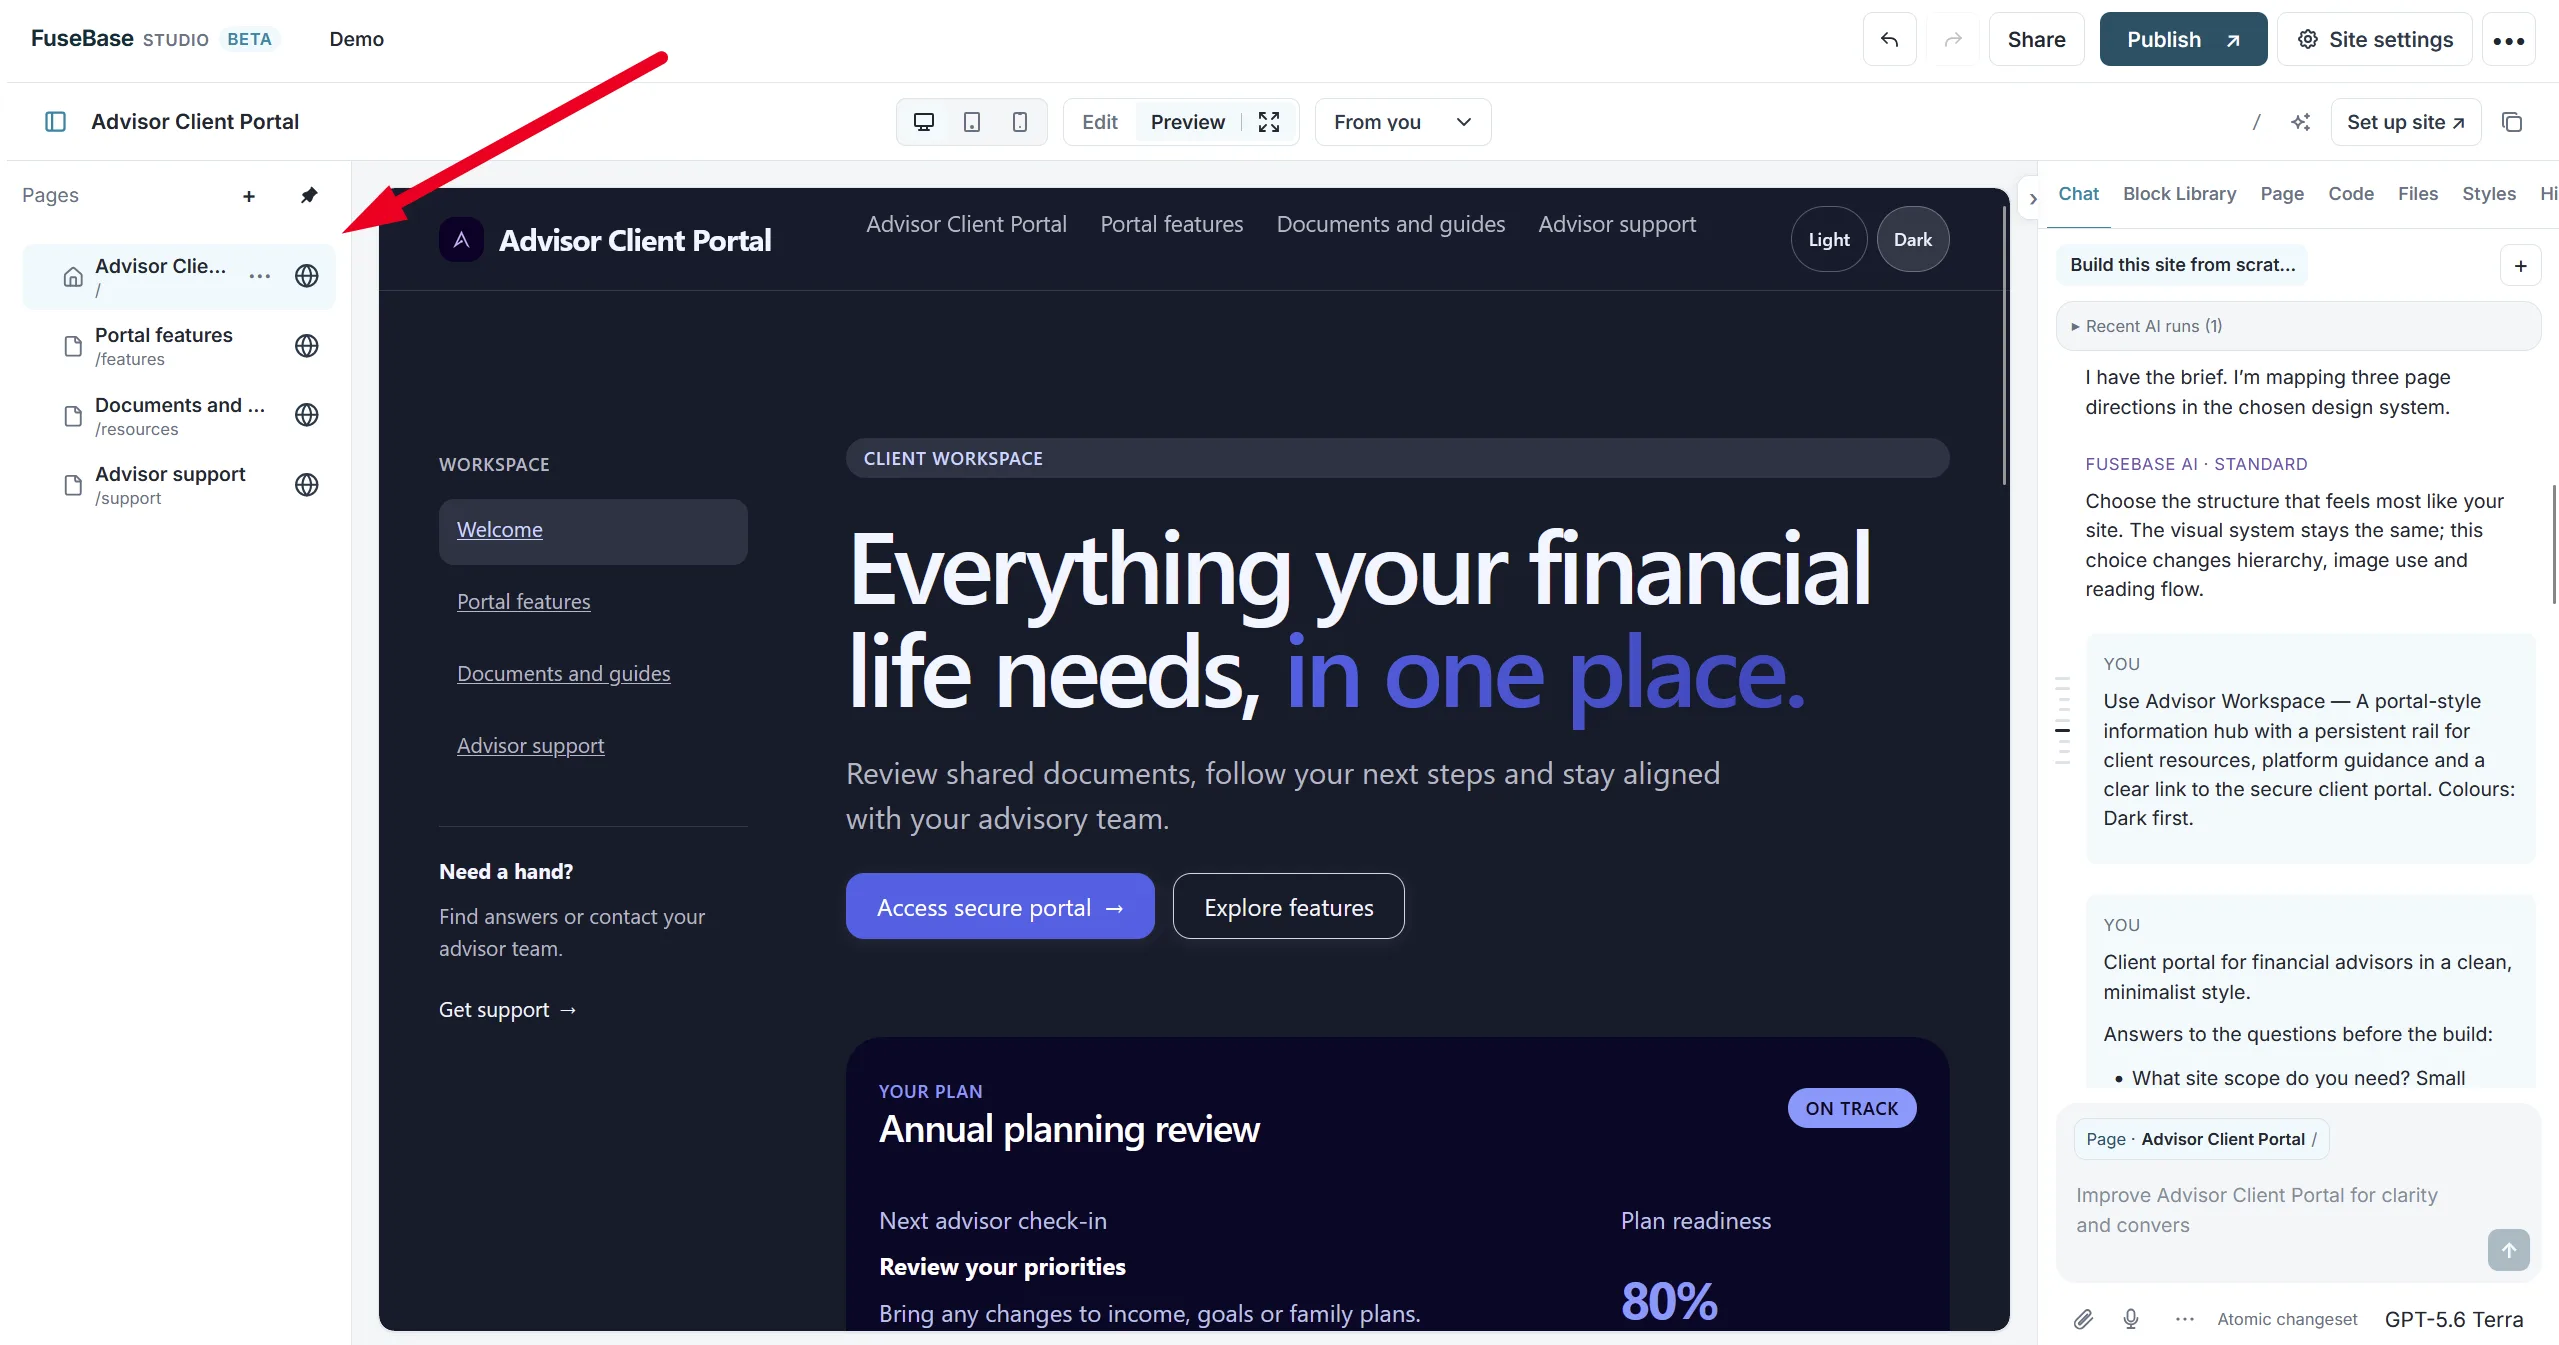
After you create a site, it opens in the builder. The builder has three areas.
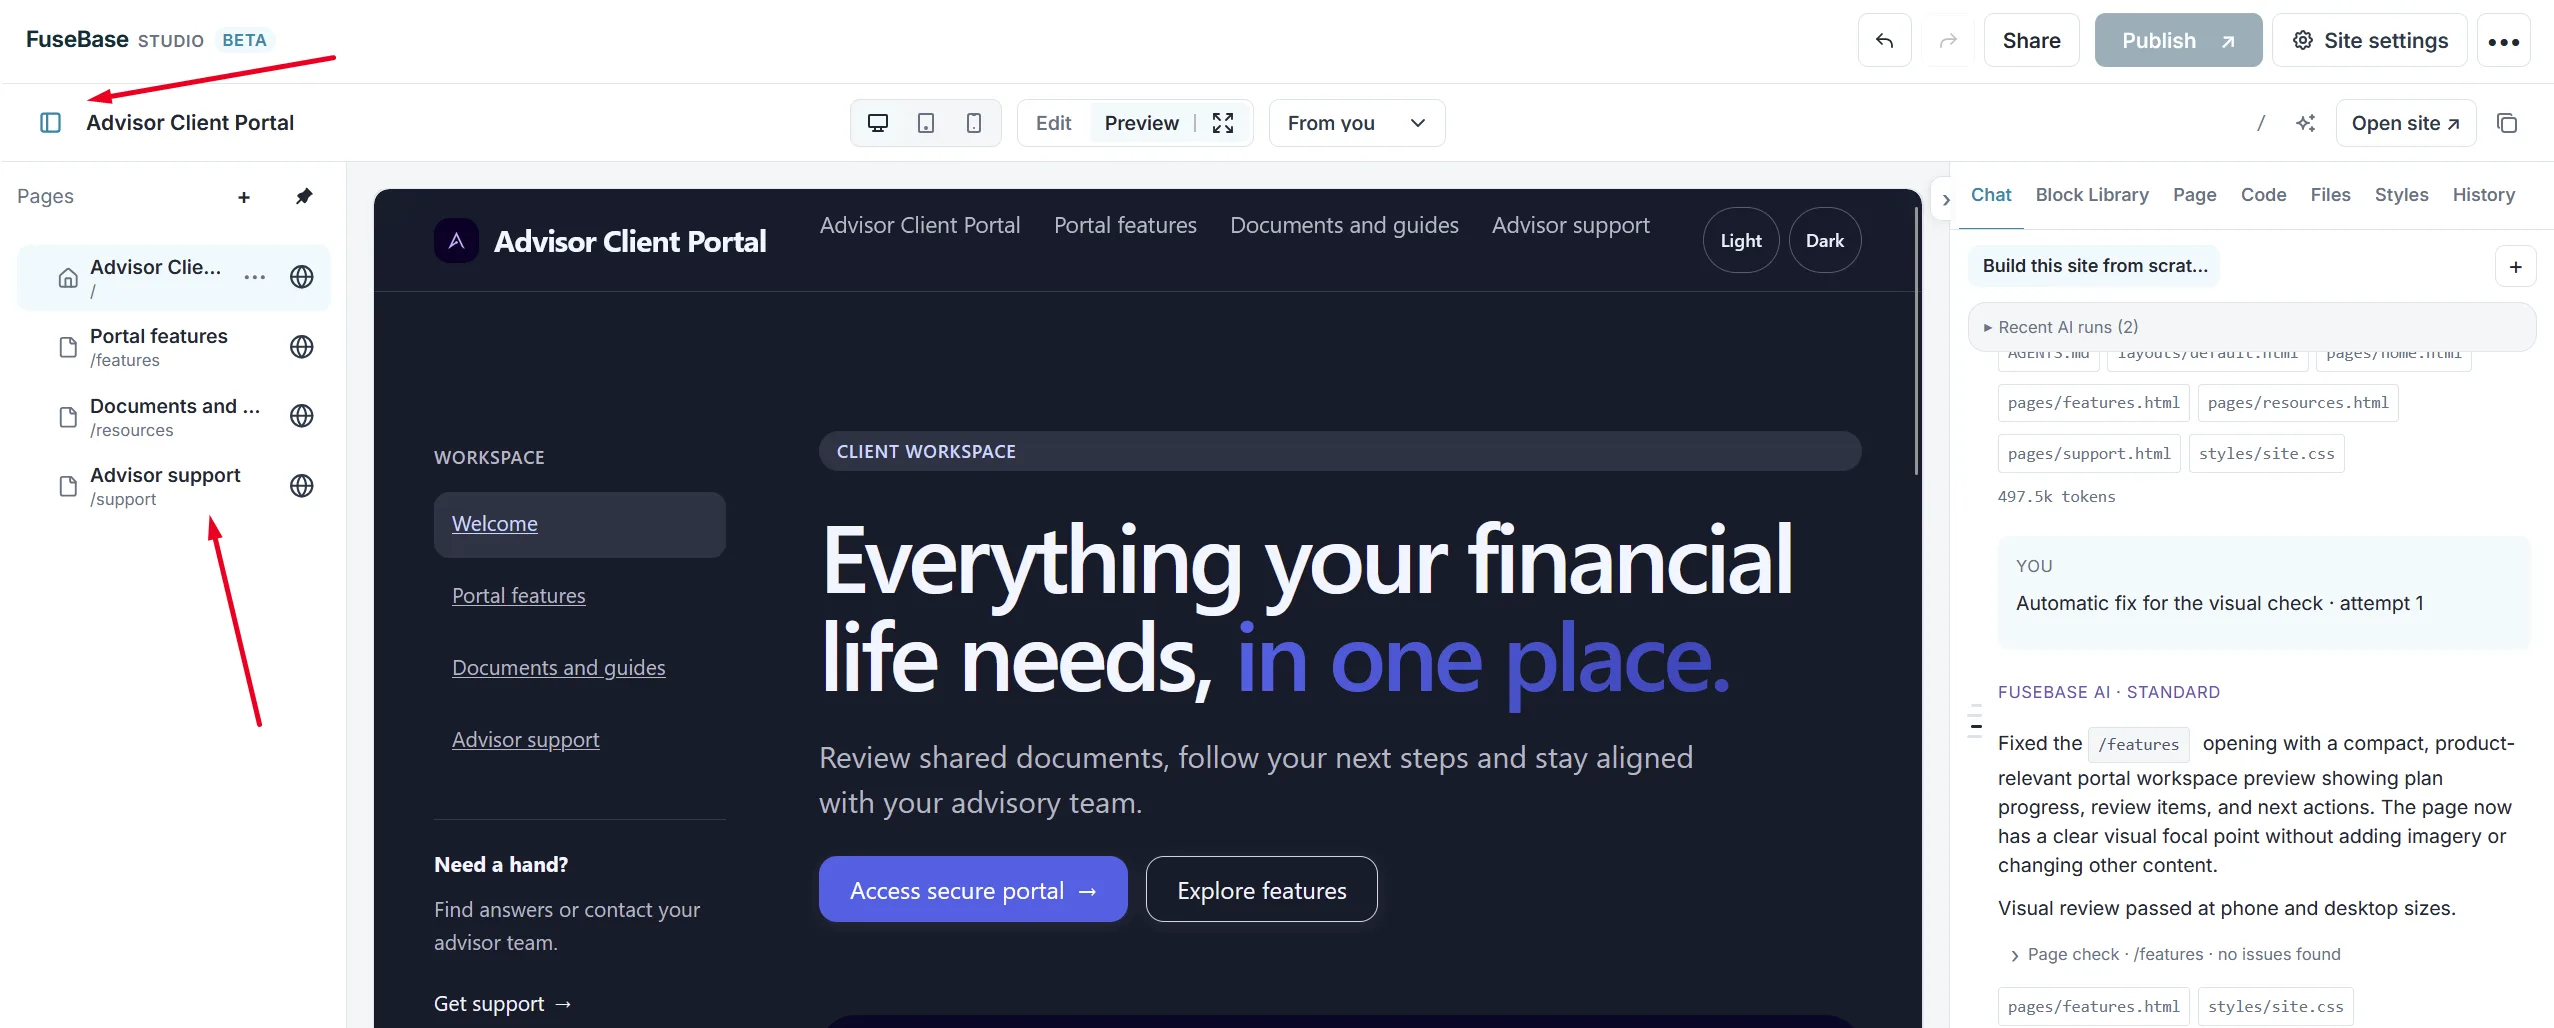
Pages, on the left. Open a page or create a new one.
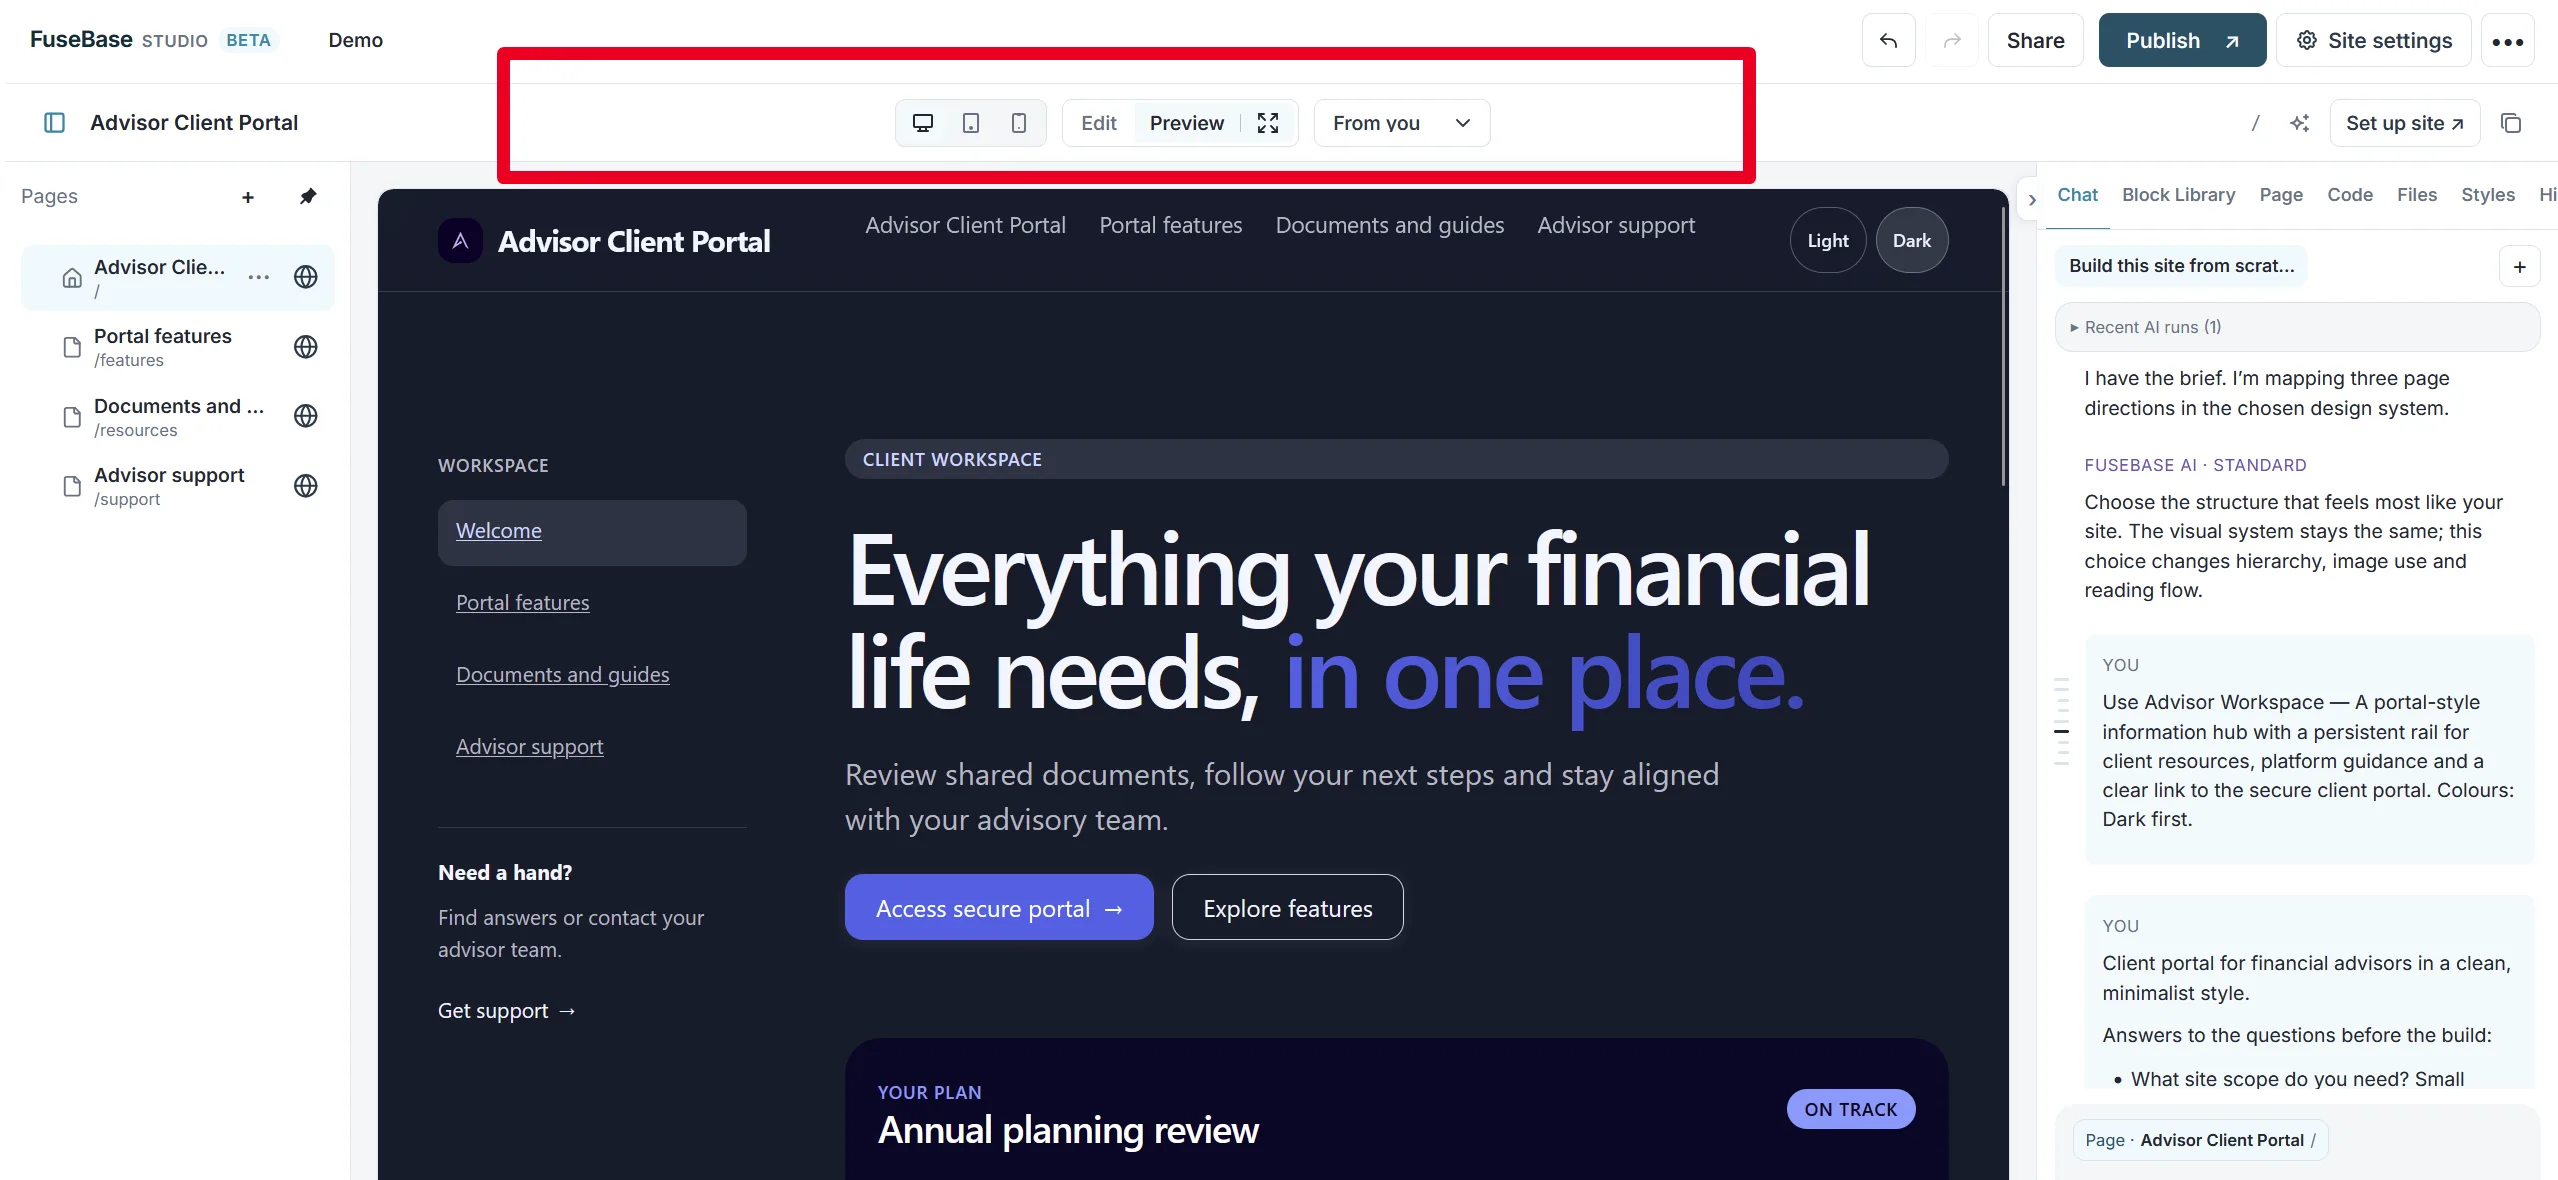
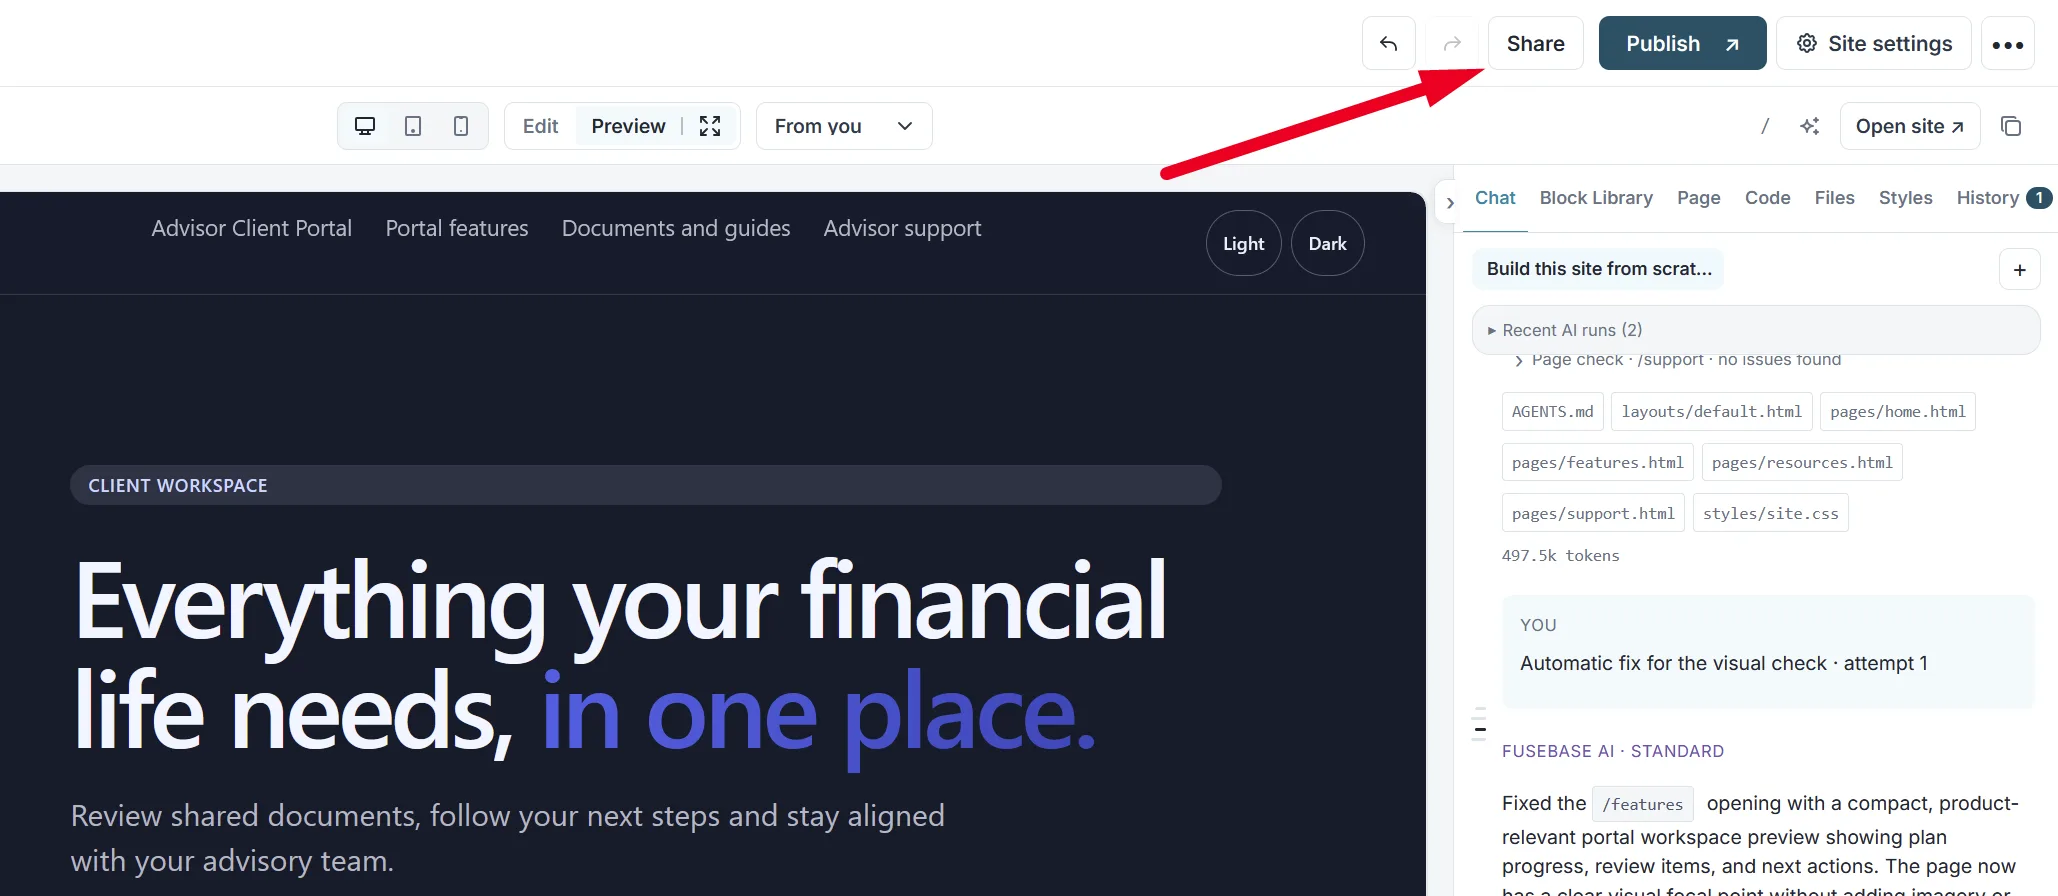
The site, in the center. Check the site at different screen sizes, such as desktop and mobile, and switch between Edit and Preview.
Tools, on the right. The side panel holds everything you use to manage the site.
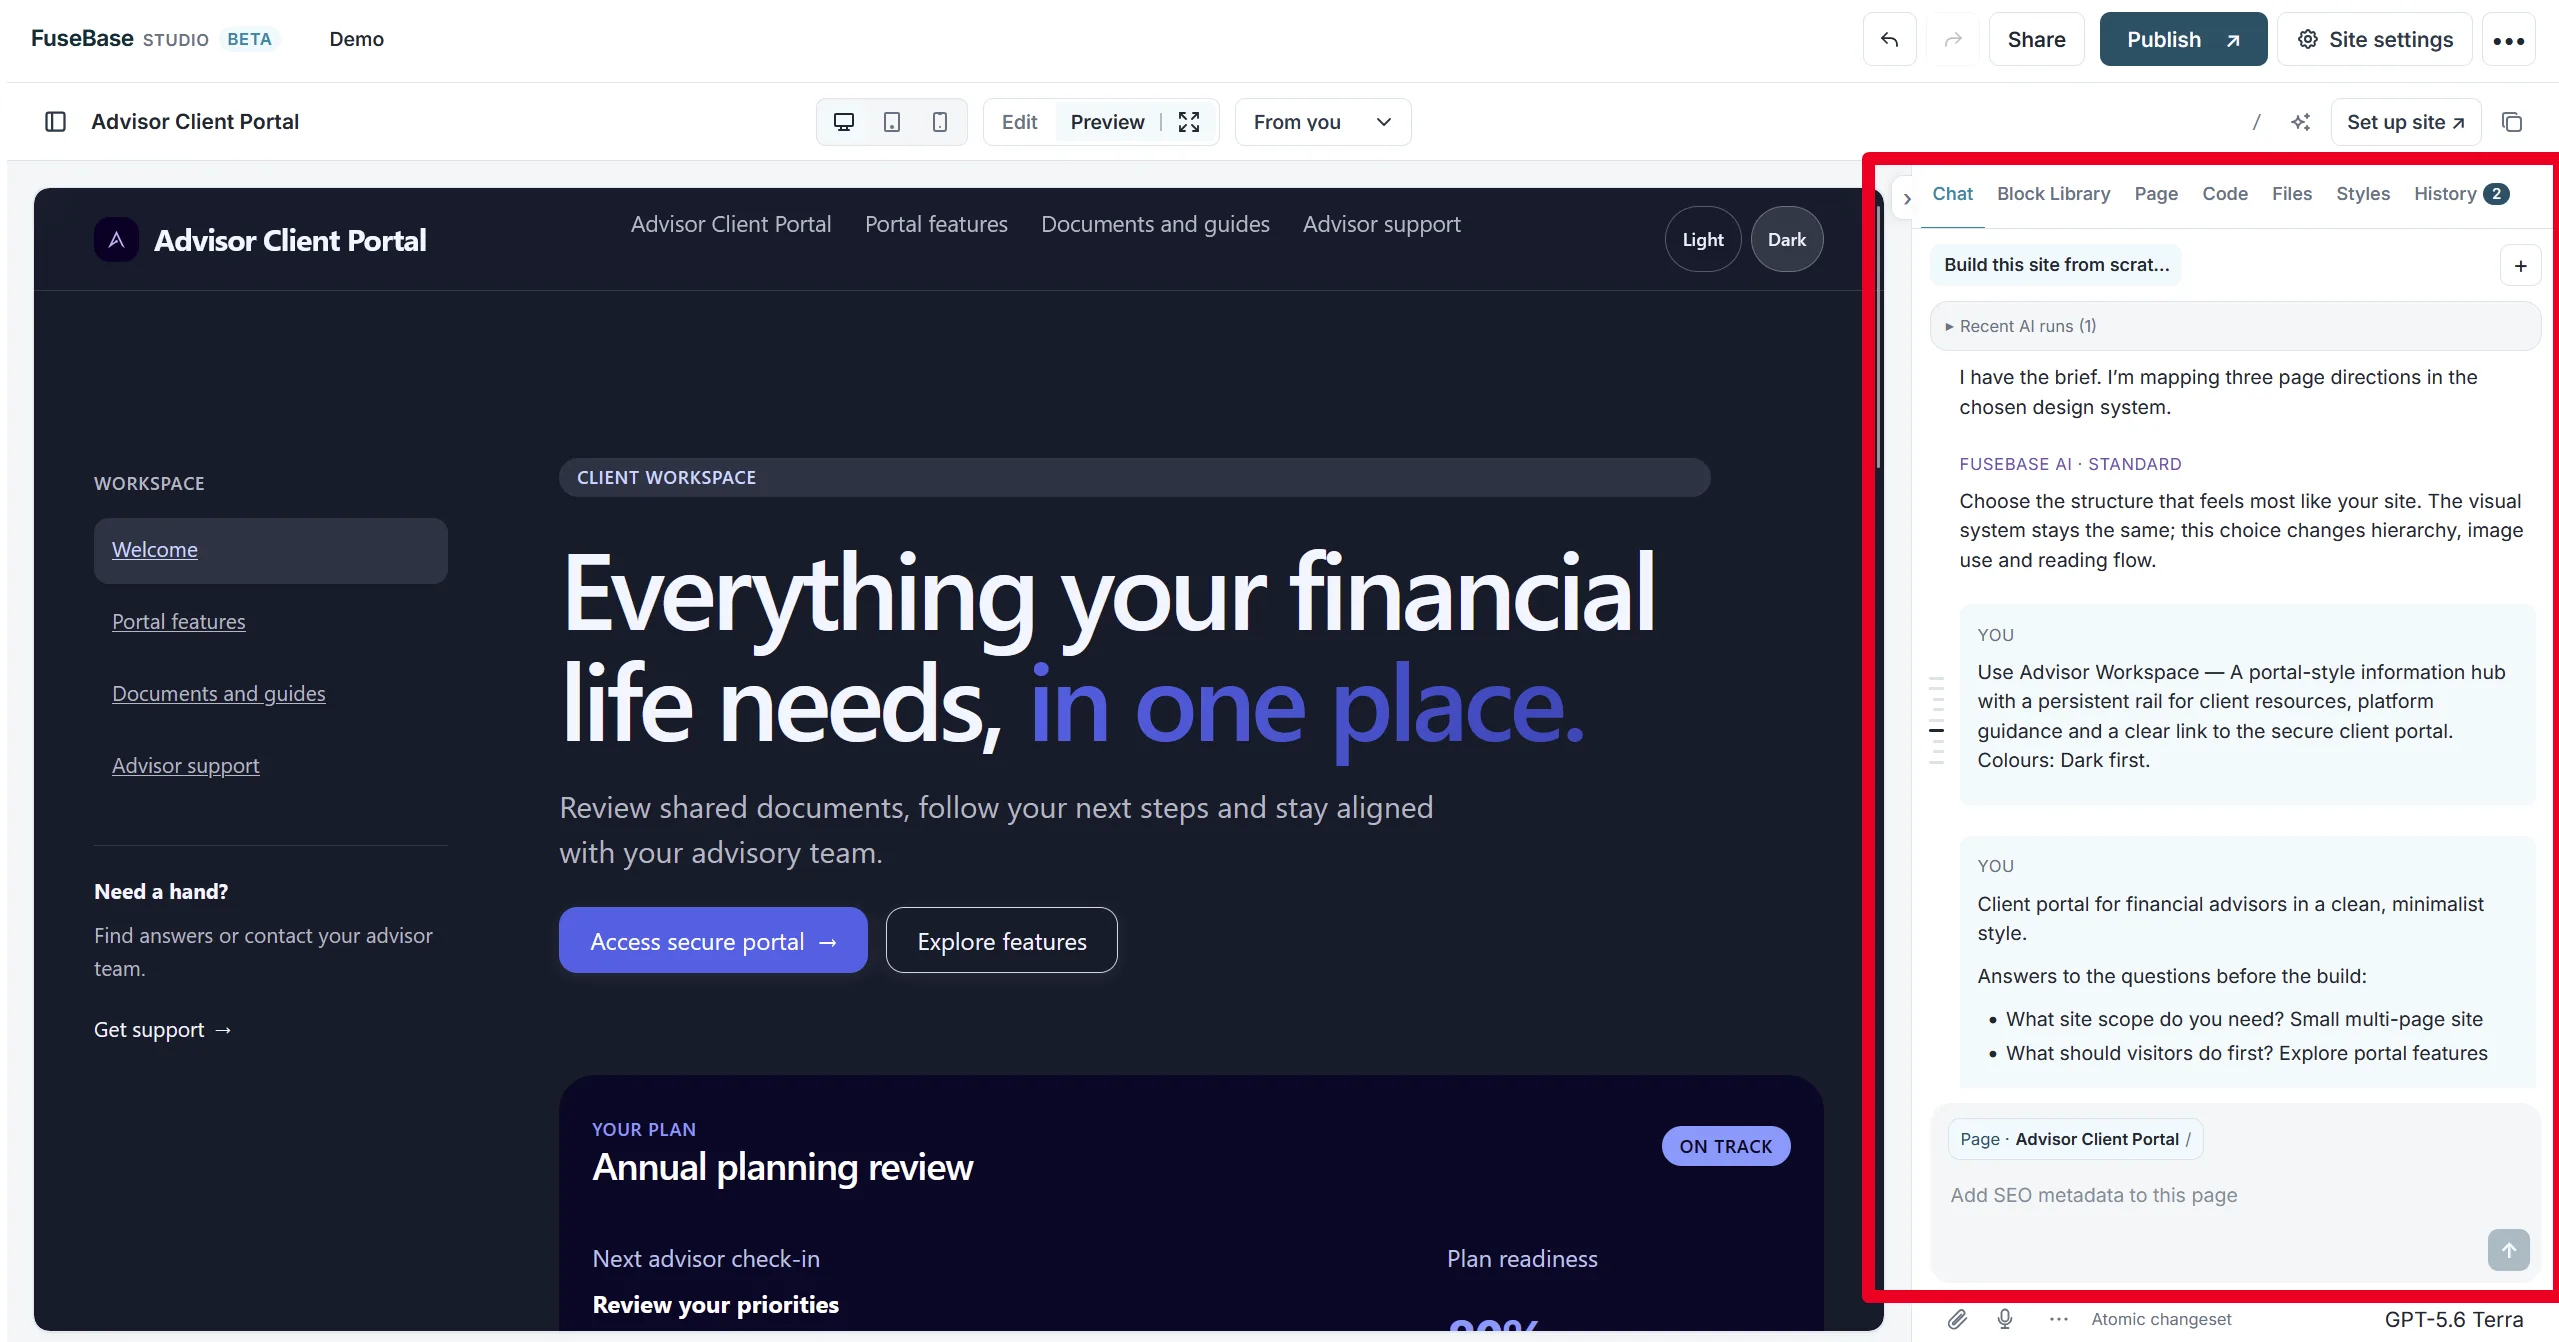
The side panel has these tabs:
- Chat: the AI agent changes the site and its content from your instructions.
- Block Library: add ready-made blocks to a page by hand.
- Page: the full structure of the current page, block by block. Jump to the block you want to manage or remove anything you don’t need.
- Code: view the page’s source code and make quick edits.
- Files: the files uploaded to the site. Upload new files and add them to pages, including by drag and drop.
- Styles: the site’s colors, spacing, typography and other styles.
Edit blocks
Click the block you want to change, then choose how to edit it.
With the AI agent. Click the AI icon in the block toolbar and describe the change in the chat, for example new text, a different background or an added image.
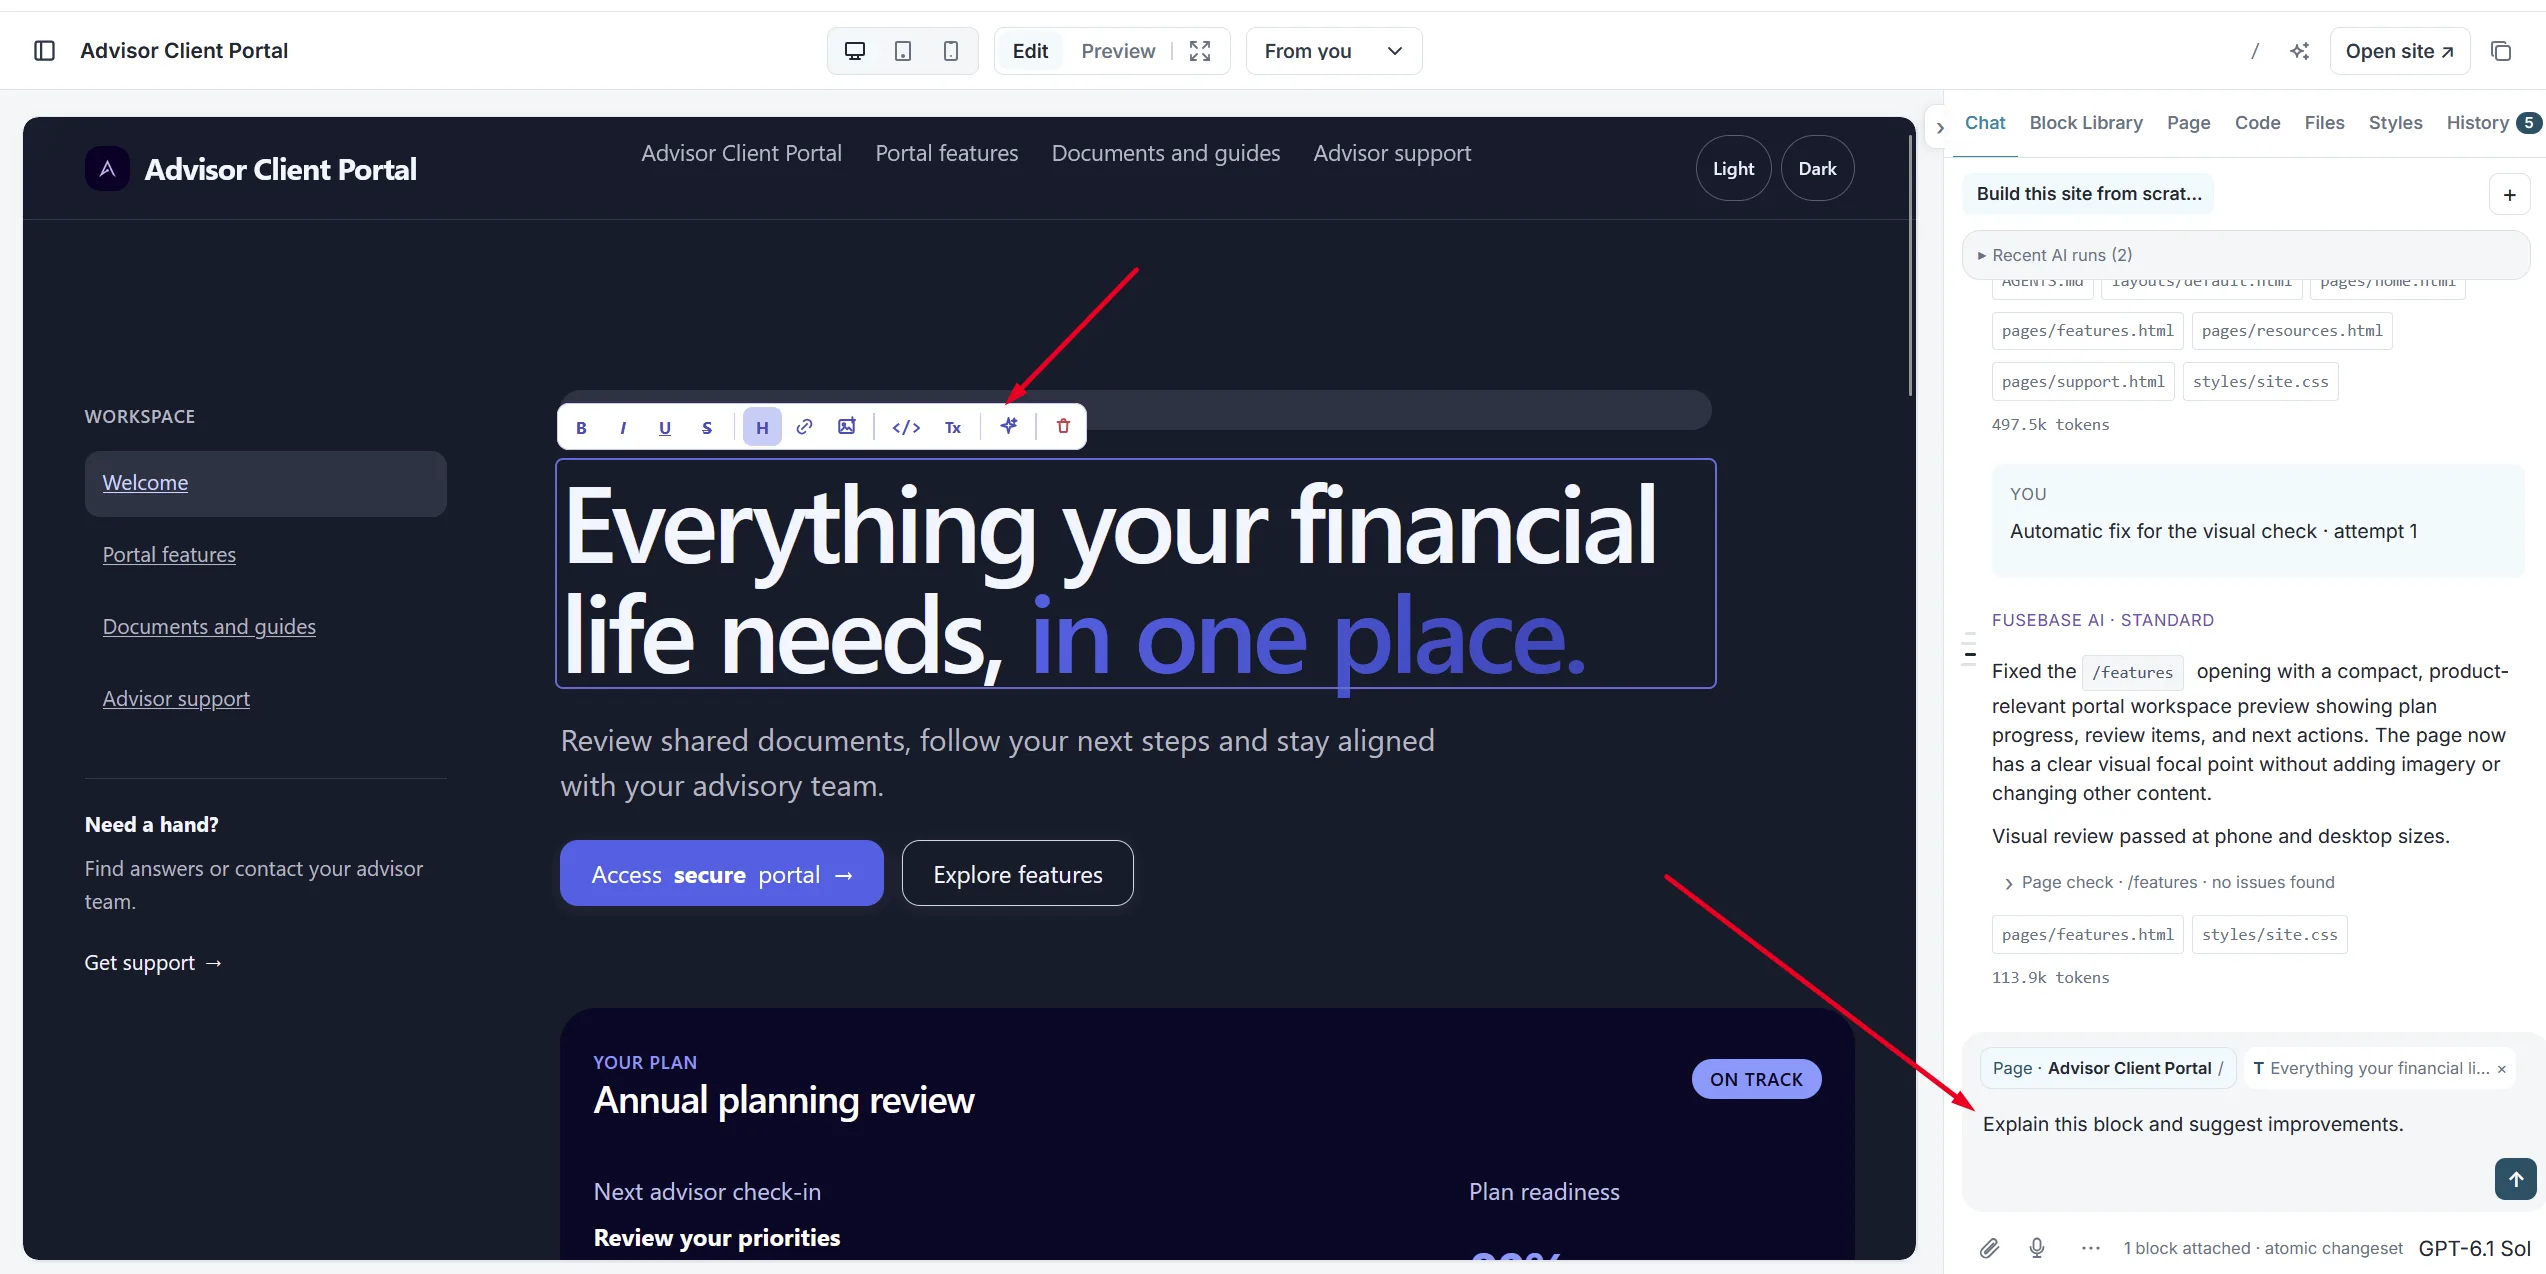
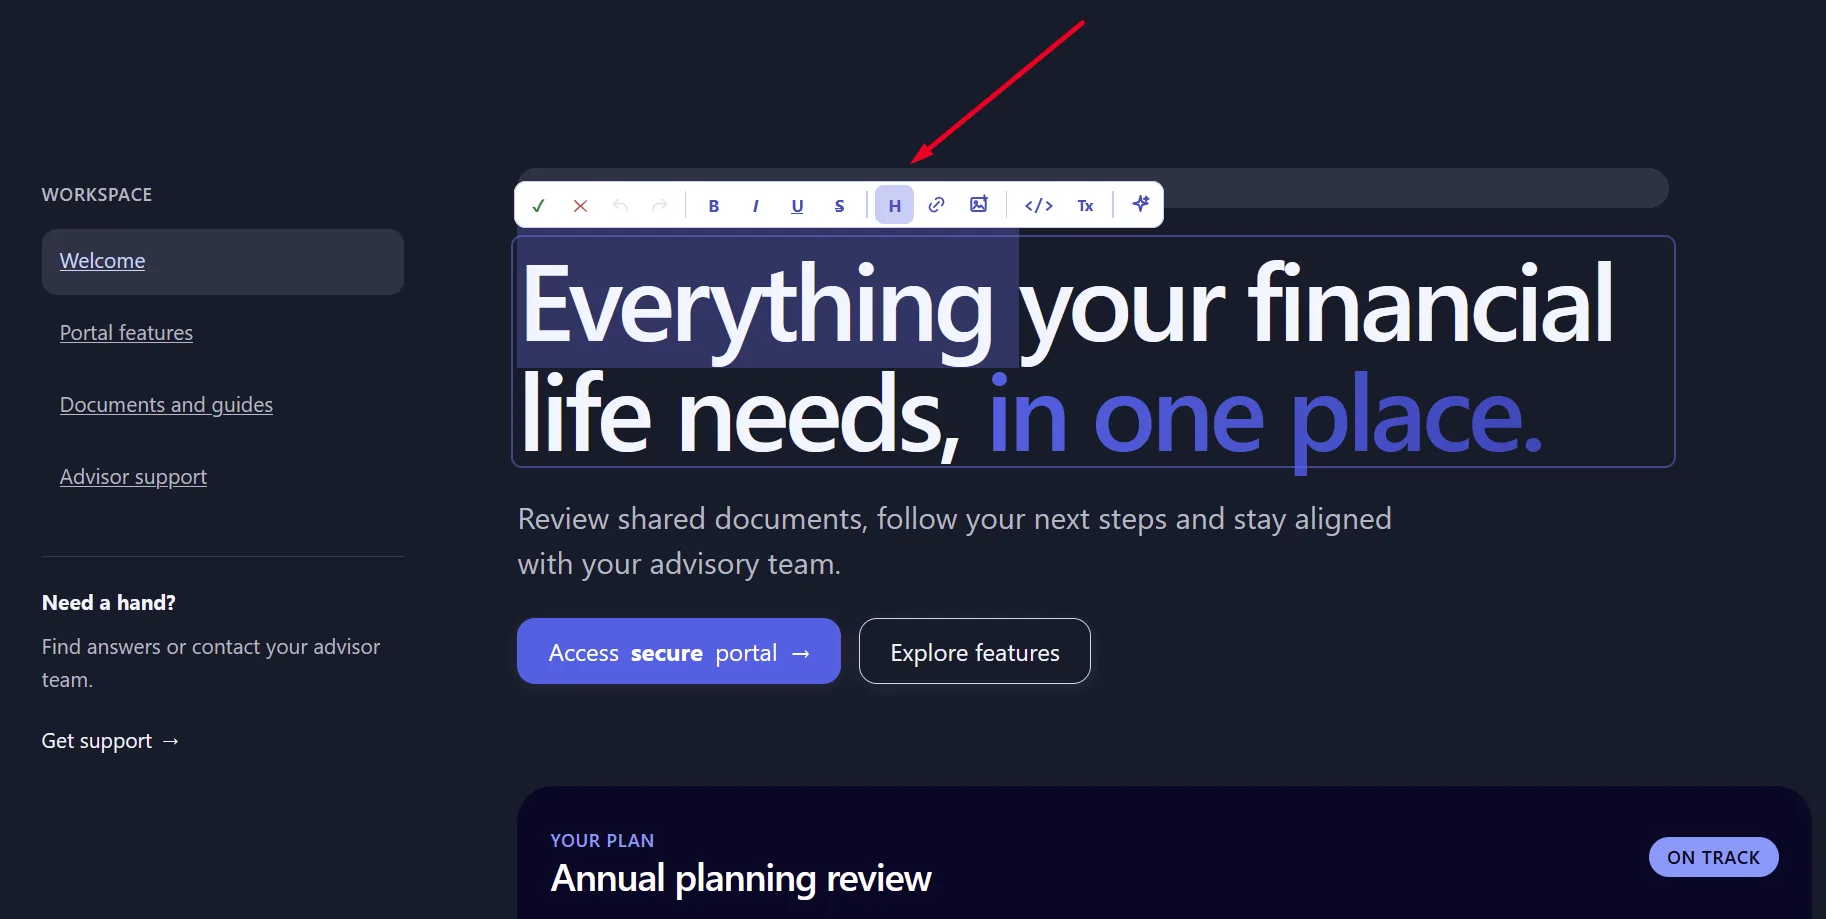
By hand. Use the same toolbar to edit text, insert a link or an image, and more.
Manage pages
You can add and remove pages in two ways:
- In the AI chat: tell the agent which page to add or remove.
- In the Pages panel: open it with the panel icon next to the site name, then create pages or delete the ones you no longer need.
Control who can see a page
Set each page’s access level with the globe icon next to the page in the page list.
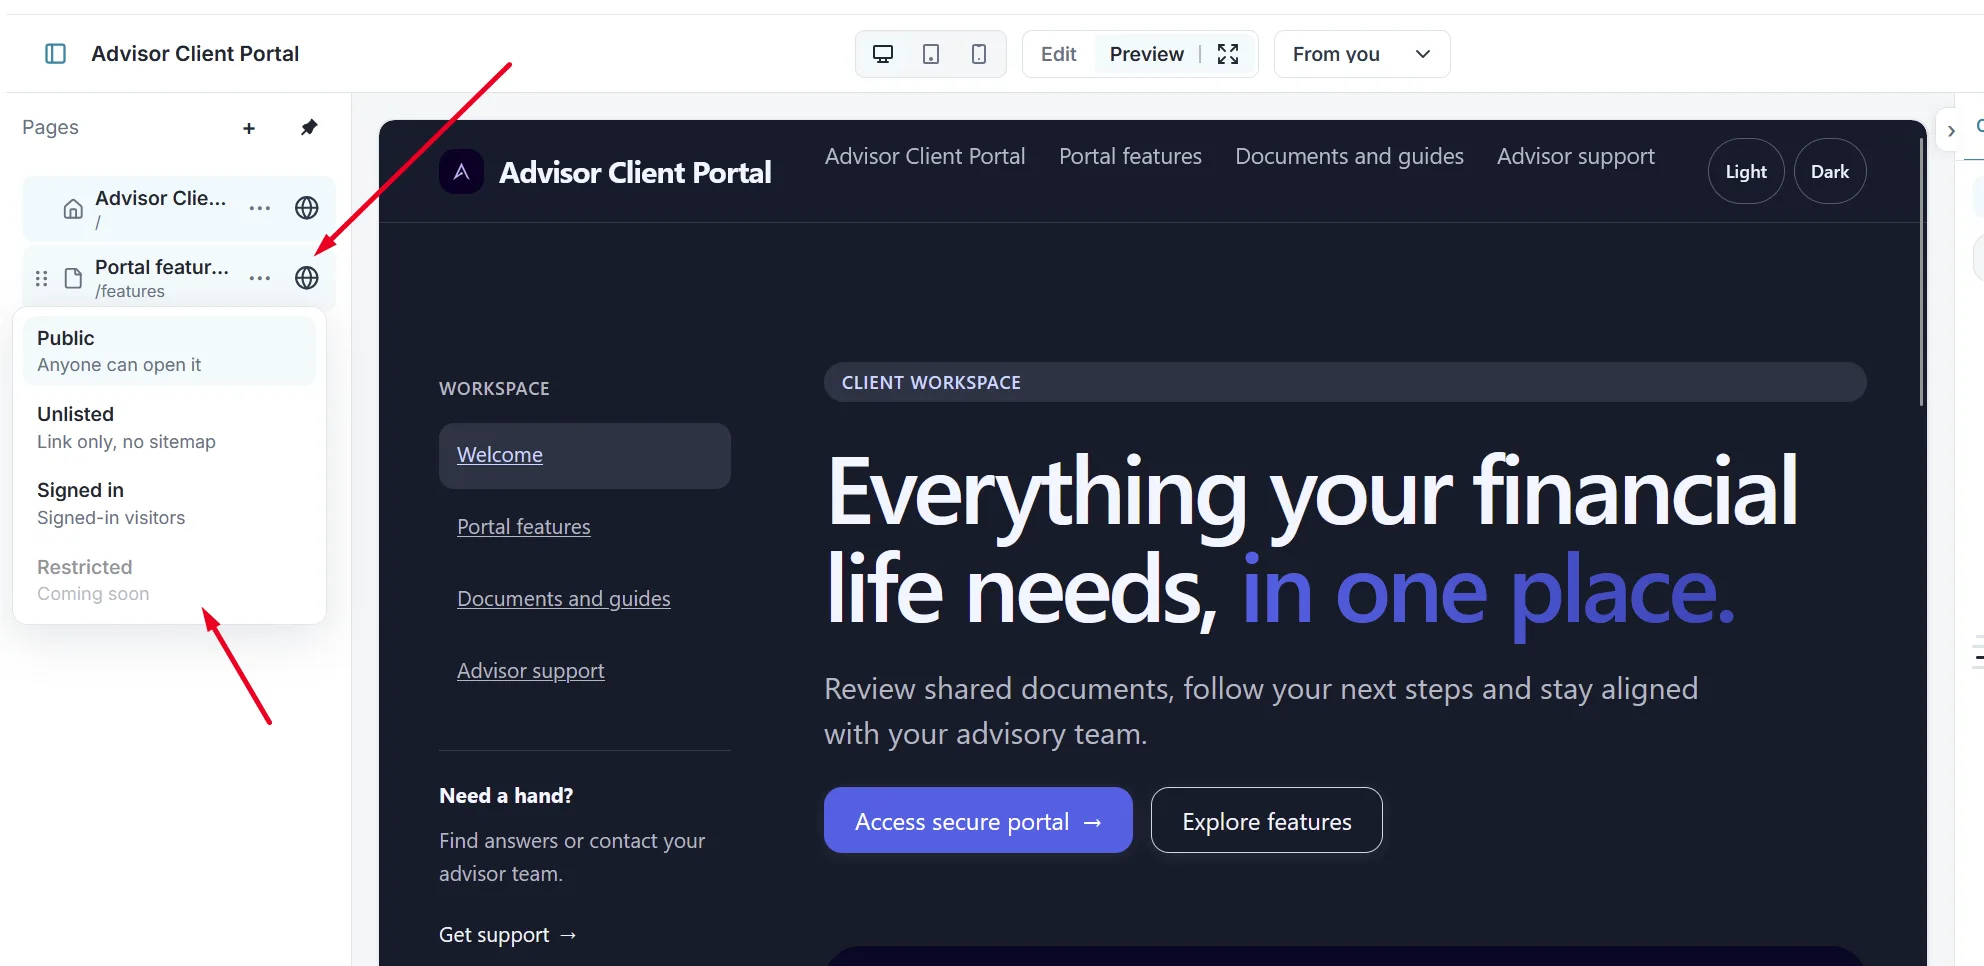
- Public: anyone who can open the site can view the page, and a link to it appears in the top bar or sidebar.
- Unlisted: anyone who can open the site can view the page through a direct link, but it doesn’t appear in the top bar or sidebar.
- Signed in: only signed-in visitors can view the page.
- Restricted (coming soon): only the people you grant permission can view the page.
Publish the site
- When the site is ready, click Publish at the top of the builder.
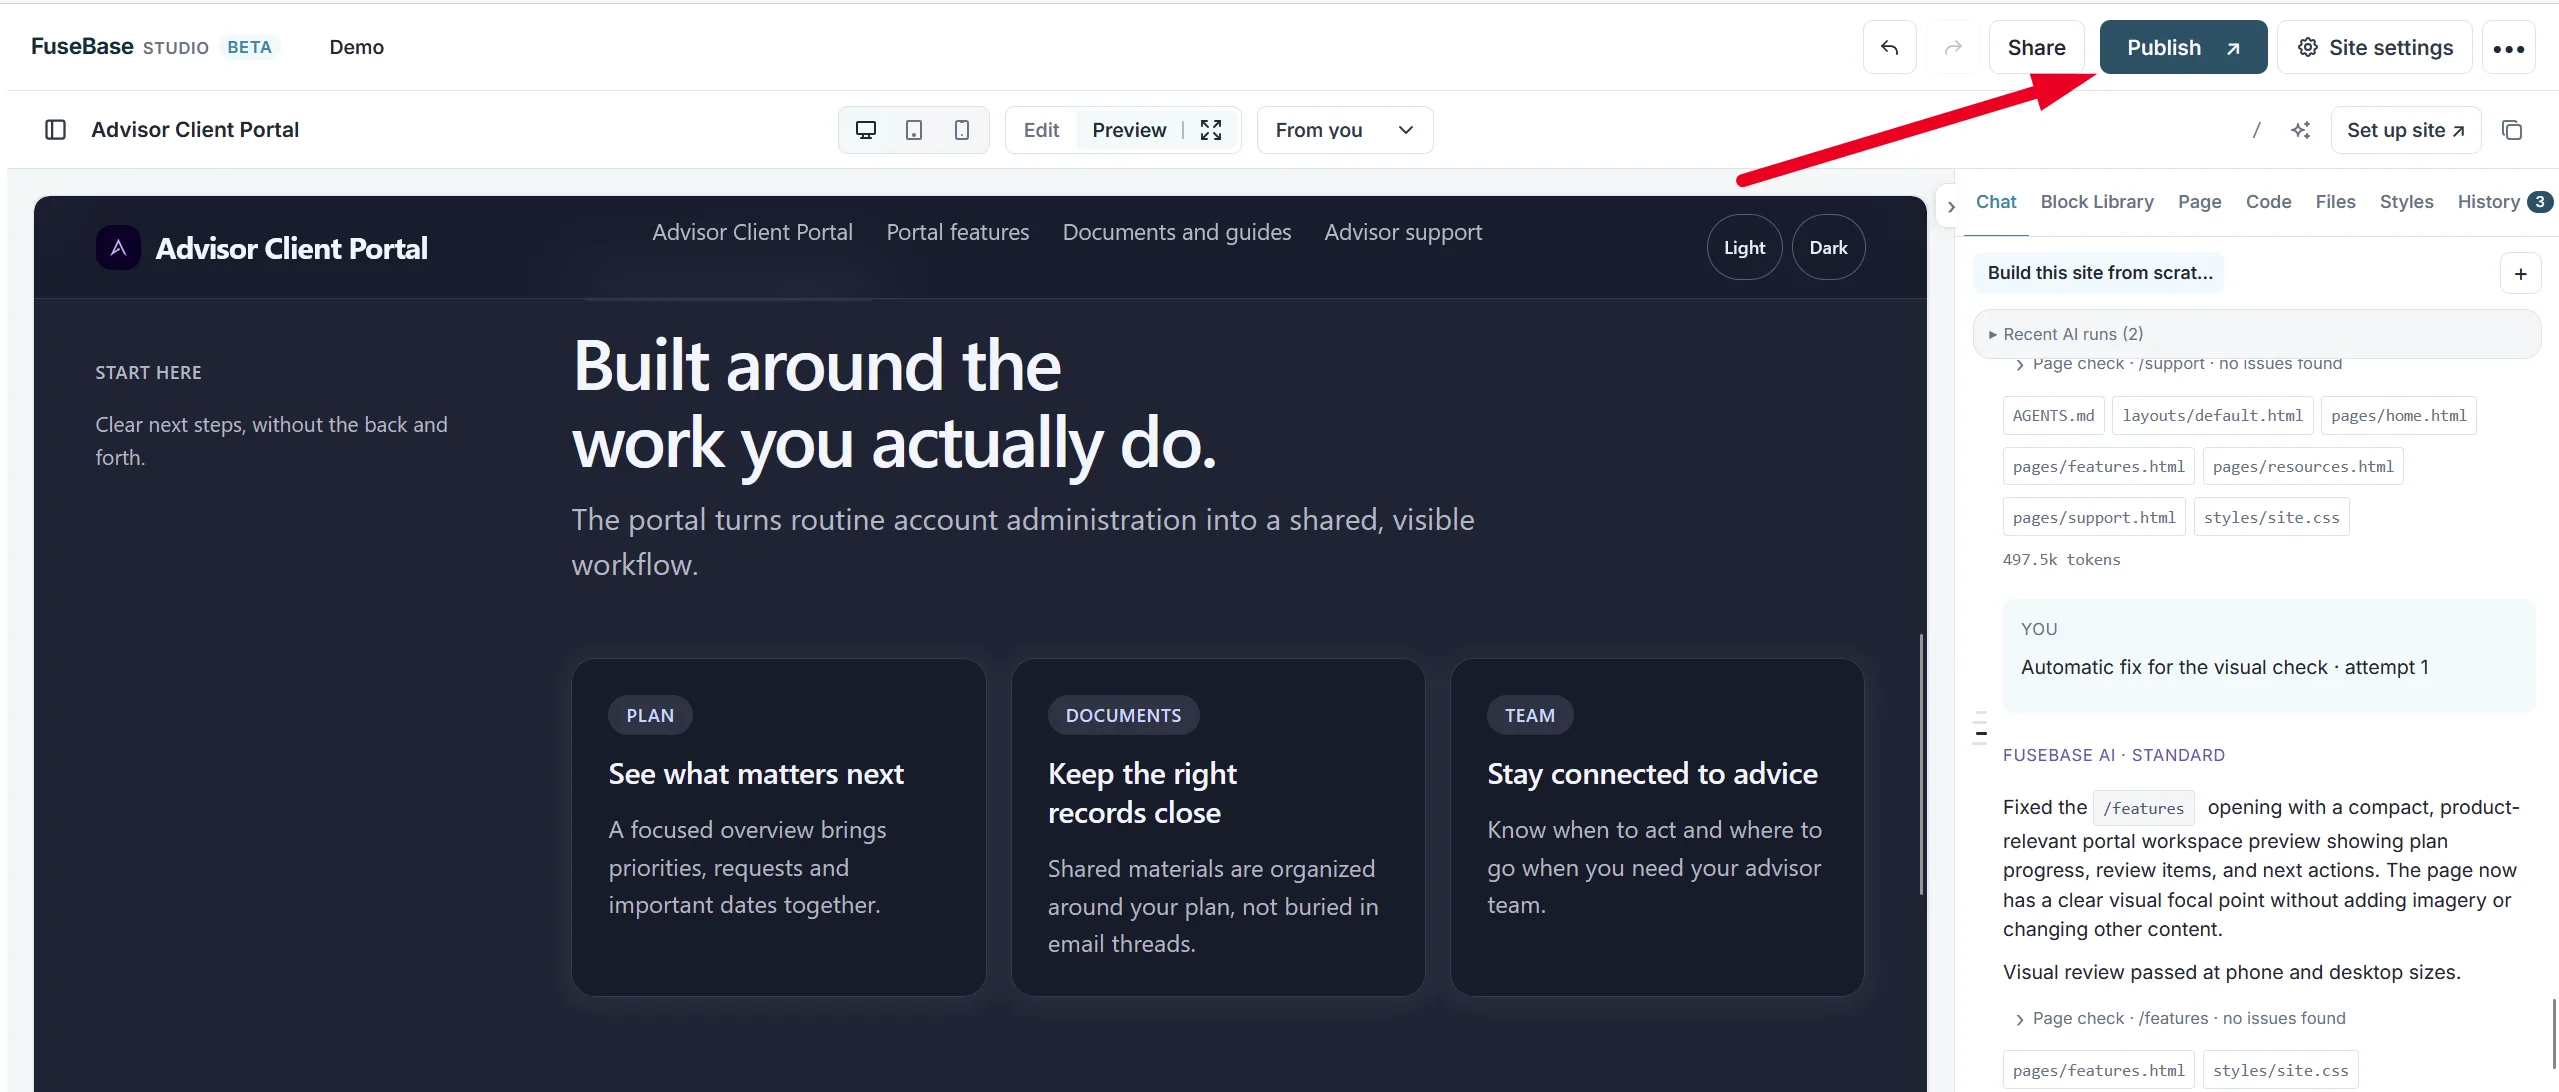
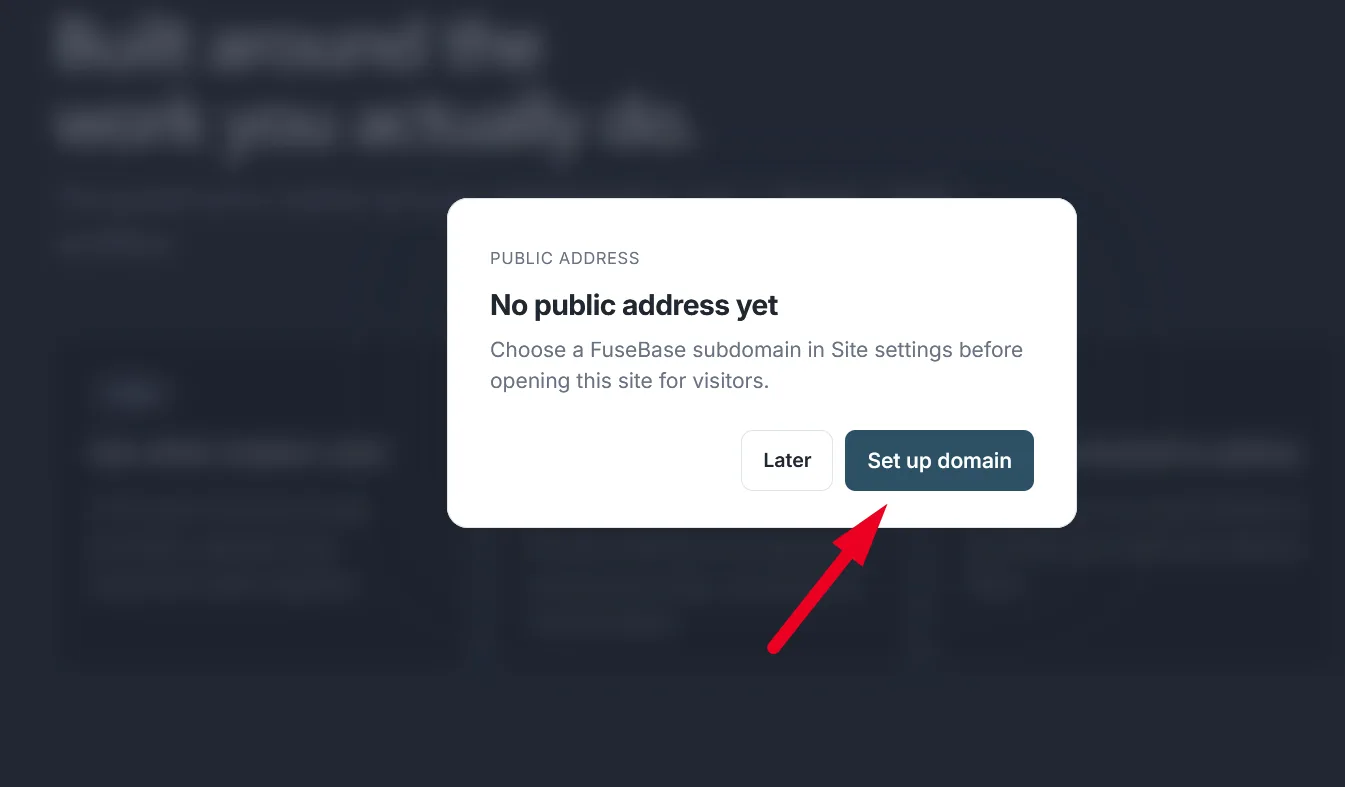
- If the site has no address yet, you’re asked to set one up. Click Set up domain.
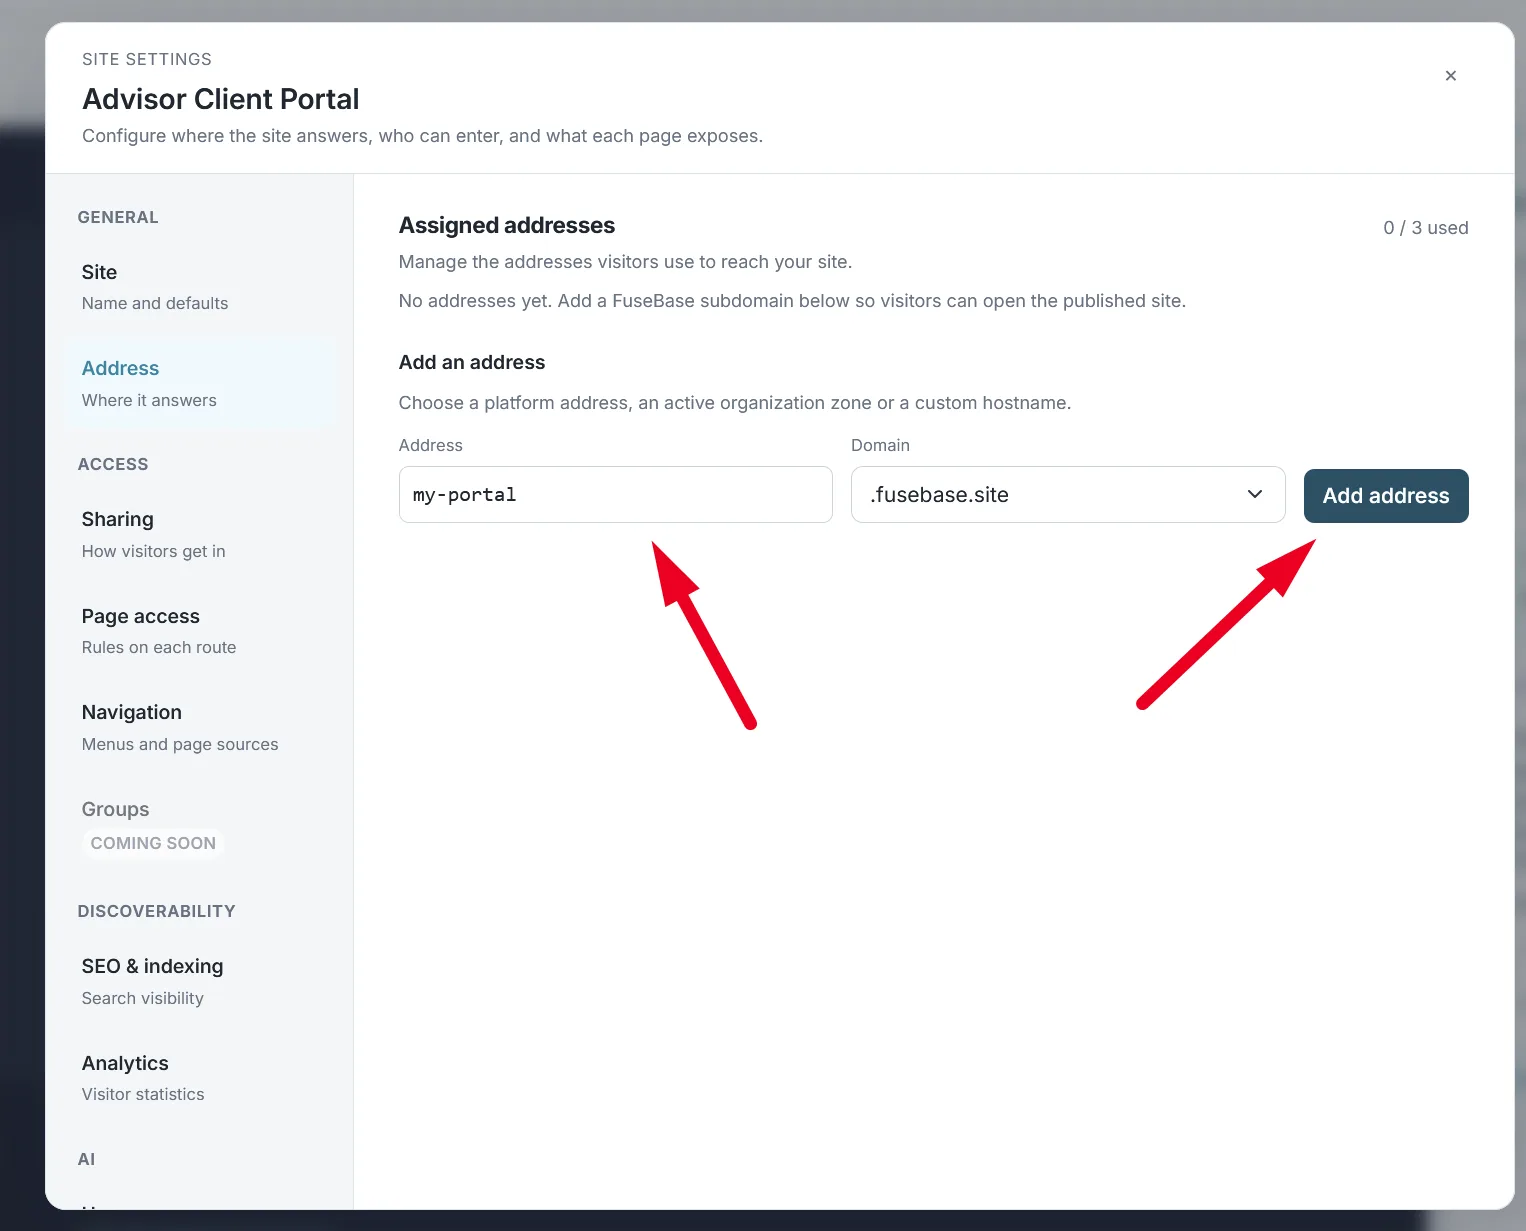
- Enter an address, choose a FuseBase subdomain or your own custom domain, and click Add address. One site can have up to three addresses.
Once the site is published, your visitors can open it.
Choose who can open the site
A new site is open to everyone, including anonymous visitors. To change that, click Share.
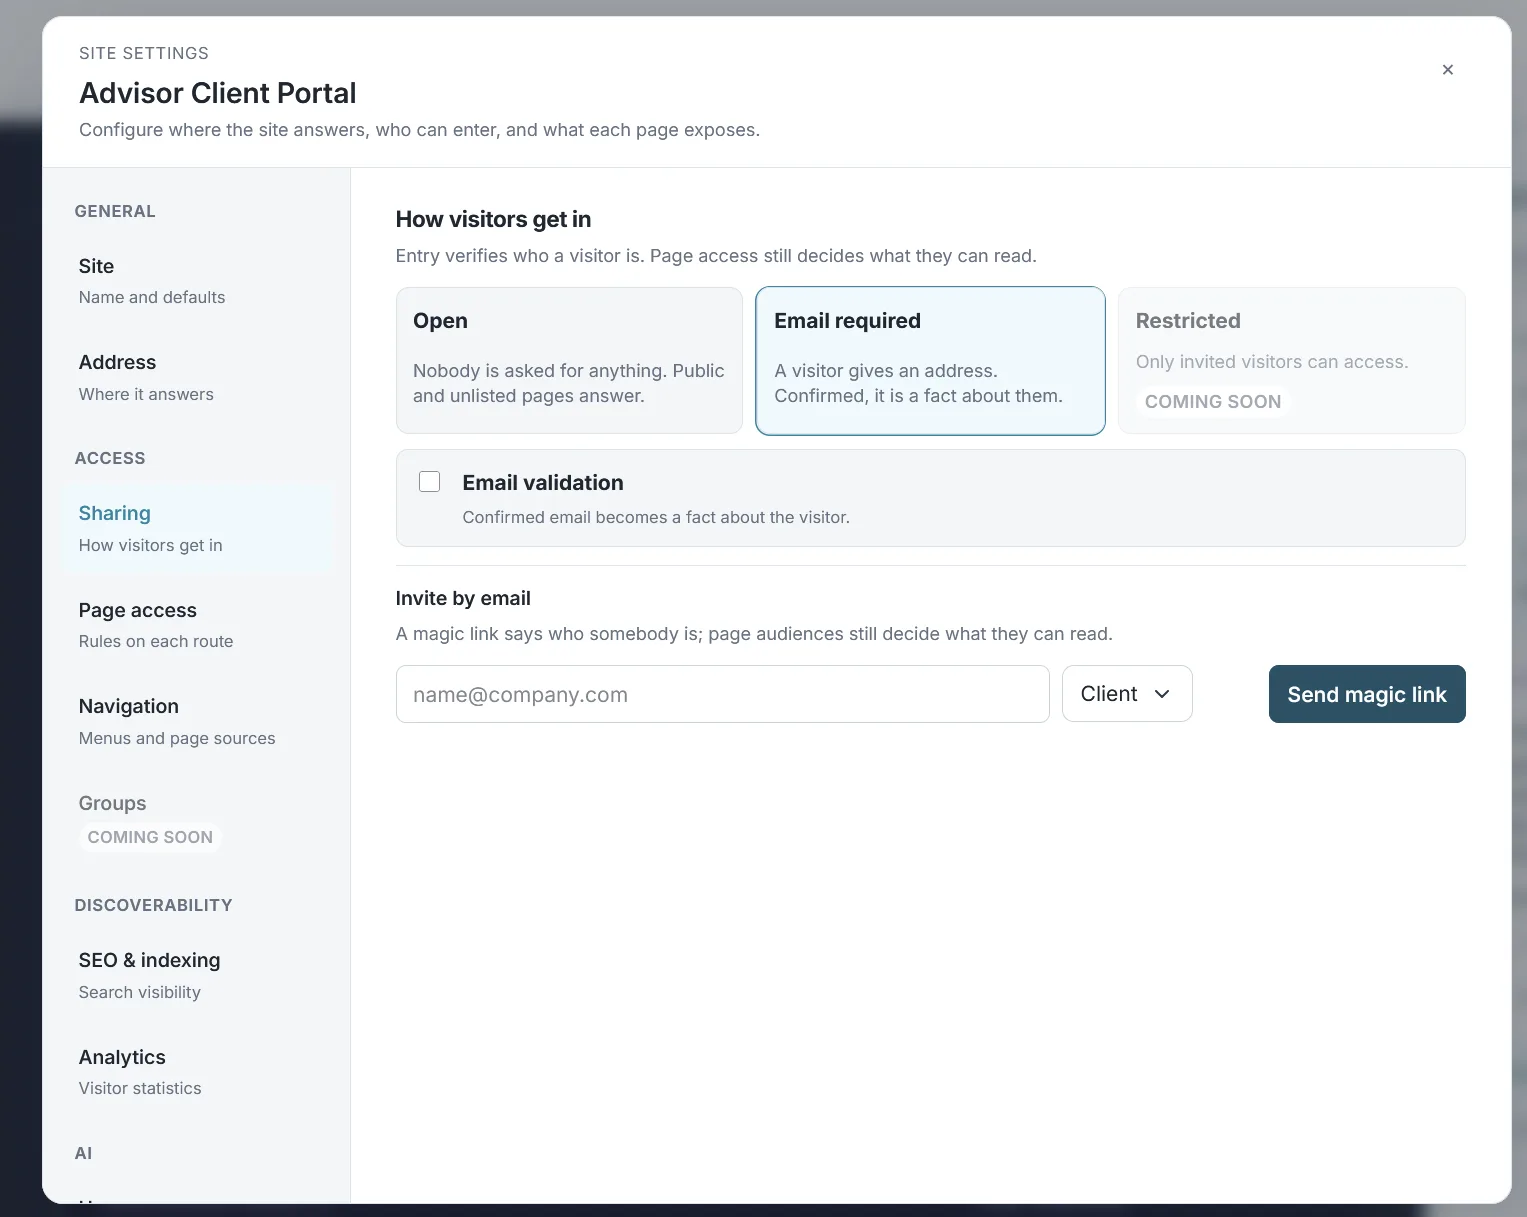
You can choose from these options:
- Open: anyone can open the site, including anonymous visitors. Use it for a public website.
- Email required, with email validation: visitors enter their email address and receive a magic link to get in. FuseBase creates an account for them and confirms the address. Visitors then have full access to the site, so they can join chats, work on tasks, sign documents and more.
- Email required, without email validation: visitors get in as soon as they enter an email address, and FuseBase does not check that they own it. It’s less secure but takes the fewest steps. Visitors get the same full access as with validation.
- Restricted (coming soon): new clients can only be invited by hand through Invite Clients, while existing users keep signing in with their accounts. It gives the highest level of privacy, for data rooms or dedicated client portals.
Duplicate a site
There are two ways to copy a site:
- In the list of your sites, open the site’s menu and choose Duplicate site.
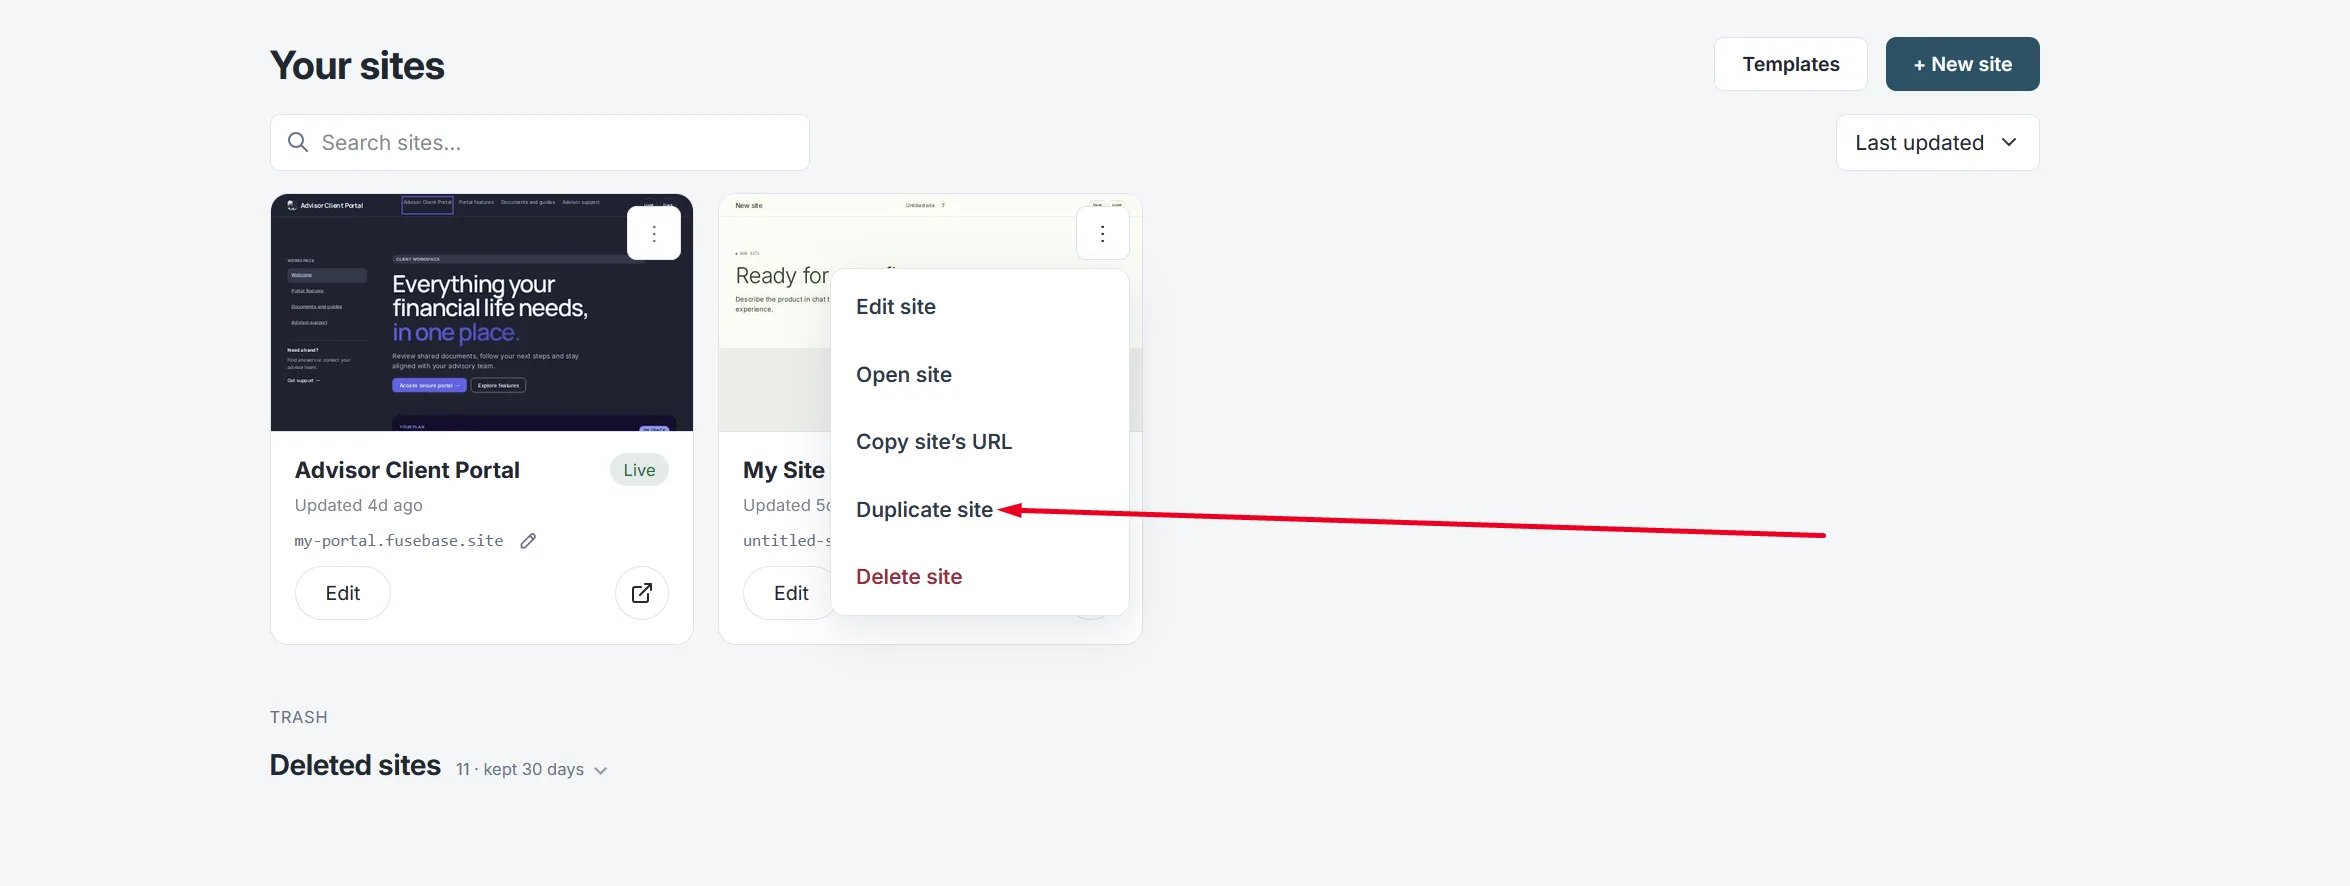
- When you create a site, choose Use a template, open Your sites and pick the site you want to copy.