Tags give your pages context and meaning. The main advantage of tags is that you can add many of them to one page (unlike a folder). It’s easier to categorize them that way. Let’s say there’s a page titled “Vegetable Salad Recipe.” You can place it in the Food folder, but you can also add tags – vegetables, salad, tomatoes, cucumbers, and so on.
You can read more about tags at this link: https://thefusebase.com/guides/basics/tags-quick-guide/
In Fusebase you can fully automate working with tags, both through triggers and actions.
Currently available:
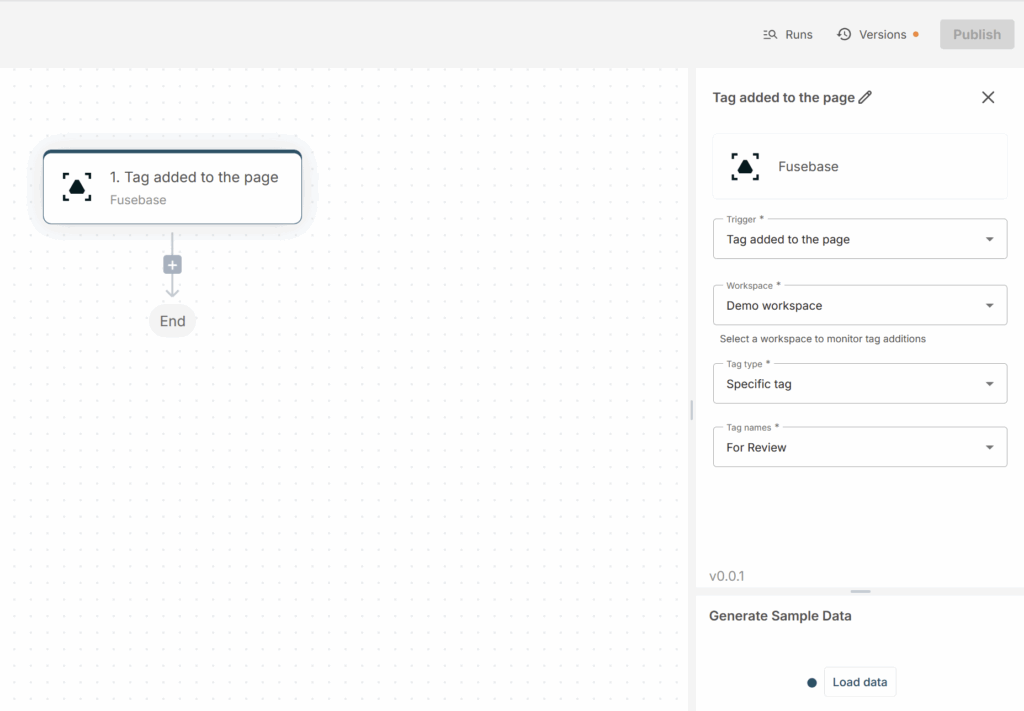
Trigger Tag added to page – is triggered and starts the flow when you add a tag to a page. The trigger works when any tag is added or a specific one. For example, you can add the For review tag to pages and send email notifications to everyone responsible for reviewing the page.
The Create Tag action allows you to create a new tag. You can set the tag name manually or take it from a previous trigger or action.
The Add tag to page action allows you to add a new or existing tag to a page. For example, using the For Review case, you can first create a page in the flow (for example via an AI agent), and then add the For Review tag to this page to send it for review to the responsible person.
The Get all pages by tag action allows you to get a list of all notes that have the specified tag or tags. Below we will look at an example use case for this action.
Bulk analysis of tagged pages by an AI Assistant #
Now we’ll go into more detail about the Get all pages by tag action. For example, you may need to analyze several pages in your workspace at once. This could be transcript analysis, document analysis, etc.
In our case, we’ll try a simple option – create summaries of the pages and save each summary into a single page.
1) Create a new flow.
2) As the trigger, use a manual run. But you can also set it to run on a schedule via the scheduler.

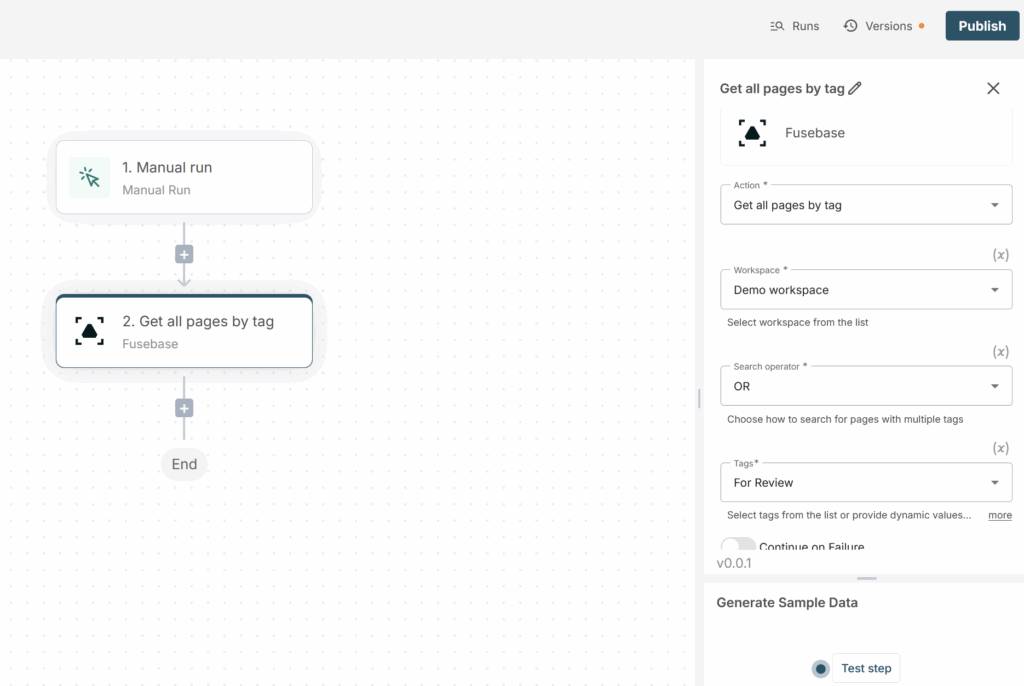
3) Next, in actions select Fusebase → Get all pages by tag. Choose the workspace and the tag or tags from which you want to get the list of pages. If you select 2+ tags, you can also choose an operator:
OR – shows pages that have at least one of the selected tags
AND – shows pages that have all the selected tags
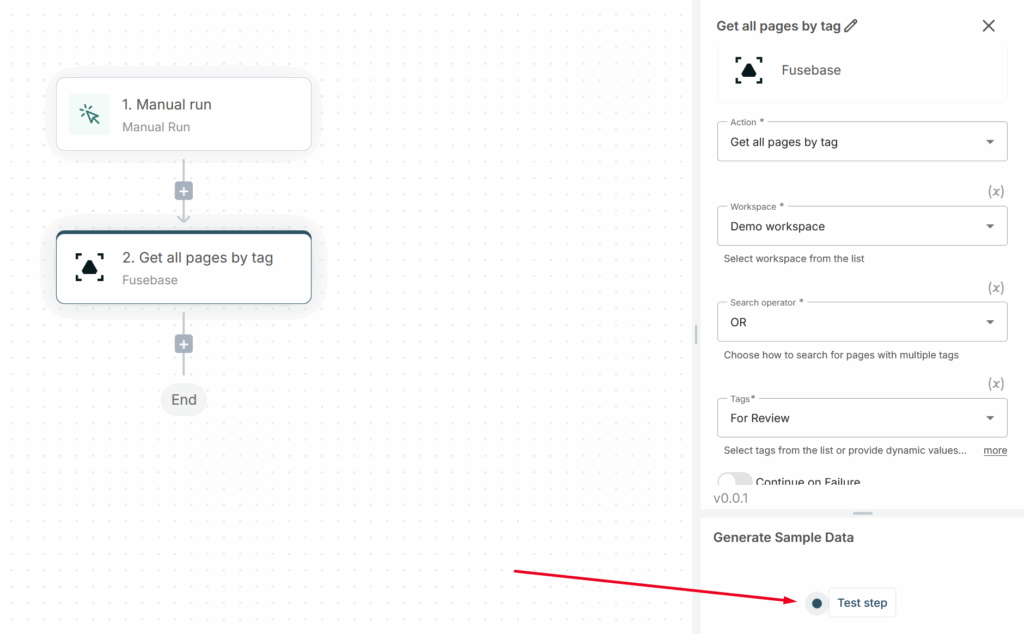
Don’t forget to click Test Step to get the data for the next step –
4) If you have many pages with these tags, you need the assistant to go through each page for correct analysis. To do this, add a Loop action.
In Items for the Loop, specify Pages from the Get all pages by tag action.
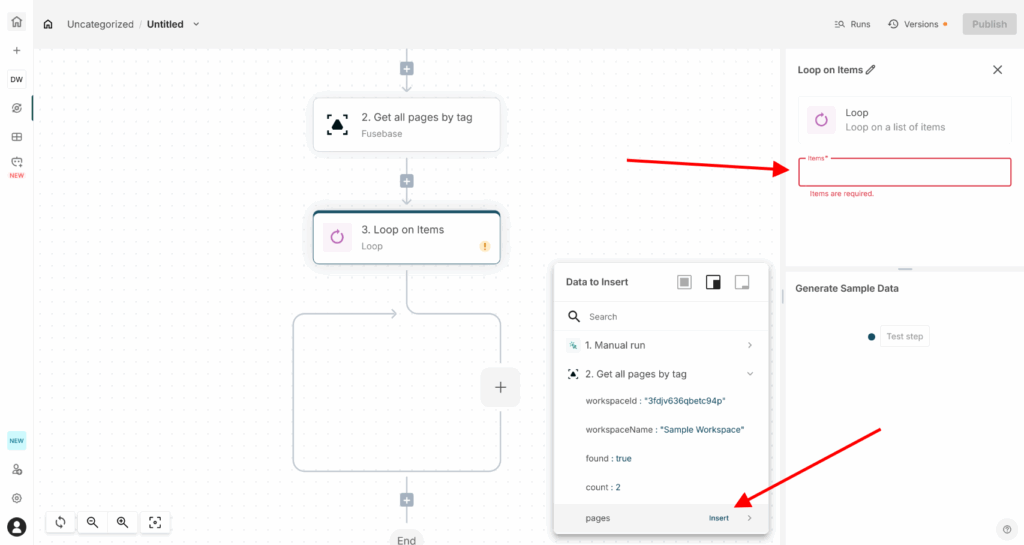
Don’t forget to click Test Step to get the data for the next step.
5) Click on + in the Loop and select AI Assistant there.
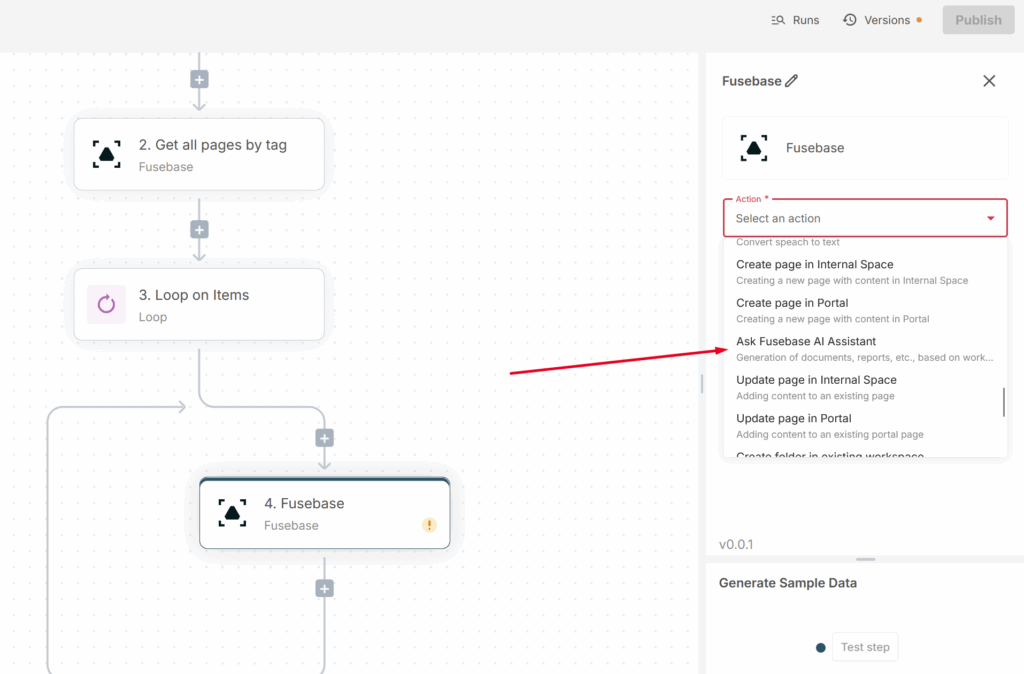
Select the required workspace and write the prompt. In our case, the prompt should be something like:
Analyze the content of the page and give me a detailed summary indicating strengths and weaknesses. Point out what needs attention. Page ID – *
Instead of the asterisk, specify the globalid from the Loop –
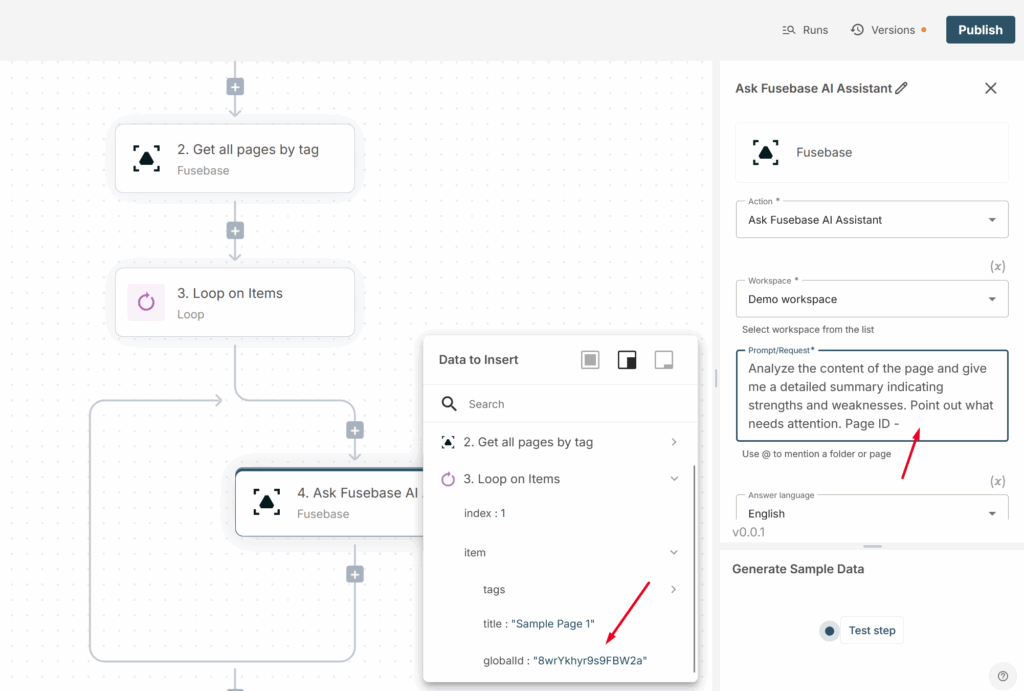
This will allow you to pass the page ID to the assistant, and based on it the assistant will understand which page needs to be analyzed.
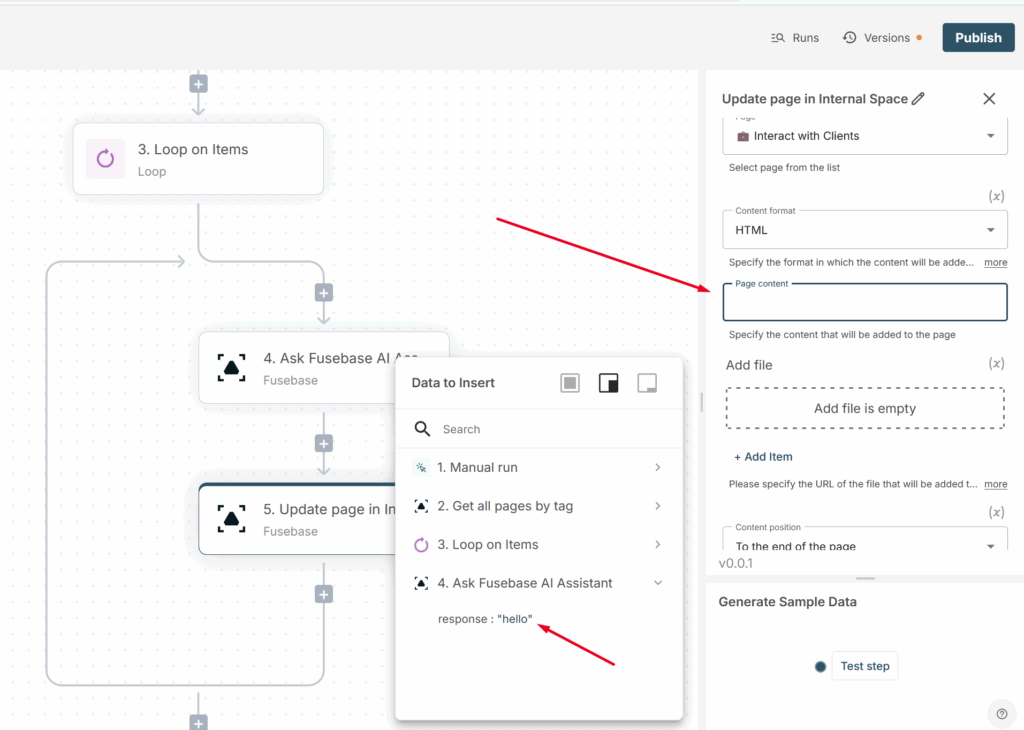
6) Next, you need to add the information from the assistant to a page. You can create the page within the flow using the Create Page action (for example, before the Loop) or use an existing one. In our case, we already have a page, and then within the Loop we add a new Update page action.

Specify the page where the summaries will be added. In the Content parameter, specify the AI assistant’s response from the previous action.
Everything is ready, and you can now publish your flow and run it.