You can use Fusebase dashboards and databases not only for internal work, but also give your clients access to them in the portal, with the ability not only to view but also to edit.
Adding a database to the portal #
1) Go to the desired page in the portal or create a new one.
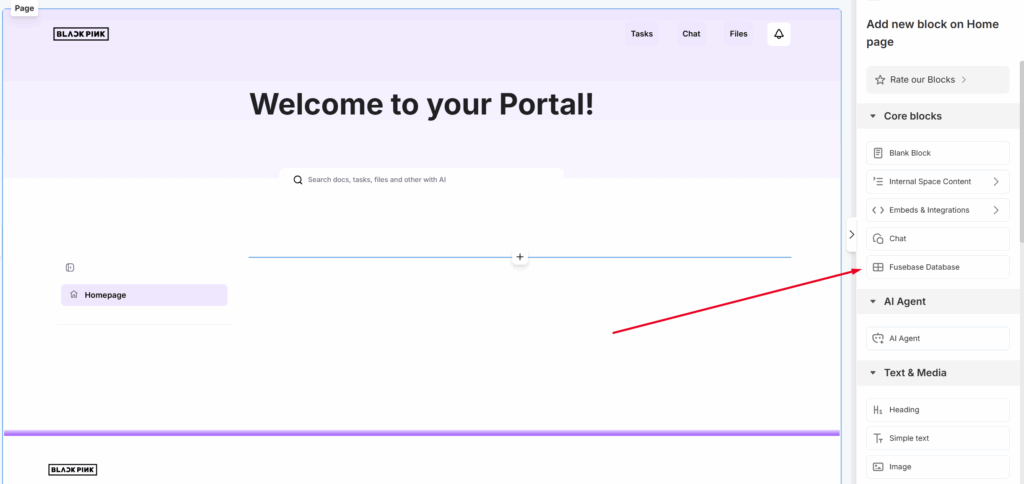
2) Click on Add Block and select Fusebase Database.
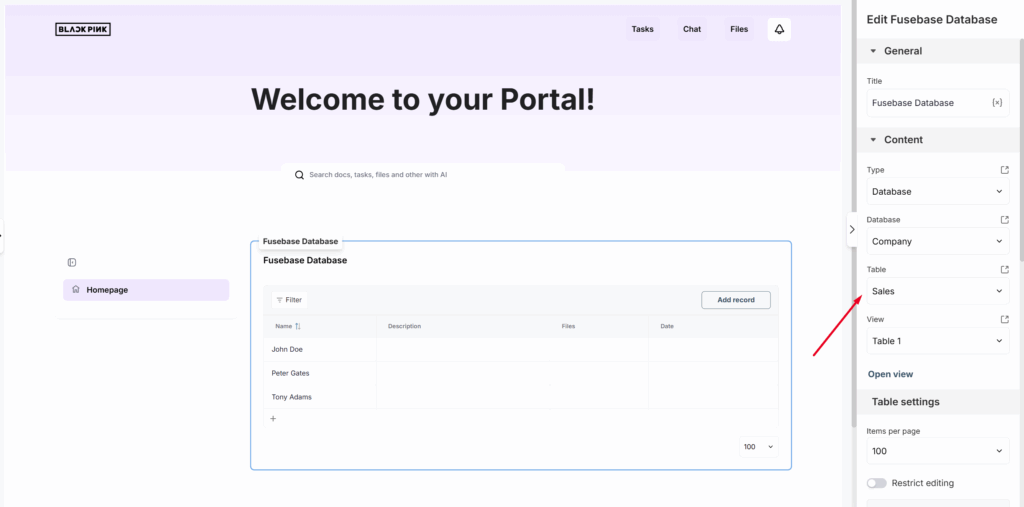
3) Next, you need to choose what you want to display in the portal: a Dashboard from our CRM (for example, a list of clients or workspaces) or a database.

4) Next, select the desired dashboard or database, as well as the view you want to display in the portal.
Next, the selected database or dashboard will appear in the portal. Click Publish to display the changes in the portal.
Embed settings #
You also have several settings available for the embed:
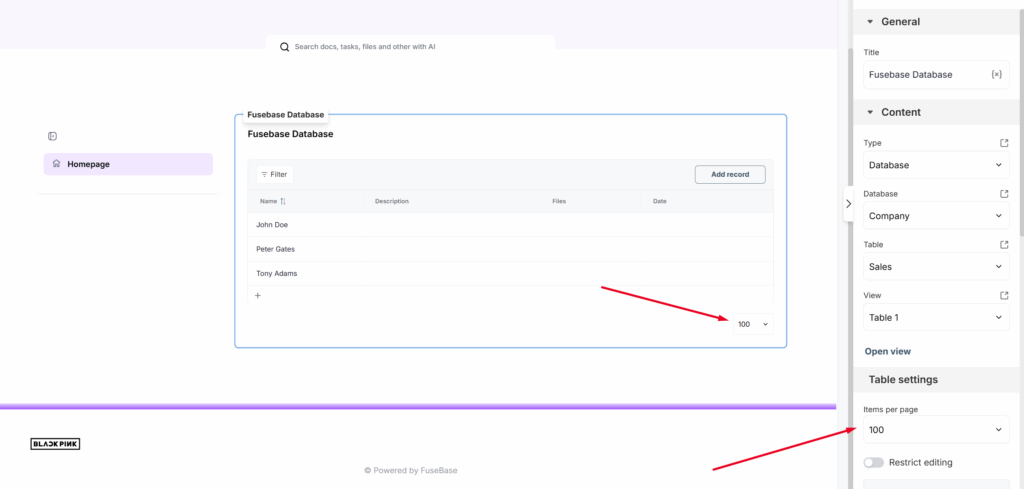
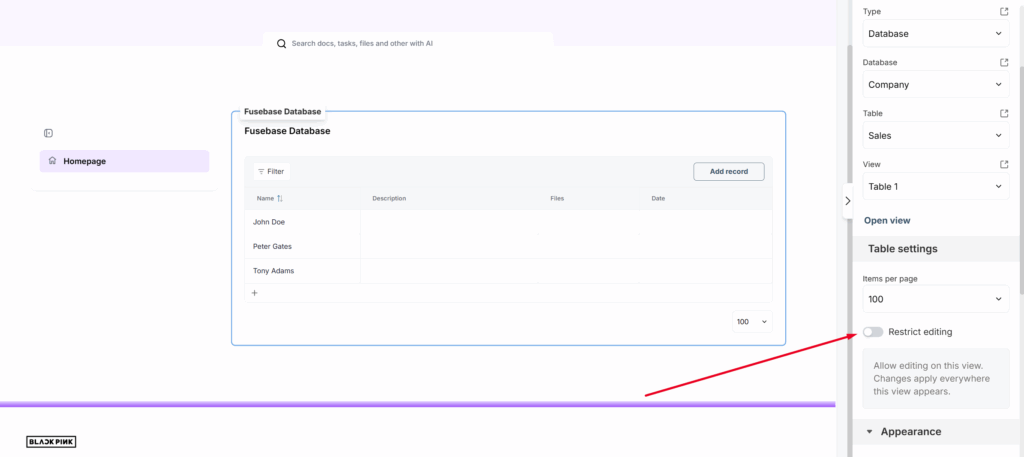
Items per page – you can specify how many rows to display by default in the table for the portal visitor. If there are more rows, they will be split into pages.
Restrict editing – you can allow or forbid editing of table data for portal visitors. It’s important to note that this permission is the same for both the portal and the view itself. Therefore, we recommend creating separate views specifically for portals.
Filtering for embeds #
In addition to the filters of the view itself, you can enable separate filters when setting up the embed so that visitors see only the data you allow them to see.
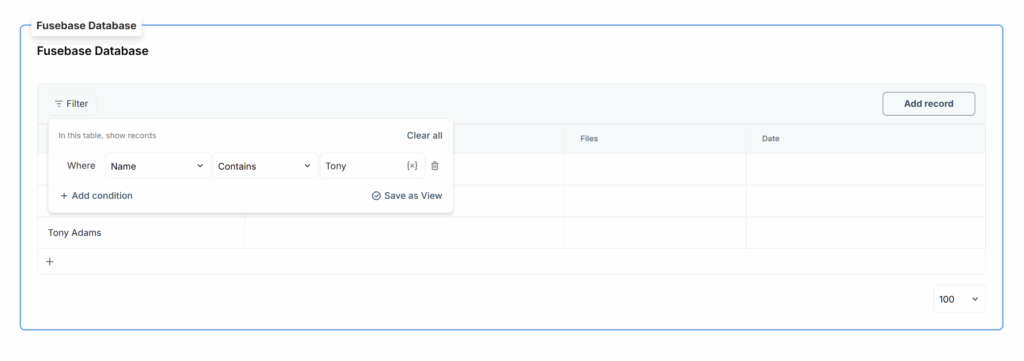
The ability to filter will also be available to clients. However, it’s important to note that clients will not see the filters you’ve added, and they will only be able to filter the data that you’ve permitted them to access.
You can read more about filtering at this link – https://thefusebase.com/guides/dashboard-crm/filtering-and-sorting-quick-guide/
Dynamic filters #
In addition to standard ones, you also have access to dynamic filters that allow filtering rows depending on the portal visitor’s email — based on their belonging to a portal, workspace, or group.
They work very simply: in the filter value, click on the variable option and select the desired one.

Then, if the row contains the corresponding data (for example, the email in the cell matches the visitor’s email), that row will be displayed to the user.
Currently, the following variables are available:
- UserEmail – checks the email of the portal visitor
- MemberGroup – checks whether the visitor belongs to a group
- Current Workspace / Current Portal (available only for Workspaces and Portal columns) – shows only the rows that correspond to the portal or workspace where the database or dashboard is currently embedded. For example, if you’ve added a dashboard with a list of forms and want to display only the forms added to the current portal.
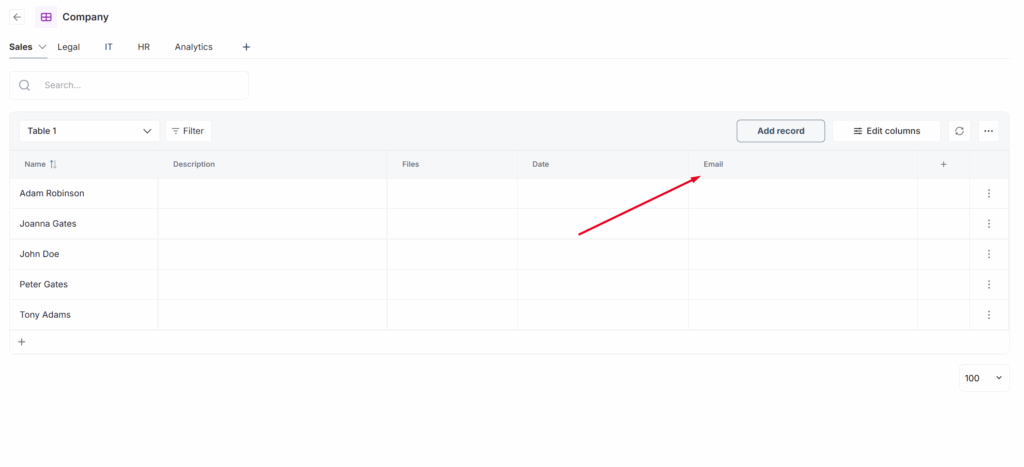
Let’s see how this works in practice. For example, we have a table with 5 rows, and we want only the user with the email test@thefusebase1.com to see rows 1–3, and no one else.
Here’s what we do:
1) Add an Email column to the view that will be added to the portal.
2) Add test@thefusebase1.com to the required rows.
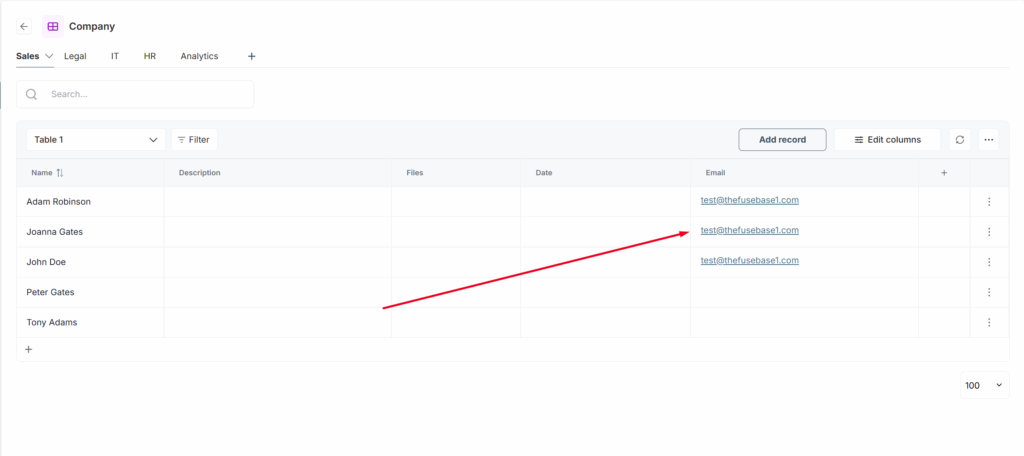
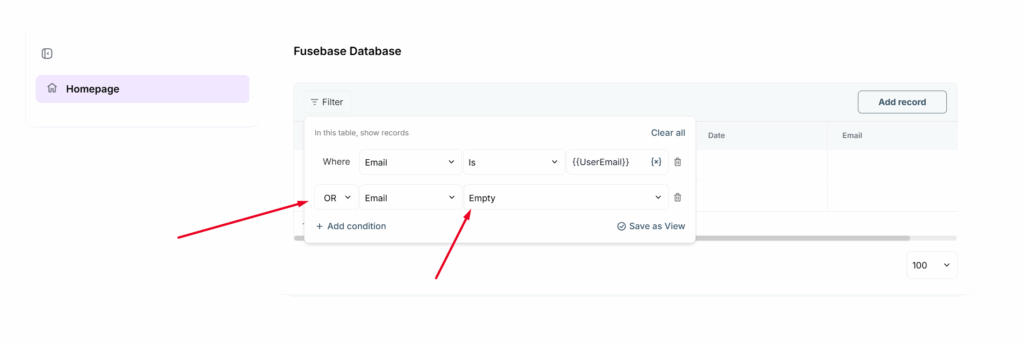
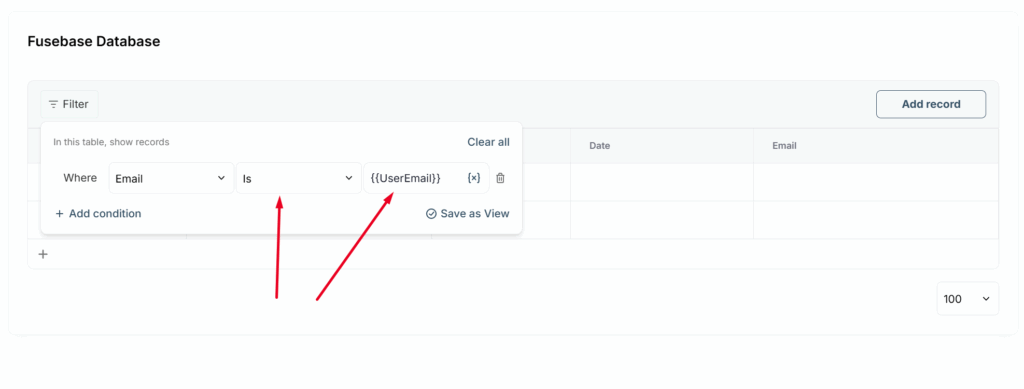
3) Then, set up a filter for the Email column and specify the condition IS, and in Value, select the UserEmail variable.
That’s it — all set! Now you can test it: log in as test@thefusebase1.com, and you’ll see the intended rows.

Then log in with another email, and you won’t see the rows you shouldn’t have access to.
You can also extend the filter conditions so that if the email is empty, the rows are displayed to all portal visitors. To do this, add a new Empty condition with the OR operator.